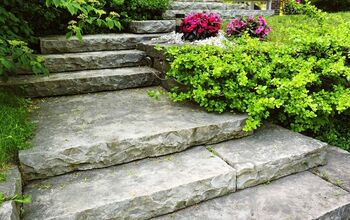
How To Build Stairs On A Steep Slope (Step-by-Step Guide)
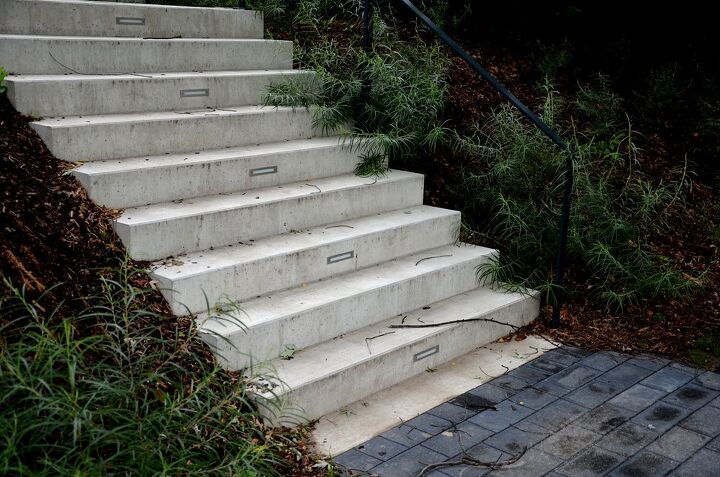
Climbing the steep hills on your property can get tiresome very quickly. You may be interested in solving the issue by building a staircase that eliminates the problem. If so, you’ve come to the right place.
You can build stairs on a steep slope by measuring the rise and run of the slope to figure out how many steps you need. Cut as many 6-by-6-inch boards as necessary. Dig a trench, drill the boards, and place rebar through them. Strengthen the boards with side and cross breams before finishing the staircase off with gravel, bricks, and masonry sand.
If you’re not an experienced DIYer, building a staircase on a steep slope can sound complex. However, it’s not as challenging as you would think. Continue reading to find the step-by-step instructions you should follow to get the job done right.
Do You Need a Wood Stairs and Railing Contractor?
Get free, zero-commitment quotes from pro contractors near you.

Tools and Materials Required
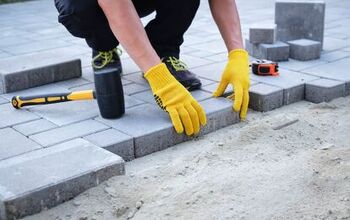
To build an outdoor staircase, you’ll first need to verify that you have all of the necessary tools and materials to complete the job. Here are the tools you’ll need:
- Long measuring tape
- Shovel
- Drill
- Circular saw
- Hand saw
Here’s a list of the materials you’ll need to get the job done:
- Stakes
- Outdoor string
- As many 6-by-6-inch boards as your measurements call for
- Rebar
- 12-inch spike nails
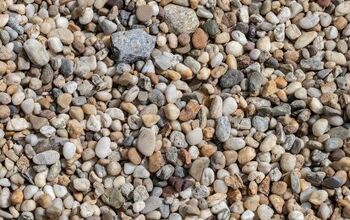
- Gravel/sand mixture
- Bricks
- Masonry sand
Part 1 – Planning
Installing stairs on a steep slope isn’t easy. To do so successfully, you’ll need to start with a careful planning process. Do this well and you’ll gain the information needed to complete the job.
- Measure both the vertical and horizontal distance of the slope. This is known as the rise and run of the slope.
- Divide the vertical distance of the slope (rise) by 6 inches. If you get a decimal, round up. The number you’re left with is how many steps you’ll need.
- Put 2 stakes at the beginning and end of the staircase. Tie string around each of the stakes to create a perimeter for your fledgling staircase.
- Divide the horizontal distance of the slope (run) by the number of steps you determined in step two. This number will tell you how long each of your steps needs to be.
Part 2 – Preparation
Now that you’ve completed the planning phase of the project, you’re ready to begin preparing the slope and your materials. After you finish this set of steps, you’ll be ready to start installing your new staircase.
- Dig a trench in an angular-U shape at the bottom of your staircase. This is where the runner of your bottom step will start. The bottom of the trench should be as wide as your staircase with arms that are 6 inches longer than your step length.
- Cut your 6-by-6-inch boards with your circular saw. Make the cut as wide as your staircase. When finished, you should have one more piece than stairs in your staircase.
- Cut two 6-by-6s as long as your step length. Do this for every step except for the top one.
- Cut two 6-by-6s as long as your step length minus 6 inches for the top step.
- Drill through both ends of one of your 6-by-6s that’s as wide as the staircase. Do the same for two of your 6-by-6s that are as long as the stair length. Make your drill 3 inches in from the end of each board and centered across the 6-inch width.
- Put the drilled beams into your trench
Part 3 – Installation
By now, you’ve finished both the planning and preparation processes and are ready to begin the installation. After finishing this set of steps, you’ll be finished with the project.
- Drive rebar through the holes you just drilled in your 6-by-6s
- Dig out the interior portion of the step. Make sure that you keep a straight edge across the length of the entire beam.
- Dig another trench above this bottom step. This is where the side beams of the next highest step will go.
- Place the side beams in the trench you just dug. Then, place a cross beam at the top of it all to frame the bottom step. Secure it all in place with a 12-inch spike driven through the beams and into the side beams.
- Dig out the interior portion of this step. Make sure that you keep a straight edge across the back.
- Repeat these steps as many times as needed until you make it to the top step of your staircase.
- Add your top step. Since this one won’t extend under the step above it, the top step doesn’t need to have sidebars with an extra 6 inches of wood.
- Pour the sand/gravel mixture into each step. As you work, tamp down every few inches poured. Keep adding the mixture until it almost reaches the top frame. Then, place a brick on top of the stop. The brick should be level with the top frame of that step.
- Lay bricks across the top of the sand/gravel mixture in each step. They should have a 1/8-inch gap between them.
- Finish by pouring masonry sand over the tops of the bricks you’ve laid. Then, brush over the bricks with a broom to make the masonry sand settle into the steps.
How to Maintain Wooden Outdoor Staircases
After finishing this project, you’ll have invested a significant amount of your time, energy, and money into building an outdoor staircase. You’ll want to be sure that you’re caring for it properly to ensure the staircase lasts.
Your outdoor wooden staircase will be exposed to the elements. It will have to last through heat, moisture, dust, and water. You can make it easier on your staircase by cleaning it regularly.
When you clean an outdoor staircase, you prevent it from accumulating water, dirt, and other particles that can damage it. That’s why you should sweep your staircase regularly and clean it periodically with an all-purpose kitchen cleaning solution.
Homeowners may also want to consider staining and sealing their outdoor staircase. This can help to prevent damage from moisture and cracks resulting from extreme weather. It also gives you the chance to fine-tune the appearance of your wooden staircase.
You should also seriously consider waterproofing your staircase if you live somewhere it rains often. Water damage can quickly turn an otherwise functioning outdoor staircase into an unusable disaster. Waterproofing will prevent that issue from ever arising.
Do You Need a Wood Stairs and Railing Contractor?
Get free, zero-commitment quotes from pro contractors near you.
Related Questions
What kind of wood should I use for outdoor stairs?
For a long-lasting, beautiful outdoor staircase, consider utilizing redwood or cedar. These woods are strong, have an appealing look, and will last longer than many of your other options would.
What’s the most comfortable angle for stairs?
This is a matter of individual preference. However, most homeowners would agree that about 30 degrees is the most comfortable angle for stairs. That being said, you could create an angle as high as 45-50 degrees and still find your staircase usable.
What is the standard height for outdoor steps?
The general rule is that the smaller your rise, the bigger the tread should be. Ultimately, the height of your outdoor staircase comes down to personal preference. However, outdoor steps typically have a tread of 12 to 18 inches and a rise of 5 1/2-inches to 7 inches.
Related Guides

We are a team of passionate homeowners, home improvement pros, and DIY enthusiasts who enjoy sharing home improvement, housekeeping, decorating, and more with other homeowners! Whether you're looking for a step-by-step guide on fixing an appliance or the cost of installing a fence, we've here to help.
More by Upgraded Home Team


![12 Washing Machine Brands to Avoid [with Recall Data]](https://cdn-fastly.upgradedhome.com/media/2023/07/31/9075781/12-washing-machine-brands-to-avoid-with-recall-data.jpg?size=350x220)