How To Build A Cedar Closet In A Basement (Do This!)
Closet space is one of the most underrated aspects of a home. Having enough space to keep all of our clothes, whether we wear them or not, can either be a major plus or a huge inconvenience. That is why creating more closet space can become a necessity.
Putting in a cedar closet in the basement is a great way to achieve this. Whether there is a living space down there or you are simply looking to store non-seasonal clothes, it can be a must for those who love clothes. To build a cedar closet, you will need to construct the framing, the outside walls, inside walls, and wiring should you desire interior lighting.
Do You Need Closets Built by a Pro?
Get free, zero-commitment quotes from pro contractors near you.

Why a Cedar Closet in the Basement?
For a great many of us, closet space becomes cluttered throughout the year. New additions are made all the time but older items rarely get tossed. Moreover, summer and winter clothes wind up occupying the same space when only one can be worn depending on the time of the year.
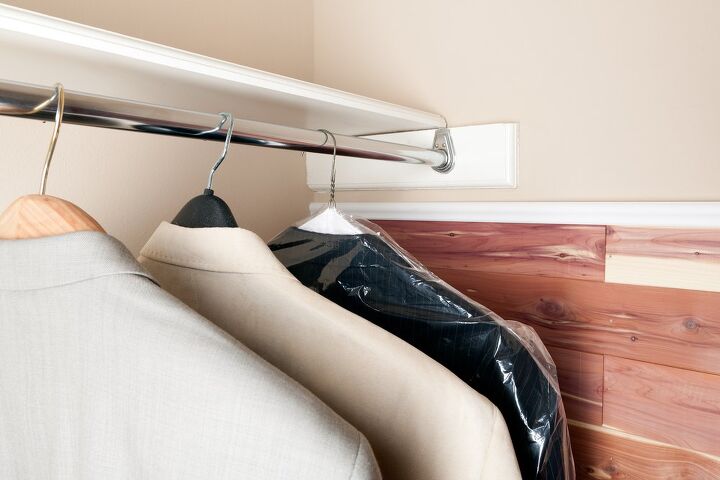
For that reason, creating closet space in the basement becomes a must. Cedar is the choice because it is heavy and durable while providing a naturally beautiful aesthetic. With extra closet space in the basement, old or seasonal clothing can be moved out of your closet and down into the basement.
With additional closet space, it becomes easier to find clothes that you may have forgotten about. It also means not having to dig and dig to find an outfit that you really love. When the seasons shift, you can simply swap out styles from the basement.
How to Build a Cedar Closet in a Basement
The good news is that putting in a cedar closet is not a whole lot different from putting in an inside wall covering. The inside wall covering will be cedar boards in this instance instead of paneling or wallboard.
With a fresh-cut Eastern red cedar, you can line the closet to keep pests out and give a more aromatic scent to the space. Here is how to build your cedar closet from scratch.
Step 1: Choosing Your Cedar
Before you can begin, you need to determine what kind of cedar you want to work with. Keep in mind that some are substantially more expensive than others. There are solid planks, cedar chip flakeboard, and cedar veneer plywood.
The flakeboard is the most inexpensive option, coming out to about $20.95 per sheet. Keep in mind that prices depend on your area as well. The veneered plywood is a little more expensive at about $23.75 per bundle and the planks are far and away the most expensive.
For a closet that is 6 feet wide by 2 feet deep, you are looking at about $270 for flakeboard, $435 for veneer plywood, and $750 for solid cedar planking. The latter will stand the test of time, so it may be worth the investment. But that investment is certainly not a small one.
Step 2: Building Framing
For most closets, you are going to use standard 2-by-4 framing. Make sure that you don’t cut corners, both in a literal and figurative sense. Also, be sure that every part of the closet has been fully framed, including the interior corners. You would be surprised by how many people forget about the interior corners.
Since cedar boards are a little thinner and will be covering the wall, make sure that you have vertical framing members that are 16” on center. Should there be no existing stud walls, you might have to nail your bottom wall plates to the concrete floor. You will need concrete nails to do this. You can do the same with concrete walls as well.
Adding in overhead floor joists should provide ample wood nailing surface when it comes to wood stud walls. It really depends on the setup of your basement and where you are installing the cedar closet.
Step 3: Installing Wiring
This step is entirely optional but don’t overlook the value of having overhead lighting. For the most part, basements don’t have the best lighting. Even with a row of overhead lighting, it can still be dark and difficult to see inside of your cedar closet.
That means needing to run wiring while your closet is still at the framing level. If you don’t feel confident taking on the job yourself, an electrician should make relatively short work of it. Even if you do run the wires, have the electrician tie those wires into an existing circuit.
When in doubt, check with an electrician first. The last thing that you want to do is improperly wire your closet, leading to a malfunction or even a fire.
Step 4: Outside Walls
Remember that cedar is pretty expensive. For the most part, people don’t have the budget to build both the outside and inside walls out of cedar. If you have it in the budget, you certainly can do so, but we will be going with wall paneling or sheetrock in this instance.
For the outside walls, wall paneling or sheetrock is inexpensive yet attractive enough for a wall covering. Just make sure that the outside of the closet is tight, leaving no gaps. You don’t have to finish or paint the sheetrock, but it does provide a much nicer aesthetic. Again, it all depends on budget and timelines. You can always go simple to start and expand where you see fit.
Step 5: Inside Walls
With your frame and outside walls installed, it is time to install the cedar on the interior. If you want to keep insects out, Eastern red cedar is the choice. Western red cedar does not work to repel insects, so don’t get them confused. These boards will be anywhere from ¼” to ½” in thickness.
It is recommended that you put a piece of sheetrock over the ceiling and then paint it white. The reason being is that white is more reflective, making it easier to light the interior of your closet.
Make sure that you start with the back wall, working at the baseboard and moving up. Keep the cedar as tight as you can, not leaving any noticeable gaps between the boards. You can either use colored nails or long-heavy gauge brads to secure them.
The seams between the boards should all land on your vertical studs. Nail each side of that seam using at least three brads or nails for proper securing. Also, make sure that each of the boards is nailed to a wall stud to provide a solid fit. You can cut down your cedar boards or planks with a miter box or handsaw.
Step 6: Door and Trim
With the bulk of your closet now up, it is just a matter of adding a door and trim to finish things off. If you decide to use a pre-hung hollow-core door, it has to go up after the cedar siding has been installed. But if you plan to make your own jamb and hang your own door, install the jamb and then hang the door prior to putting the siding up.
In the latter example, leave the trim off to the side. You can then just butt the cedar against the jamb. You will need baseboard molding on both the outside and inside of the closet. Trim for the door always goes on the outside of the cedar closet. You may also want to consider adding a piece of carpet to the flooring for a softer walking space, but that is entirely up to you.
Do You Need Closets Built by a Pro?
Get free, zero-commitment quotes from pro contractors near you.
What are the Benefits of a Cedar Closet?
If you are uncertain about the costs of cedar for your closet space, consider the various benefits. There are more than a few to be had that will justify the costs of materials and installation. Here are just a few of them.
Keeping Bugs Out
Having a basement can be a great thing. It’s a potentially huge space for hanging out, storing things, or whatever else you might think of. But because basements are underground, you are also contending with increased insect activity.
The good news is that building a cedar closet in your basement means you can keep your clothes protected from bugs. Insects that would have otherwise turned your clothing into a buffet are repelled and confused by that strong cedar smell. Cedar works in much the same way as peppermint, rosemary, and citronella in that regard.
Cedar Helps Prevent Mildew and Mold Growth
Another nasty aspect that can come with having a basement is mold and mildew growth. Mold in particular can have serious respiratory impacts if left unchecked. The good news is that cedar naturally removes moisture from the air.
In humid climates especially, mold can present a major issue. But with cedar, you have a natural dehumidifier that keeps your clothes protected from mildew and mold.
Cedar Just Smells Nice
When you get right down to it, cedar just has a very pleasant, aromatic smell. That gives your clothes and basement that fresh scent every time that you journey downstairs.

Ryan Womeldorf has more than a decade of experience writing. He loves to blog about construction, plumbing, and other home topics. Ryan also loves hockey and a lifelong Buffalo sports fan.
More by Ryan Womeldorf


![Finishing Basement Without Permit [Is It Really Illegal?]](https://cdn-fastly.upgradedhome.com/media/2023/07/31/9070078/finishing-basement-without-permit-is-it-really-illegal.jpg?size=350x220)


![10 Best Cordless Leaf Blowers – [2022 Reviews & Ultimate Guide]](https://cdn-fastly.upgradedhome.com/media/2023/07/31/9070789/10-best-cordless-leaf-blowers-2022-reviews-ultimate-guide.jpg?size=350x220)