Is Your Blink Camera Flashing Red? (Here's What You Can Do)
Technology has evolved in substantial ways over just the last 20 years. Take home security, for example. Back then, something like a camera in the home would have been considered extravagant and over-the-top. But now, cameras are more than affordable and can give peace of mind and security to any homeowner.
Your Blink video camera is flashing a red LED light because it is looking for a connection. During setup, 3-4 long blinks is normal. However, if your camera flashes red 5 or 6 times, your batteries have failed and must be replaced. Insert two new AA Lithium non-rechargeable batteries and wait a few seconds. Then, check your app for a connection.
If you’re trying to troubleshoot your Blink camera due to a red blinking light, then we can help you. Look for your camera model in the list below to learn how to troubleshoot your specific camera.
Red Light Flashing On Blink Mini Camera
The Blink Mini is a camera that works fine for home security without all the bells and whistles of some of the more expensive options. That said, it is possible to experience the same issues that you would with any other camera.
- Internet connectivity. When the red light flashes on a Blink Mini, it generally indicates that the internet connectivity has been lost. The camera needs to be connected to the internet to be accessible through a smartphone application.
- Setup. During the initial setup of the Blink Mini, the red light will appear. Granted, it should go away quickly, replaced by a blinking green light and then a solid blue light when the connection has been completed.
- Solid red light. If the red light remains solid and does not flash, then the camera needs to be reset. Use something small and thin (like a paper clip) to push the reset button. You will then need to wait for the red light to switch over to the blinking green/solid blue pattern.
Try these methods first. If they don’t work and the light doesn’t stop flashing for a full two minutes, call support. It could be a matter of a software update that needs to be pushed through to the camera for it to function properly.
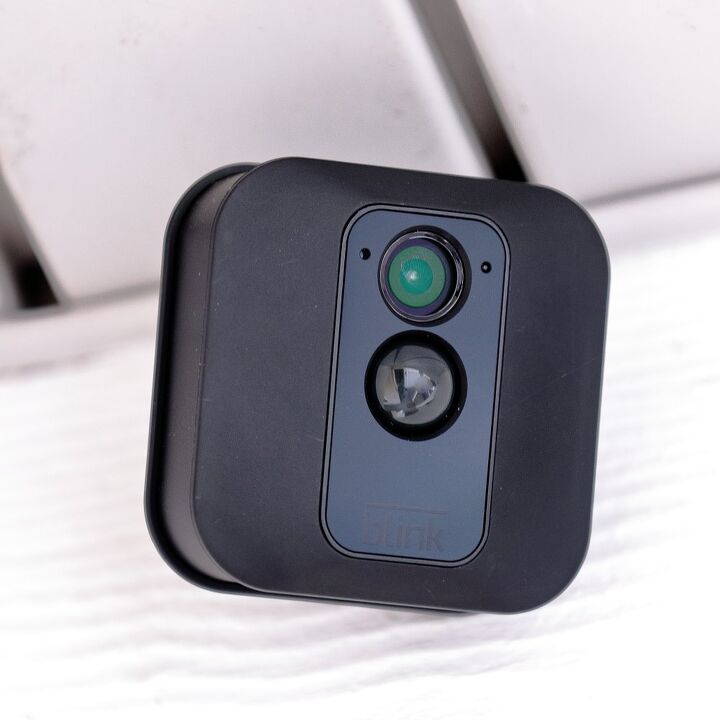
Red Light Flashing On Blink Indoor, Outdoor, XT, and XT2 Camera
These camera lines are completely wireless, running on battery power. That said, there are a few common issues related to this line of Blink cameras. Use the following troubleshooting methods to figure out the problem.
- Internet connectivity. As is the case with the Blink Mini, these Blink cameras will flash red when there is no internet connectivity. Sometimes all you need to do is reset the connection via the smartphone app to reconnect to the internet.
- Setup. Setup is another time where the red light will be prevalent. When first setting up the camera, the red light will flash a hard blink 3 or 4 times, followed by a softer, repetitive blink. It does this until there is an established internet connection. When the light keeps flashing but won’t connect, it indicates that there are connectivity issues.
- Motion detection. With these cameras, there is also a motion detection feature. If you notice that the red light is flashing, it could be an indication that the camera is picking up motion.
- Failing batteries. When the batteries start to go bad, the LED light will flash red at least 5 or 6 times when the recording like (which is blue) goes out. When in doubt, replace the batteries as that is a very common issue in instances like these.
- Reset. Of course, there are times where troubleshooting the issue doesn’t do much. The red light continues flashing despite all of the methods listed above. When that is the case, a hard reset will be needed. Use something small and thin like a paperclip to push the small reset button located on the inside of the back cover.
What to Do If Your Camera Is Offline
Red Light Flashing on Blink Video Doorbell Camera
The Blink Video Doorbell flashes a red LED on the indicator ring surrounding the doorbell button when it is seeking connection. During setup, and change of system or Wi-Fi, the red LED will indicate if the doorbell is ready to connect. If the red LED is not flashing when it should be, remove one of the batteries for five seconds then reinstall it. The LED should begin flashing.
How Do I Reset A Blink Camera?
Troubleshooting the issue will come up with one of several results. No matter the issue, there may come a time when it is necessary to perform a hard reset. Resetting the camera means putting it back to the original factory settings prior to any default or issue.
Locate the reset button on the right-hand side, usually somewhere around the USB port. The first thing needed is to press down on and hold the reset button with a thin object like a paper clip. Hold it down until you see the red light hold strong.
Hold down the reset button until that light flashes on; it could take up to 30 seconds. This action causes the Sync Module to perform a reboot back into setup mode.
Moving The Blink Camera To A New Location Or Network
Depending on the current configuration, there may come a time when your Blink camera needs to be moved or connected to a new network. The answer here is to reconfigure the Sync Module to the new network location.
By doing this, your camera will wipe out all of the current settings on the Sync Module. It will also require that you put in your home’s wi-fi credentials once again. The good news is that, if you have any saved clips, they won’t be deleted by reconfiguring the Sync Module.
How Do I Change Networks or Locations?
Sometimes, the issue is that you need to change a network or location. Here are the instructions on how to do that.
- Sync Module. The first thing to do is to open up the app and tap the icon at the bottom left for the Sync Module. This should take you to a page with all of the pertinent information about the camera’s Sync Module.
- Change Wi-Fi. When you get to the Sync Module screen, there should be a section called “change wi-fi network.” Tap it.
- Before you begin. The next step will take you to a screen titled “before you begin you will need”. This section outlines the things that are necessary to change your Sync Module to the new wi-fi.
- Tap or scan. From here, you will either need to enter the serial number located on the Sync Module or use your phone’s camera to scan the QR code on the camera itself. Either way, fill in this information and tap continue.
- Unplug. The app should tell you to unplug the Sync Module. Wait 30 seconds or so; you should see a solid green light and then a flashing blue one. When you see this, tap “I see a blinking blue light” at the bottom of the screen. If you don’t see it, press the reset button on the Sync Module.
- Wi-Fi settings. You should then be directed to the settings app on your phone. Connect to the network titled “Blink-####”.
- Go back to the app. Finally, you will tap to go back to the app. It should bring up a list of wi-fi networks. Select yours and allow for the Sync Module to connect to your wi-fi. That should be all that you need to get your camera synced up again.
Blink Camera is Flashing Red and Not Recording
According to Blink Support, your camera will flash a red light 5 or 6 times after the blue recording light goes out. This can happen just as the camera powers up or in the middle of the recording process. After the red light stops flashing, no light will appear on your camera at all, indicating the batteries have failed.
This red flashing light pattern is different than the loss of internet light pattern and will feature short, quick, and continuous blinks if the internet connection has been lost. If it’s a battery issue that’s causing your camera not to record, the red light will flash solid and slow and only a few times before stopping.
To keep this from happening, it’s important to track your battery usage and replace them before it has a chance to die. Here are a few tips and tricks.
- Mark down somewhere every time you replace your batteries for new ones. This will help give you a general idea of when your batteries need replacing.
- Only use high-grade and approved AA lithium non-chargeable batteries.
- Double-check to make sure that you’ve installed the batteries correctly.
Why Isn’t My Blink Camera Responding?
Even the most dependable of Blink cameras run into issues. One such issue is that the camera may stop responding from time to time. Tapping to connect on your smartphone app may not work and the red light may flash.
You may also see errors when logging into the smartphone app like “thumbnail failed” or “camera busy”. Generally speaking, this is what happens when the Sync Module can’t connect to the camera.
While talking with support, they can run a scan of your home network to check out the wireless network for potential troubleshooting options.
What Do I Do When My Blink Camera Won’t Respond?
Thankfully, there are troubleshooting methods that can be performed to potentially resolve the issue. It can depend on your model of Blink camera, but this method should work just fine.
- Move the camera. Start by moving the camera closer to the Sync Module. Check to make sure that there are 3 bars of signal strength for “Camera to Sync Module” and “Camera to Wi-Fi”. Sometimes it is as simple as being too far out of range of the wi-fi to properly connect.
- Power cycle. If you feel confident that your camera is close enough to the Sync Module, try a power cycle on the router and modem. Typically, you can unplug them for about 30 seconds or so to reset them before plugging them back in. Give it a couple of minutes so that the internet service can restore before trying to connect to the camera once again.
- Power cycle the camera. When the internet is working fine, try running the same cycle down on the camera power. The most secure way to do this is to simply pop out the batteries for 10-15 seconds before reinserting them. Power the camera back on and see if it is more receptive to your commands.
- Micro USB adapter. Those solutions will generally give you the resolution that you are looking for. But if they don’t, there is one more thing to try: another power source. Use a USB power adapter and a micro USB cable to provide power to the camera. Try this method with the batteries removed to see if it works.
Should none of these methods work customer support is the only way to go. They may be able to provide troubleshooting methods or a full replacement.
Check Out These Guides Related To At-Home Security Systems

Ryan Womeldorf has more than a decade of experience writing. He loves to blog about construction, plumbing, and other home topics. Ryan also loves hockey and a lifelong Buffalo sports fan.
More by Ryan Womeldorf


![The 5 Best Angle Grinders – [2022 Reviews & Buyer's Guide]](https://cdn-fastly.upgradedhome.com/media/2023/07/31/9071326/the-5-best-angle-grinders-2022-reviews-buyer-s-guide.jpg?size=350x220)