How To Remove A Shower Arm That Is Stuck (Step-by-Step Guide)
Showers that are not working like they should can be very annoying to deal with. When you’re rushing to work early in the morning, the last thing you need is your shower slowing you down.
Unfortunately, shower issues will inevitably emerge over time. It may not even be the showerhead or valve that’s causing a problem. The shower arm itself could be the troublesome component if it has gotten stuck.
To remedy the issue, use a vise grip to hold the arm and a wrench to loosen the shower head nut. If the shower arm remains stuck, start checking for rust and mineral buildup. Upon spotting the buildup, remove it using some cleaning items before attempting to loosen up the shower arm again.
Shower arms don’t often get stuck, but it can be a real problem if it does happen. Find out how you can address that problem properly by continuing with this article.
Do You Need a Faucet, Fixture, or Pipe Repair or Replacement?
Get free, zero-commitment quotes from pro contractors near you.

Why Do Shower Arms Get Stuck?
The shower arm isn’t typically the reason why you’re getting poor water flow, but it can still present problems. The time at which the issue in question emerged can clue you into the potential cause.
For example, shower arm problems that emerged not long after placement are likely related to installation. Whoever was in charge of installing the shower may not have aligned the arm properly. That could explain the inadequate lower flow.
Someone in your household may have also hit the shower arm accidentally. A big blow could lead to the arm being misaligned.
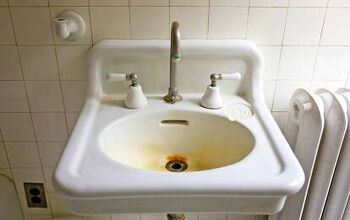
Those two are possible explanations, but the most common cause of shower arm obstruction is the accumulation of a foreign substance. The point at which the shower arm connects with the water pipe may have rusted over. If you have hard water at home, the minerals in it may have also accumulated along the arm joint.
Rust and mineral accumulation is difficult to prevent. It’s an issue many homeowners will likely encounter at some point. The steps included in the next section can help you deal with the issue properly.
How to Remove a Stuck Shower Arm
Removing a stuck shower arm can be done quickly if the substance accumulation has not gotten too bad. If it has, you’ll need to acquire more tools and perform more actions to get the job done.
Step 1: Ready Your Full Set of Tools
The essential items you’ll need to remove the shower arm include a step ladder, a vise grip, and a wrench. In cases where the arm is coated in a thick layer of rust or minerals, additional items for cleaning are required. These include rubber gloves, vinegar, limescale remover, a metal lubricant, and some dry rags.
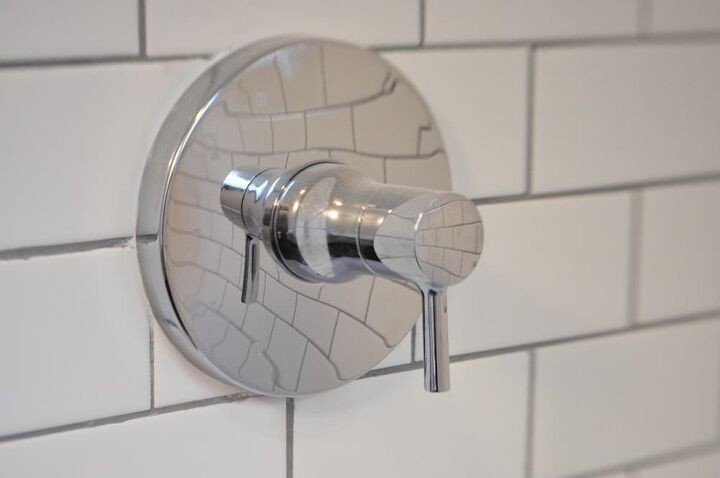
Step 2: Shut Off the Water Going into the Shower
Before working to remove the arm, you have to turn off the valve directing water to the shower. Simply turn it off in the manner that is most convenient to you.
Step 3: Prime the Shower Arm for Removal
Position the step ladder underneath the shower arm next and take the vise grip in one hand. Use that vise grip to immobilize the shower arm.
Step 4: Try to Loosen Up the Shower
With the shower arm immobilized, you can work on removing it using your wrench. Place the wrench over the showerhead nut and start turning it counterclockwise.
Hopefully, the shower arm will start to move and you can take it out at that point. If the arm is still not moving, stop turning the wrench. The arm remaining stuck means you’ll have to clean it first.
Step 5: Clean the Shower Arm Using Vinegar
Cleaning the shower arm may help free it up. To start cleaning, put on your gloves and then pour some vinegar into a container. Get one of your rags and soak that in the vinegar.
Leave that vinegar-soaked rag over the showerhead nut for at least 15 minutes. Once the 15 minutes are up, remove the rag and use it to clean the spot it covered.
You can now try to remove the shower arm again using the wrench. If the arm remains stuck, just clearing away the rust may not have been enough. You’ll have to work on the mineral buildup too.
Step 6: Clean the Shower Arm Using Limescale Remover
You can repeat the same process for cleaning with limescale remover that you followed while using vinegar. Adding some extra limescale remover to the showerhead nut could help as well. After soaking and cleaning the showerhead nut, you can try removing the arm with the wrench again.
Step 7: Lubricate the Shower Arm
Is the shower arm still not budging after cleaning with the vinegar and limescale remover? That’s a possibility if the accumulation of rust and minerals is bad enough.
One more thing you can do in that scenario is to lubricate the shower arm. Oil-based lubricants and greases should prove useful. In a pinch, you can also use the canister of WD-40 you have in your garage.
Before applying the lubricant, make sure to clean the showerhead nut and arm first. Doing so will improve the effectiveness of the lubricant. Once cleaned up, you can apply the lubricant to the showerhead nut and arm.
Allow the lubricant to soak into the fixture for at least two hours. After your alarm rings, go back to the shower arm and work on loosening it with the wrench.
Step 8: Call a Plumber
The steps above should be enough to loosen up the shower arm and prepare it for removal. If they weren’t enough to dislodge the arm, the problem is likely more serious.
Call your plumber over and request to have the shower arm removed. Continuing the process on your own will likely bear no fruit at this point. You could just end up damaging your plumbing by stubbornly trying to remove the shower arm on your own.
How to Remove a Stuck Shower Arm Without Using a Wrench
The wrench is the ideal tool for removing the shower arm, but you may not have it available at the moment. The good news is that you can still remove the shower arm even without a wrench.
Step 1: Get Your Tools
Prepare a step ladder, vise grip, gloves, vinegar, limescale remover, lubricant, and some rags. Since you don’t have a wrench, pick up some pliers instead.
Step 2: Turn Off the Water
Just like before, you need to turn off the water before you start working. Aside from keeping you dry, turning off the water also allows the cleaning agents to work better.
Step 3: Secure the Position of the Shower Arm
Use the step ladder once more to reach the shower arm and hold it with the vise. Make sure that the vise is as tight as it can be on the shower arm before continuing.
Step 4: Use the Cleaning Agents on the Shower Arm
Because you won’t be able to leverage the power of the wrench this time, cleaning becomes a necessity. Follow the same steps for cleaning the shower arm detailed earlier by starting with the vinegar and then the limescale remover.
You should also take this opportunity to lubricate the shower head nut and arm. Remember to let the lubricant soak for at least two hours before continuing.
Step 5: Remove the Shower Arm Using the Pliers
Wrap the shower head nut with a dry rag next. Covering the shower head nut with the rag accomplishes two things. First, you’re establishing a better grip, and second, you’re keeping that component from getting scratched.
Now, open up the pliers and place them over the rag. Start twisting in a counterclockwise direction again until the nut starts to loosen. If that doesn’t work, then you’ll likely have to call a plumber.
Do You Need a Faucet, Fixture, or Pipe Repair or Replacement?
Get free, zero-commitment quotes from pro contractors near you.
Related Questions
Can a Busted Shower Arm Cause a Leak behind the Wall?
Leaking behind the shower wall is not an unheard-of occurrence. It could be because of a broken diverter, a busted pipe, and yes, even a malfunctioning shower arm.The shower arm can break inside the wall and cause lasting damage to your plumbing in the process. If you don’t spot that leak quickly, you could also be forced to make costly repairs. That’s why we advise against forcibly removing shower arms.
Is Removing and Replacing the Shower Arm Guaranteed to Fix the Leak?
No, sadly, the shower arm is just one component of your bathroom setup. Even if you do everything right during the removal and replacement processes, you may still notice a leak.The likely reason why the leak persists is because it has nothing to do with the shower arm. The culprit could very well be the shower pipe instead. Fixing that problem will require more work than replacing a shower arm.
Is the Process of Removing a Shower Arm Similar to Removing a Showerhead?
Yes, those two processes are very similar to one another. You’ll need the same items and have to follow the same process. The only real difference is that you’ll have to focus on the showerhead as opposed to the shower arm.

We are a team of passionate homeowners, home improvement pros, and DIY enthusiasts who enjoy sharing home improvement, housekeeping, decorating, and more with other homeowners! Whether you're looking for a step-by-step guide on fixing an appliance or the cost of installing a fence, we've here to help.
More by Upgraded Home Team