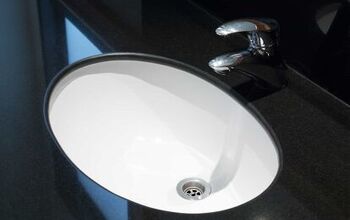
How To Remove A Bathroom Sink Stopper (Step-by-Step Guide)
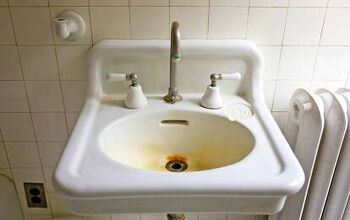
Have you noticed your bathroom sink is taking longer to drain than usual? Or, perhaps your sink has stopped draining completely. When this happens, it’s time to remove your bathroom sink stopper and unclog your drain.
Your bathroom sink stopper can usually be removed by hand by lifting the stopper and twisting. If you cannot remove it by hand, go under the sink to locate the plunger rod. Remove the nut on the side of the drainpipe, disconnect the plunger rod, and push upward to release the stopper.
Whether your bathroom sink stopper is Kohler, American Standard, Moen, Delta, or another brand, removing it follows a similar process.
Do You Need to Hire Sink Installers?
Get free, zero-commitment quotes from pro contractors near you.

Step-by-Step Guide to Removing a Bathroom Sink Stopper
If the drain has a foul smell or the sink is clogged, you likely need to remove the sink stopper. Depending on the type of sink you have, removing the stopper should be relatively simple.
Luckily, you won’t have to buy or rent any tools to get the job done. You can find most of the items you need to remove your sink stopper around the house.
Items you’ll need to tackle the task:
- Wrench or pliers
- Flashlight
- Bucket
Step 1: Removing the Stopper by Hand
You can remove some bathroom sink stoppers by hand. Lift the stopper completely and twist. If you can’t remove the stopper this way, continue to step two.
Step 2: Remove Items from Under the Sink
If you can’t remove the bathroom sink stopper by hand, you’ll have to approach it from underneath the sink. Remove everything from underneath the sink so that you have plenty of space to work.
Step 3: Locate the Plunger Rod
It’s time to shine some light on the issue. Set your flashlight up so that you can clearly see everything underneath the sink. This will make the process much easier.
Locate the plunger rod. The plunger rod is a horizontal rod that connects the bathroom sink stopper to the strap. The strap is a metal piece with several holes throughout it.
Step 4: Locate the Clip Attaching the Plunger Rod and Strap
Locate the metal piece that has holes in it and looks similar to a watch strap. There will be a clip attaching the plunger rod and the strap.
Before you remove the clip, take a picture of the plunger rod, strap and clip attached. This step will make the process of putting everything back together much more straightforward.
Remove the clip. Note: Place the clip somewhere safe; you need to ensure this goes back where it belongs.
Step 5: Remove the Pivot Nut
At the end of the plunger rod, you should see a pivot nut. Before you unscrew the nut, place a bucket underneath the sink. The bucket will catch any water that is still in the pipe.
You should be able to unscrew the pivot nut with your hand. However, if it’s too tight, you can use a wrench or pliers to help loosen it.
Step 6: Remove the Stopper
You should now be able to remove the stopper directly from the sink with a gentle pull.
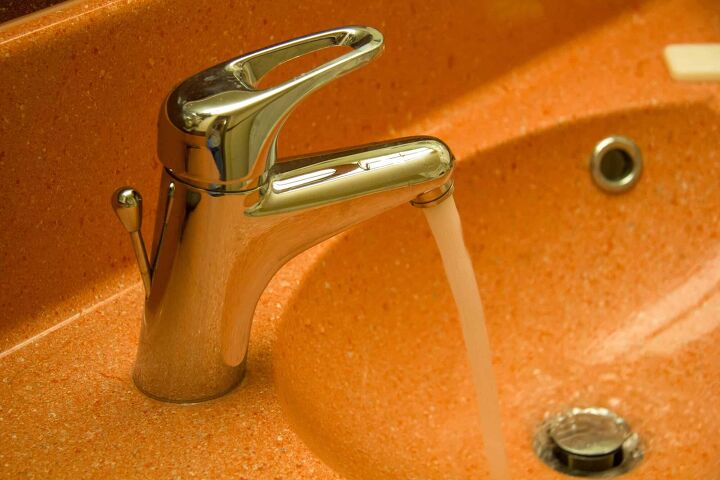
Cleaning the Bathroom Sink and Stopper
Once you remove your bathroom sink stopper, it is likely to be extremely dirty. This is an excellent opportunity to clean the stopper before reinstalling as well as the pipes.
These tools for cleaning your bathroom sink stopper can also be found around your house:
- Vinegar
- Old toothbrush
- Bathroom cleaner
- Liquid drain cleaner
- Hair clog remover tool
Step One: Soak with Vinegar
Vinegar is the perfect household item for cleaning a variety of surfaces. Soak the stopper in vinegar to break down any gunk that has formed.
Step 2: Give It a Scrub
A household cleaning brush can be used for this step. However, most people have an old toothbrush lying around that will do the trick just as well. After you have soaked the stopper in vinegar, clean it with the toothbrush.
Step 3: Spray with Bathroom Cleaner
If you’re still struggling to get the bathroom sink stopper clean, use a bathroom cleaner. Spray bathroom cleaner on the stopper and use the toothbrush to clean off any excess grime.
Step 4: Hair Clog Remover Tool
Once you remove the sink stopper, use a clog remover tool to dislodge any hair that might be stopping up your drain. A hair clog remover is a tree-shaped plastic rod that is relatively inexpensive, costing about $6.
To use, simply put the tool down the sink and twist. The tool will remove any hair clogging the sink.
Step 5: Clean the Drain Pipe
Once you have cleaned the stopper and removed any clogs, now is a good time to clean the drain pipe. Use a liquid drain cleaner to clean the pipe before reinstalling your bathroom sink stopper.
Reinstalling the Bathroom Sink Stopper
After cleaning or replacing your bathroom sink stopper, it’s time to reinstall it. If you are simply putting your existing stopper back together, you can do it in three steps.
Step 1: Position the Stopper
Put the stopper back in position through the top of the sink.
Step 2: Reattach the Pivot Nut
Screw the pivot nut back in place underneath the sink. You can use your hand or a wrench or pliers if necessary.
Step 3: Use the Clip to Reattach the Plunger Rod and Strap
You will need the picture of the plunger rod and strap that you snapped with your phone earlier. Reattach the plunger rod and strap back together using the clip. Be sure that you attach it to the same place as before.
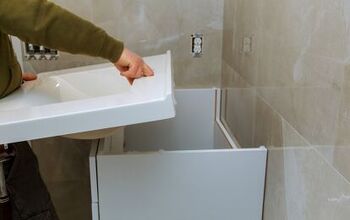
Replacing the Bathroom Sink Stopper
If you chose to replace the bathroom sink stopper instead of reinstalling it, this process might be more difficult. Moreover, household items around the house won’t work for this task. This process requires purchasing a bathroom sink stopper kit, plumbers putty, and a pipe joint compound.
Replacing the stopper can require removing the P-Trap, replacing drain connections, and more. You can handle this task if you are an experienced Do It Yourselfer.
However, if you aren’t entirely comfortable with the process, it is probably best to call your local plumber. A plumber should be able to get the stopper installed within a few hours.
If you decide to replace the stopper, you need to choose the type of plug you want to install. There are several types of bathroom sink drains and stoppers. You should be well-versed in all of your options before making a decision.
Types of Bathroom Drains and Stoppers
Pop-Up Drain
This is the most common type of bathroom sink drain and features the pop-up sink stopper. It is the type of bathroom sink stopper you probably have currently. This stopper is efficient and low-maintenance, and it’s easy to clean.
Grid Drain
A grid drain looks similar to its name. This drain is designed so that small items cannot fall down the drain and clog it.
The grid drain actually does not feature a stopper at all. You would need to purchase an additional sink stopper or pull out plug with this type of drain.
Lift-and-Turn Drains
A lift-and-turn drain is exactly what its name implies. This drain features a small knob to lift the sink stopper out of the drain manually. This drain is popular because there is no under-sink installation required.
Do You Need to Hire Sink Installers?
Get free, zero-commitment quotes from pro contractors near you.
Related Questions
I’ve removed the bathroom sink stopper. How do I remove the bathroom sink drain flange?
The bathroom sink flange is the seal around the base of the drain inside of the sink. Removing the flange can be simple. You will need a putty knife, a utility knife, and a wrench or pliers. To remove the drain flange, look underneath the sink and locate the drain pipe. Unscrew the nut from the drain basket. After the nut is removed, use the utility knife to cut around the putty holding the drain flange in place. Once the putty around the drain flange is free, push the drain flange upward. This will release the flange. Use the putty knife to remove any remaining putty around the sink.
How do I remove a stuck metal sink stopper?
Before you decide to take your sink apart, there are a few tips to try. You will need a suction cup and pliers. If you have a lift-and-turn drain, try twisting the knob by hand. However, if this doesn’t work, use your pliers to try to free the stopper. If your sink stopper does not have a knob, use a suction cup. Place the suction cup on top of the stopper. Push down on the suction cup to create a seal on the top of the stopper. Lift to remove the stopper with the suction cup. If this doesn’t work, move underneath the sink. Work through steps one through six in the step-by-step guide at the beginning of this article. Plumbing issues that often seem extremely difficult can actually be quite simple to fix. Before you call your plumber to help you remove or install your bathroom sink stopper, work through these steps. You may just surprise yourself with how handy you can be!

Stacy Randall is a wife, mother, and freelance writer from NOLA that has always had a love for DIY projects, home organization, and making spaces beautiful. Together with her husband, she has been spending the last several years lovingly renovating her grandparent's former home, making it their own and learning a lot about life along the way.
More by Stacy Randall