Why Is The Black and Decker Trimmer's Auto-Feed Not Working?
If you’re someone that cares about their yard, you know how frustrating it can be when tools don’t work correctly. If your Back and Decker trimmer starts to malfunction, address the problem immediately. Holding off on finding a solution can cause more issues within the weed eater and cost you time and money.
A jammed line can cause a Black and Decker’s auto-feed to stop working. Black and Decker auto-feed won’t work if the spool is dirty or broken. Look out for and replace broken springs to make your Black and Decker auto feed work.
Black and Decker Trimmer Components
Before trying to solve your auto-feed issue, you should understand the machine.
Type of Weed Trimmer
An electrical cord powers the Back and Decker trimmer. The cord has systems in place that prevents it from being unplugged unintentionally. It also has lithium-ion batteries, convenient for homeowners who don’t like the smell of smoke or gas-filled trimmers.
The downside of the Black and Decker trimmer is the range of motion due to the power cord.
Size of Weed Trimmer
The Black and Decker Trimmer is smaller compared to other electric weed trimmers. The trimmer’s purpose is to maintain your lawn’s appearance, so it’s lighter and easier to handle.
Key Parts of a Weed Trimmer
The trimmer has a small head on the string trimmer to maintain edging after mowing and reaching areas hard to trim. It’s 13 inches in diameter so that it can maneuver into hard-to-reach places. The head can also rotate 150 degrees, so after trimming your lawn, you can also edge.
The trimmer has a 4.4 ampere-motor. You should cut tall grass in a row before moving onto the next row to avoid the blade breaking. There is an automatic feed spool feature, which reduces any vibrations during the cutting process.
Reasons Why Your Black and Decker Trimmer Auto-Feed Isn’t Working
The Black and Decker Trimmer uses a spring and a bump spool to feed out more line automatically. When you tap the head on the ground, it releases the line. However, sometimes the head can get covered with sap or dirt, causing the trimmer to malfunction.
There are several potential reasons why your Black and Decker trimmer isn’t working:
Jammed Line
If your trimmer isn’t working, it’s most commonly a jammed line. The line gets jammed along the spool, causing the auto-feed to stop working. Jams can happen when lines overlap each other or if the line isn’t the correct diameter.
Dirty or Sticky Spool
Another common reason the trimmer isn’t working is that there is a dirty or sticky spool. The spool can become covered with sap, mud, or dirt. If there is any obstruction, the line will stick against the plastic.
If you bump the head of the trimmer and nothing comes out, wash the spool with warm water and dish detergent.
Broken Spool
If you notice that your spool is damaged when cleaning it, you’ve probably found your problem. For the spool to spin correctly in the head, it can’t be cracked, bent, or broken in any way. If it is, the line will not come out when you tap the head.
If you discover you have a broken spool, you will need to replace it.
Broken Spring
There is a spring located underneath the spool. Occasionally it will become bent or lose its elasticity. Check the function of the spring by pushing the spool down against it.
How to Replace the Line on a Black and Decker Trimmer
If your Black and Decker trimmer line becomes worn or broken over time, you can replace it.
Follow the steps to replace the line on your trimmer:
Remove the Old Line and Spool
Unplug your trimmer or remove the battery. This will ensure that you don’t accidentally turn the trimmer on and injure yourself.
Step 2: Place the Trimmer on a Stable Work AreaSet the trimmer on a table or workbench that is waist height so that you can easily replace the parts.
Step 3: Remove the Cap on the Trimmer HeadRemove the cap that covers your line on the trimmer. Using your fingers, press in the tabs on either side of the cap, then lift upward to remove it. This will expose the spool underneath.
Step 4: Remove the Spool from the CapTurn the cap over to reveal the line and spool. The two indentations on the side of the cap will help you hold the line in place. Pull the line from the holes on the cap, then wiggle the spool to free it from the cap.
Step 5: Remove the Old Line from the SpoolLift the old line from the eyelets that hold it in place and pull the free end of the line. This will remove the old string. Repeat this process on the other side. Keep in mind to wear gloves for this process to prevent brush burns.
Replace the Old Line and Install the Spool
Using a 2-millimeter diameter line, thread the new line into the spool holes. You can purchase this line at a hardware store or from the Black and Decker website. Black and Decker also has pre-threaded spools available.
Step 2: Wind the Line Around the SpoolFeed the line through the hole and then follow the arrows to wind the line around the spool. Try not to overlap the spool so that it doesn’t get tangled. Instead, wrap the line around the spool so that the line wraps next to itself, not over itself.
Most Black and Decker products are wrapped counter-clockwise but refer to your user manual for specific instructions.
Step 3: Secure the Line to the SpoolAfter wrapping the line around the spool, leave six inches of slack. Cut the line using gardening shears or sharp scissors. Then, put the excess line through the eyelets on the spool to hold it in place.
Step 4: Thread the Other Side of the SpoolRepeat the steps to wind and secure the other line onto the spool. Make sure to follow the arrows as you are winding.
Step 5: Put the Spool into the CapLine up the hole in the center of the spool with the center of the cap. Gently press the spool back into the cap. When you hear a click, turn the cap over and shake it to ensure the spool is secure.
Step 6: Lace the Line through the EyeletsPull the excess line out of the spool’s eyelets and push them into the eyelets on the cap. Then place the spool back into the trimmer.
Step 7: Put the Cap Back Into the TrimmerPress down on the side tabs of the cap to fit into the trimmer head. Lightly press down on the cap until you hear a click.
Types of Trimmer Lines
There are several types of trimmer lines, and using the wrong one can make your gardening task difficult. The thicker the line, the more workload it can handle. Because trimmer lines come in various sizes, always refer to your owner’s manual to determine the suitable diameter.
Round Trimmer Line
Round trimmer line is best for trimming grass edges around the lawn after you mow it. Homeowners who have smaller lawns typically use this line for their trimming needs. Round line is flexible but strong enough to cut grass and thin weeds.
On the other hand, a round line can often tear the grass blades because of its lack of cutting edges.
Twisted Trimmer Line
Twisted trimmer line looks like two pieces of line wrapped together. The purpose of this line is to help reduce breakage. The design of the line also gives it the ability to make a cleaner cut.
Homeowners usually use twisted trimmer lines for edging the lawn or tackling tougher weeds.
Edged Trimmer Line
The edged trimmer line is for cutting dense grass and weeds. It can be square-shaped, pentagon-shaped, or hexagon-shaped. Most commercial landscapers use this line due to its ability to trim all types of growth.
The line creates a clean cut and makes it more manageable for the operator to trim quickly.
Serrated Trimmer Line
The serrated trimmer line has edges that create a saw-like motion. It’s for cutting thick grass blades while leaving a cleaner trim. The clean cut reduces the risk of the grass developing diseases and promotes healthier grass growth.
Commercial landscapers also use this type of line as it leaves a more professional trim.
Related Questions
How long does an electric trimmer last?
Electric trimmers last for an average of 7 years, but they can last up to 15 years. An electric trimmer can go bad after only 5 years do to poor maintenance or excessive usage. Regularly clean and maintain your electric trimmer and avoid overheating it to make it last for many years.
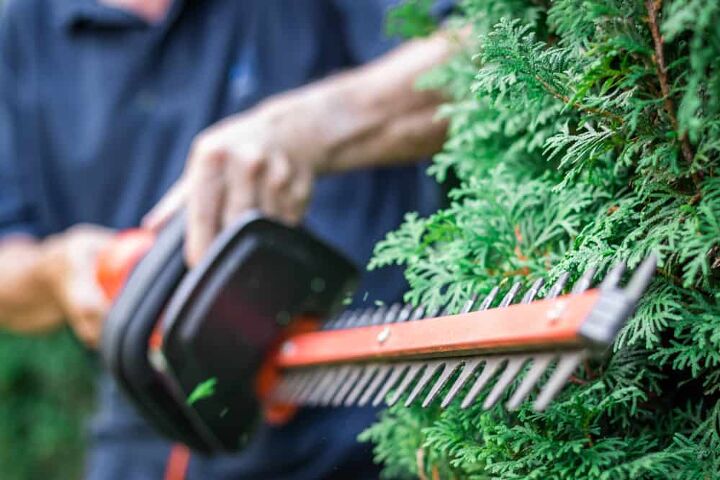
Can Black and Decker hedge trimmers be sharpened?
You can sharpen Black and Decker hedge trimmers if you use a file or sharpening stone. Many homeowners hire a professional to sharpen their hedge trimmers as a safety measure. Be careful not to over sharpen or weaken the blades on your Black and Decker hedge trimmers.
Related Guides

Stacy Randall is a wife, mother, and freelance writer from NOLA that has always had a love for DIY projects, home organization, and making spaces beautiful. Together with her husband, she has been spending the last several years lovingly renovating her grandparent's former home, making it their own and learning a lot about life along the way.
More by Stacy Randall