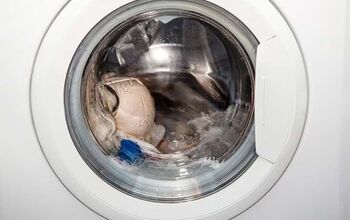
Washing Machine Won't Spin Or Drain? (Possible Causes & Fixes)

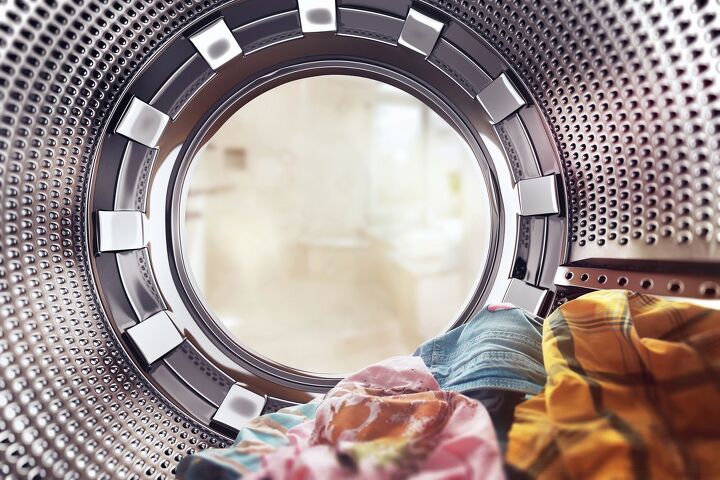
When it comes to washing machines, they need to be good at washing, spinning, and draining. If your washing machine won’t do any of those things, it isn’t very good at its job. Firing and retraining a new washing machine can be expensive. Because of this, we have some troubleshooting steps to help you find out why your washing machine won’t spin or drain.
Pull the washing machine out from the wall and remove the hose clamp from the back. Inspect the hose, look for debris, and remove obstructions with a brush or wet/dry vac. Look inside of the pipes to see if there is a blockage, and use a drain snake to knock them loose so the washer drains and spins.
Below, we will go through other common reasons why a washer may not spin or drain. Using our troubleshooting steps, you will be able to fix your washer with relative ease.
Do You Need Appliance Repair Services?
Get free, zero-commitment quotes from pro contractors near you.

Washing Machine Won’t Spin or Drain – Troubleshooting Steps
- Check for electrical issues
- Check the lid sensor & door latch
- Look at the drain hose (or pump)
- Look at the drive belt
- Check the control board
- Look at the coupling
Before attempting any DIY repairs, be sure that you unplug your washer.
Step One: Check For Electrical Issues
Assuming you have already checked your load to be sure it’s balanced, the next area you want to check is related to electrical levels. If there isn’t enough power to run your washer, it will turn off in the middle of your cycle.
Washers require a high amount of power, so be sure that your outlet can handle it. Also, avoid placing surge protectors and extension cords back there. The more components electricity has to travel through, the less energy it will have at the end.
Step Two: Check The Lid Sensor And Door Latch
On both front- and top-loaded washers, the washing machine has to sense that your door latch is adequately sealed. If the sensor cannot feel that you have a latched door, you have one of two issues.
First, the latch itself may be too weak to seal. This issue is familiar with some older washers and those that have had rough treatment over the years. In that case, try and see if your washer is still in production. If it is, it will be relatively easy to replace the part. The part is typically screwed on or stuck on with adhesive. Check your owner’s manual for details.
If the door feels firmly shut, your next check is the sensor. The sensor is typically in the upper right-hand corner of the washer. It is connected to a wire harness (which you will need to disconnect) and a metal piece that allows the door to open and close.
You will also need to remove an additional ground wire connected to the switch. Every washer is a bit different, so use your owner’s manual as a detailed guide.
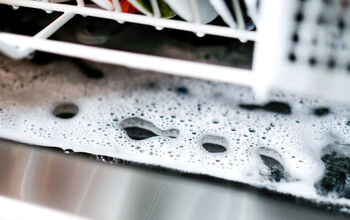
Step Three: Check (And Clean) The Washing Machine Drain Pipe (Or Pump)
If there is nowhere for your water to go, that means that the drain hose is likely clogged. It can also be an issue related to the pump, which makes things a bit more complicated.
Starting with the hose, move your washer so that you have good access to the back. You will want to remove the hose clamp from the end of the washer. Loosen the clamp and be ready for the release of water. You can have a towel or a tub strategically located to handle this issue.
Look through the hose to determine if there are any obstructions. If there isn’t, the hose may have been awkwardly bent, preventing any proper draining. You can use a stiff brush to remove anything within reach. Otherwise, use a wet/dry vacuum to remove anything deeper.
If the clog is in the pipes, check to see what types of drain cleaner your pipes can handle. You will likely need to run Draino or use a drain snake to remove whatever the blockage is.
What If My Washer’s Drain Pump Is Clogged?
If your washing machine’s drain pump is clogged, you will need to remove the panel leading to this. On front-loaded machines, you can find this below the door and in the front. Top-loaded washing machines have the drain pump near the back.
Remove the panel and check to see if there are any significant obstructions. You likely want gloves, and the gross wet buildup of fabric isn’t always pleasant for some people to feel. If cleaning the pump doesn’t work, there is a chance that you will need to make the replacement. Check your warranty to see if this is covered.
While it may be tempting to do this as a DIY project, it is incredibly complicated to replace. Get a quote from an HVAC technician, but this should not exceed $200 in most cases.
Step Four: Check The Washer’s Drive Belt
Because you happen to be checking out the pump, this also gives you an excellent opportunity to check out the drive belt. The drive belt is connected nearby to the pump and will typically run it so that your washer may spin and drain adequately.
Typical signs that you need to replace the belt is apparent wear and tear from a visual inspection. Otherwise, your washer may go through an entire cycle, but your clothing will still be damp.
How Do You Replace The Washer’s Belt?
- Remove the front of the washer and any covers blocking your path
- Pry off the old belt with a flathead screwdriver
- Purchase the new belt with the old belt as a guide
- Replace the belt
Remove Everything Between You And The Belt
When replacing the belt, you will need to remove any covers preventing you from reaching it. It means keeping track of those covers and any screws, so designate a location for those items early in the repair.
Pry Off The Old Belt With A Flathead Screwdriver
The old belt is usually pretty stuck on if you haven’t changed it out in a while. When you remove it, you are going to need a bit of force on your side. Don’t be afraid to remove the belt with force, which you can increase by prying it off using a flathead screwdriver. Be sure you don’t damage the pulleys.
Buy The New Belt Using The Old Belt As A Guide
Make sure that your new belt is bought with the model number of your washer in mind. If you do this step carelessly, your new belt will break easily. You can potentially use a belt that matches the same length and material. Still, it is far safer to use your washer model number.
Replace The Belt
Using the old belt-positioning as a guide, you are going to install the new belt. Be sure that the flat half of the belt is facing the outside.
To prevent the pulley from moving, some people like to use a zip tie. But others may not have the same issue as long as you can stretch the belt around all pulleys. Pulling these belts will require a bit of muscle, so don’t be afraid to force it a bit. After this, you can close up the machine and run a test to see if it is draining correctly.
Step Five: Check The Control Boards
Your control board accepts and relays the signals between different components of your washers. With modern programmable washers, your machine can’t operate if your board doesn’t function. In this case, you can typically test the power of connections using a multimeter. The multimeter should read that there is power coursing through the washer.
Your owner’s manual will contain information related to what power level is correct. If the multimeter isn’t matching up, you’ve found where your issues are originating. Typical signs of a broken control board include burnt spots, warped spots, or abnormal moisture accumulation.
Check the wires to see if there is any corrosion as you are doing this. You can find electrical issues in the cables as much as you find them in the panels. If there are any leaks, these problems are suddenly compounding to the point where they are not worth it. Consider calling a specialist for a quote, but you may want to replace the washing machine at this point.
Do You Need Appliance Repair Services?
Get free, zero-commitment quotes from pro contractors near you.
Step Six: Check The Washer Motor Coupler
A coupler Is between the transmission and the motor to ensure that everything is running correctly. If the coupling breaks, the motor breaks with it, and no draining or spinning will occur.
To handle this, you will need to remove the motor. The motor is beneath the cover for the washing machine. It is secured with a series of clips and screws. Your owner’s manual will detail what is holding in the motor. Once you remove those, the coupling is the metal piece just underneath your engine.
The replacement is pretty easy, as you need to pry the old one off and smack the new one in its place. You can also hire a technician who will charge anywhere between $200 to $400 for the replacement. If you plan on a DIY repair, pay extra attention to any wire harnesses, bolts, and screws. You want to make sure that everything is back where it belongs.
I'm a guy who becomes the expert of whatever I stumble upon, writing-wise. I've written tons about cool home products, home improvement, and smart technology in the home. I'm also the proud father of a kiddo born on new years, making my holidays very busy.
More by Eli Smith