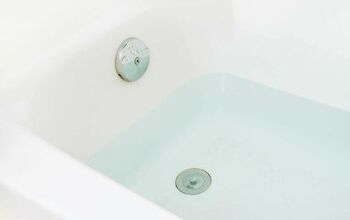
How To Remove A Tub Drain With Broken Crosshairs (Do This!)
Bathtub drains are constructed of a variety of different metals, including galvanized steel, bronze, cast iron, and brass. Nearly all bathtub drains are originally screwed in to secure. Older bathtubs simply relied on a rubber plug to prevent water from draining. Because of this, there was no need for threads. However, modern bathtubs have all been threaded, most of which have threads that are made of cast iron.
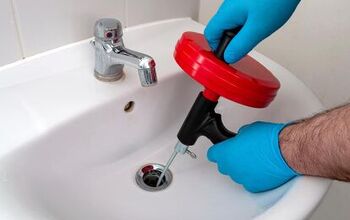
Over time, the drain, the threads, or both can corrode, making it exceptionally difficult to remove the entire drain. With the crosshairs, or metal bars, still intact, the drain can be unscrewed using a large screwdriver and a pair of pliers. However, if the crosshairs are broken, a drain key is the only tool that will effectively remove the tub drain.
Do You Need to Hire a Plumber?
Get free, zero-commitment quotes from pro contractors near you.

How to Remove a Tub Drain With Broken Crosshairs
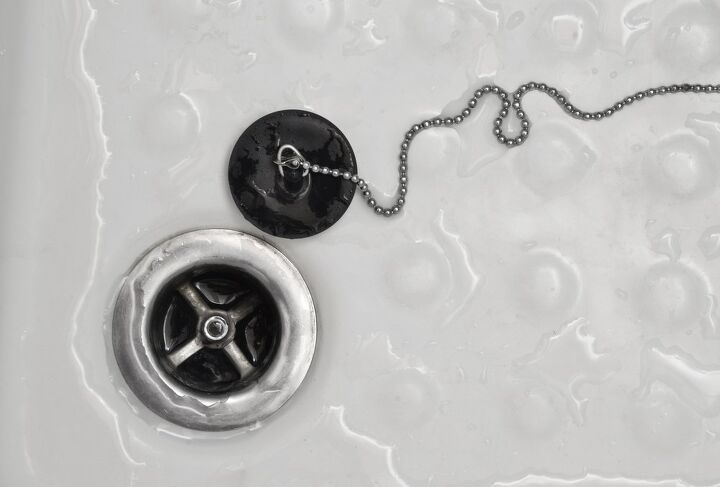
Your tub drain is generally composed of three essential components: the stopper, the flange, and the drain shoe. The stopper is located at the top of the drain, while, the flange is the visible drain opening along with an extension of the pipe. This component is threaded with the drain shoe and the shoe itself refers to the angled section of the pipe.
The metal crosshairs are located at the bottom of the flange. Eventually, these crosshairs can become weakened due to corrosion. When you have broken crosshairs in your tub drain, the only way to remove it is by using a drain key, or another tool designed for this particular distraction. While you can try channel locks spread open or vice grips, they generally slip.
Drain keys can be purchased from your local hardware center, plumbing shops, or from online retailers. The best procedure for removing a tub drain with broken crosshairs is as follows:
Step One: Remove the Drain Stopper
The first thing you should do before removing the tub drain is to detach the drain stopper. There are a variety of different styles of stoppers, each of which are not removed in the same manner. Examine the drain to identify the type of stopper you have.
Flip-it or pop-up style drain stoppers can be easily removed by being pulled out. Other possible styles include the toe-touch and the push-pull stoppers. These styles are threaded and are pushed in to close and pulled out to open. To remove the toe-touch and push-pull designs, pull up on the stopper and rotate it clockwise.
Step Two: Position the Drain Key
With the drain stopper removed, place the drain key into the tub drain. Position it carefully so that the lower expansion shoes are inside of the drain itself and the drive screw is at the top.
Step Three: Hand Tighten the Drain Key
Once the drain key is properly installed in the drain, you’ll want to tighten it. Grip the drive screw on the top of the key with your hands, turning it clockwise to hand tighten. With your other hand, hold the lower hex nut – which is located below the drive screw – as you are hand tightening. By doing this, you will be effectively expanding the shoes into your drain.
Step Four: Turn the Drive Screw Counterclockwise
After the drain key has been positioned and hand tightening, grab two adjustable wrenches. Hold the drain key in place and attach the wrench to the drive screw. With the drive screw secured by the wrench, attach another wrench to the hex nut. Hold the hex nut secure while turning the drive screw counterclockwise with the other wrench. With enough force, this will expand the shoes further and as they tighten, they will grip the drain.
As the grip becomes stronger, it will slowly allow you to turn the drain out. Continue turning the drive screw counterclockwise and eventually, the drain will be released.
Step Five: Release the Tub Drain
The last step is to release and pull out the tub drain. To do this, hold the drive screw secure while turning the hex screw counterclockwise. This is the opposite of the action you performed in step four. If done correctly, the expansion shoes will contract and the tub drain will fall free.
Step Six: Clean the Drain Shoe
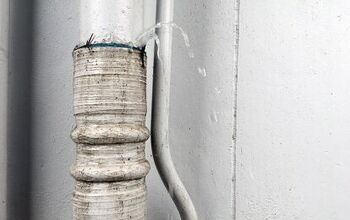
Now that the tub drain has been successfully removed, you can perform the optional step of cleaning up the drain shoe. First, remove the gasket and carefully examine the interior of the shoe with a small flashlight. Use a putty knife and a soft wire brush to scrape away any of the old plumber’s putty. Press gently to clean both the thread and the interior surface of the shoe. Use special care to avoid causing any damage to the threads.
Finish up by mixing a solution of equal parts white vinegar and water. Apply this mixture to any loosened residue within the drain shoe. Then, remove all remaining debris by hand or by issuing a small vacuum and hose extension.
Quick Tip: If you experience difficulty in breaking down old putty, you can try applying heat to the area with a hairdryer. Place the dryer on the highest setting and allow several minutes for the putty to soften.
Other Tools for Removing Tub Drain With Broken Crosshairs
Although a drain key is very effective at removing a bathtub drain that has broken crosshairs, it isn’t the only tool that can be used. Alternatively, you can use one of the following devices designed for the extraction of tub drains:
- Rectorseal 97258 Golden Extractor Tub Drain Tool: Made of heat-tempered steel, this drain removal device has teeth that grab onto the drain from the inside. Similar to a drain key, it uses a socket wrench to turn the tool. As it turns, the teeth expand outward, applying pressure to the drain. Although it may be considered somewhat pricey, the Rectorseal Golden Extractor will extract virtually any tub drain, even if the crosshairs are broken.
- Superior Tool 05255 1.5″ Tub Drain Extractor: This extraction tool has a tapered, helical pattern around its bottom perimeter. After just a few hard taps on the device with a hammer, it will grip the drain. The tool accepts a ½ inch sized ratchet or extension bar. For the most leverage and torque, a ratchet can be used alongside a breaker bar.
- Husky Tub Drain Removal Tool: Made of solid metal with a zinc coating, this tool is designed to help you remove drains that have corroded or broken crossbars. After attaching the extractor to a 1-inch ratchet, or another driver, the device can be placed into the drain and rotated counterclockwise. This will allow you to remove even the most stubborn drains.
Each of these extraction tools are highly recommended by professional plumbers to effectively remove a tub drain that has broken crosshairs, or none at all.
Do You Need to Hire a Plumber?
Get free, zero-commitment quotes from pro contractors near you.
Related Questions
How do you remove a drop stopper drain?
To remove these types of stoppers, start by removing the knob on the top. Then, use one hand to hold the base of the stopper in position, and with the other turn the knob counter-clockwise until it is removed. In some cases, the knob may be too tight to unscrew by hand. If it is too tight, wrap the knob with a washcloth or rag and use pliers to free the stopper.
How do you clear a bathtub drain?
There are a number of different methods for unclogging a bathtub drain. Using a combination of baking soda and vinegar is one of the most effective. Not to mention, these materials are often easily found around the home. The main advantage of this method is that it won’t cause any damage to plastic pipes.Simply pour half a cup of baking soda into your drain opening and follow it up with a full cup of white vinegar. After about five minutes, these ingredients should foam up. Then, run the hot water and allow it to flush through the drain for about a minute.
Wrapping It Up
Over time, the crosshairs in a tub drain can break due to corrosion. Should you need to remove the drain, this can make the process more difficult. However, with the use of a drain key or a tub extraction tool, you can successfully remove a tub drain with broken crosshairs.

Jessica considers herself a home improvement and design enthusiast. She grew up surrounded by constant home improvement projects and owes most of what she knows to helping her dad renovate her childhood home. Being a Los Angeles resident, Jessica spends a lot of her time looking for her next DIY project and sharing her love for home design.
More by Jessica Stone