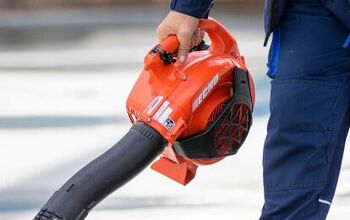
Craftsman Leaf Blower Won't Start? (Possible Causes & Fixes)
Craftsman is one of the most trusted names in the world for power tools and outdoor tools. They have developed a reputation for creating some of the best, most reliable tools out there regardless of your need.
With a Craftsman leaf blower, you may come to find that one day it won’t start. Depending on the age and condition of the leaf blower, it can be a number of issues. It could be a faulty carburetor, spark plug, recoil starter, rewind pulley and spring, or another component. Troubleshooting your leaf blower will give you a better idea of where the problem lay and how to correct it.
Do You Need Lawn and Tree Maintenace Pros?
Get free, zero-commitment quotes from pro contractors near you.

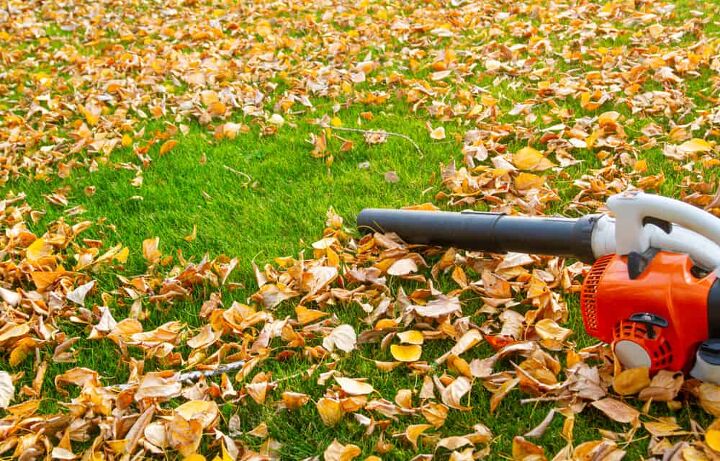
Don’t Assume You Need a New Leaf Blower
For the uninitiated, it can be all too easy to just assume that your leaf blower is no longer functional. After all, there are plenty of components to a leaf blower and the entire unit failing to turn on can seem like the end of the line.
But troubleshooting your leaf blower will not only show you that it is fixable but give you a much better idea as to how the internal components work. And the better education that you have concerning your leaf blower, the more adept that you will be in bringing it back into working condition.
Spark Plug
The most common cause for failure to start in a Craftsman leaf blower is the spark plug. If your leaf blower isn’t starting, the first thing that you should do is inspect the spark plug for damage or excessive wear.
Look for signs of damage. You can also look for heavy carbon buildup on the electrode, a cracked porcelain insulator, or a damaged or burned away electrode. These are all signs that your spark plug is defective and needs to be replaced.
Check with a spark plug tester. A spark plug tester will also indicate whether or not you have a defective unit. When testing, you should notice a strong spark between the terminals on the tester when the engine is really clicking. Don’t see a spark? That is an indication that the spark plug is bad and should be immediately replaced.
Recoil Starter
In your leaf blower, the recoil starter assembly is what engages the crankshaft and, thus, turns the engine over. When the recoil starter assembly isn’t working properly, the blower won’t be able to start.
Fixing the Recoil Starter
1. Remove the assembly. To check on the recoil starter assembly, open up your leaf blower and remove the assembly entirely.
2. Look for damage. You will need to inspect it for any signs of damage. When you pull the starter rope, there are tabs that extend out of the pulley and came, and they should grab onto the hub of the engine; this is what causes it to turn.
3. Release the starter rope. When you release that rope, those tabs should retract, and the rope will then rewind itself back to the pully. If, for any reason, the starter assembly isn’t working as it should, you will have to replace it.
Carburetor
Another major reason that your leaf blower may not work is that the carburetor may be clogged. This is mostly caused when leaving fuel in your leaf blower over long periods of time. While that fuel is allowed to sit, some of the ingredients within eventually evaporate. This leaves behind a stickier, thicker substance in the carburetor.
Cleaning the Carburetor
That sticky fuel is what eventually clogs the carburetor and prevents the engine from being able to start. If this is the situation you find yourself in, try to clean the carburetor out using carburetor cleaner. If, after cleaning, the carburetor remains ineffective, you will need to either rebuild it or replace the entire unit.
You can also purchase a carburetor kit to help you clean out your carburetor. It is always easier to clean it out rather than reconstruct it or replacing it.
Recoil Starter Pulley
This piece is in conjunction with the recoil starter. The starter pulley will wind up the starter rope whenever it isn’t in use. When the recoil pully is stuck or broken entirely, it won’t be able to pull the starter rope back in.
When the starter rope can’t rewind, the engine of the leaf blower won’t start. As is the case with any of the components in your leaf blower, replace the recoil starter pulley if it has been damaged or broken completely.
Rewind Pulley and Spring
When you check the starter pulley and recoil, you may come to find that the rewind spring is broken. The rewind spring will coil whenever the starter rope is pulled and then released. It recoils the starter rope back onto a pulley.
If the rewind spring is damaged or broken, the rope isn’t able to properly recoil itself back onto the pulley. And when this happens – you guessed it – the engine won’t start. Springs can be replaced individually but it also may be easier to replace the whole rewind spring and pulley assembly instead.
Fuel Filter
Much the same as the carburetor can become clogged, so too can the fuel filter. The cause and impact are the same, too. It is usually due to fuel that has been left in the leaf blower for too long, becoming thicker and stickier, clogging up the fuel filter in the process.
Unlike the carburetor, however, you can’t simply clean the mess up. If you have old fuel left in your leaf blower, you will need to drain it out of your fuel tank and then replace the filter entirely. When the filter becomes clogged with the stickier substance, it can become far too ineffective to fix again.
Air Filter
The air filter works by creating enough air to balance out the amount of fuel that it gets. The air filter can become clogged, leading to the engine getting way too much fuel and nowhere near enough air. When this happens, the engine won’t start.
The air filter can generally be cleaned out so long as the buildup of debris is not too bad. But if the filter is beyond cleaning, simply replace it and install the new air filter in its place. That should be enough to get the engine starting seamlessly again.
Ignition Coil
Since gas is not the only way to power your tools, it is important to know why your electric leaf blower won’t start, either. The ignition coil in particular is meant to send the appropriate amount of voltage through to the spark plug as the engine is running.
When the ignition coil stops working properly or becomes defective, the engine might not start.
1. Check the spark plug. Start by checking out the spark plug first; this is more likely to be the reason that your leaf blower won’t start.
2. Check the ignition coil. If the spark plug is fine, check out the ignition coil next.
3. Testing the ignition coil. To test the ignition coil, use an ignition coil tester to do the job. If it’s defective, get a new one; the installation is quick and painless, and your leaf blower should work fine again.
How Do You Start a Flooded Leaf Blower Motor?
Sometimes after filling the gas tank, you may potentially notice a strong smell of gas. This is a prime indication that the engine may have flooded. When the engine is flooded, it certainly won’t start as it normally does.
1. Set choke to run. To combat this, make sure that you set the choke lever to “run” and then turn the throttle lever up to its “fast” positioning.
2. Pull the cord. Finally, keep pulling the cord until the engine eventually starts up.
Do You Need Lawn and Tree Maintenace Pros?
Get free, zero-commitment quotes from pro contractors near you.
Preventative on Your Leaf Blower
As is the case with any piece of equipment, proper maintenance will go a long way towards creating optimal usage. Your leaf blower is no different. One of those preventative measures is making sure to change the oil and filter from time to time.
1. Turn the blower off. Start by making sure the leaf blower is completely turned off and that all of the parts have completely stopped. Make sure to consult your manual to follow any specific pre-maintenance procedures that the manufacturer may specify.
2. Take spark plug cover off. Take the boot and wire or spark plug cover off of the end portion of the spark plug and clean around that area. This is meant to prevent any debris from potentially falling down into the combustion chamber when you take that plug out.
3. Remove spark plug. Using a socket or spark plug wrench, remove the spark plug carefully. Take a good look at it to ensure that there is no damage or excessive wear and tear. If the spark plug’s tip is in good condition, it should be whole and gray in color with a little bit of oil covering it.
4. Check the air filter. Finally, check the condition of the air filter. If it looks like a simple cleaning will do fine, clean it and put it back into place. Otherwise, replace it with a new filter and you will be set to go.
5. Check the oil. Checking the oil is pretty simple. Follow the same steps, except you would check the oil level and condition after removing the spark plug. Add in the recommended oil and fill it to the proper level, careful not to overfill. Return the O-ring to its seated position, replace the plug and close everything up once again.

Ryan Womeldorf has more than a decade of experience writing. He loves to blog about construction, plumbing, and other home topics. Ryan also loves hockey and a lifelong Buffalo sports fan.
More by Ryan Womeldorf