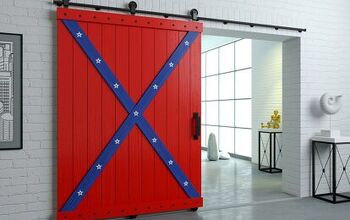
Can I Use Wall Panels For Flooring? (Yes! Here's How To Do It)
When redecorating or renovating your home, there are many ways to save money. Flooring can be a huge expense when working on a home improvement project. If you are looking for an inexpensive option, wall panels can work as a unique flooring material.
To use wall panels for flooring, first, you’ll prep the subfloor which is often plywood. Then you will lay down padding for comfort and cut the panels to size. After that, you will secure the panels to the floor, sand them, and finish them with a polyurethane clear coat.
Although it is obviously better to use proper hardwood flooring, vinyl or laminate, those are not always possible. As far as cheap DIY projects go, using wall panels for flooring could be a practical application with a funky, quirky look.
Do You Need Wood Flooring Installation or Replacement?
Get free, zero-commitment quotes from pro contractors near you.

How to Use Wall Panels for Flooring
Before using wall panels for flooring, you should ask yourself if you truly can not find room in the budget for dedicated flooring. Wall panels will work for a while. They will even look fairly nice. However, they will not have the same longevity as actual flooring.
One of the downsides to using wall panels for flooring is that they are not as durable. Because of this, make sure that your wall panels are at least ¾” thick but preferably at least 1 inch thick. This thickness will allow for a little more longevity.
A good alternative to wall panels is cheap linoleum. Linoleum is incredibly inexpensive, sometimes even coming in at under a dollar per square foot. However, if you do not like the feel of linoleum, this will not be an acceptable option.
Step 1: Measure the Space
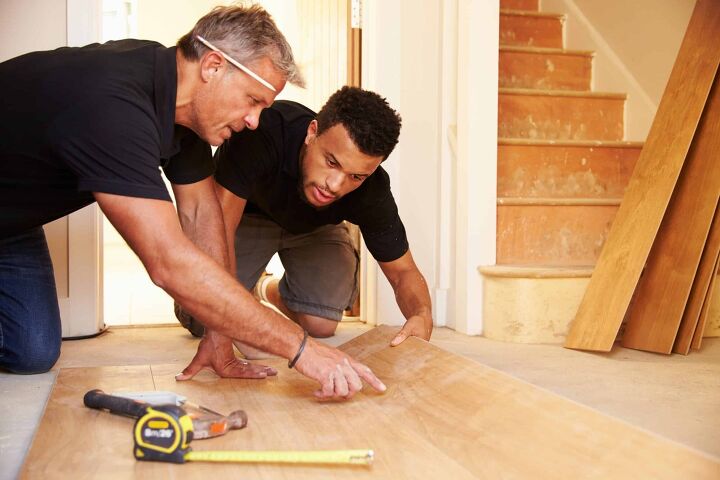
Before you begin anything, you will have to accurately measure the floor you are trying to cover. This is easily the most important step to this entire project. Accurate measurements always ensure that you don’t waste materials and money.
There is an old adage: measure twice, cut once. Never has this been more important than in this step. To ensure the accuracy of your measurements, use a tape measure and measure from all directions. This will help you double-check each dimension.
Keep the size of your wall panels in mind while measuring. Think about how best you can cut them to efficiently cover the space. Doing this will help you avoid waste, or worse, run out of wall panels before finishing the job.
Step 2: Prep the Subfloor
After you have measured the room, you can start to prep the subfloor. The subfloor is usually made up of plywood panels that cover the crawl space below the foundation. This is the raw flooring of your home.
First, thoroughly sweep and clean the plywood subfloor. This is incredibly important since any debris or dirt that is left there will be covered up until the flooring is removed. This can lead to all kinds of damage and corrosion, so make sure it is completely clean.
Next, you will install an underlayment of black felt flooring paper. This will give your padding an extra layer of insulation between the panels and the bare floor. It will also help you get a feel for the amount of wall paneling you will need to cover the entire thing.
Step 3: Put Down Padding
Another layer of slightly padded underlayment will give your wall panel floors a comfortable bounce. This padding should be thin enough so as not to impede contact with the subfloor. It can be found at most big box hardware stores.
The padding can be fastened to the subfloor with carpet staples. Be sure to go around the edges and smooth out any air bubbles or wrinkles. This is a crucial step to making sure the wall panels are installed evenly.
Make sure that you are not installing a padding that is too thick. Usually, ¼” to ½” thick padded underlayment will be enough to give the floors added padding and comfort. If the padding is too thick, it could cause more friction and lead to premature degradation.
Step 4: Cut the Panels
Next, you will cut the wall panels to fit your floor. The best possible tool to use for this is a table saw. This will allow you to make clean, straight cuts and lay the floor in perfectly. Other saws like jigsaws or circular saws are not stable enough for the job.
Cut the panels into small pieces to be joined in the middle of the room. Make note of how the panels are patterned if you would like them to be joined up perfectly. Planning ahead at this stage will go a long way to give the floor a finished look.
As you cut the panels, dry lay them in the area they will be fastened. This means setting the cut panels where they will be placed without nailing them down. This will help give you a better idea of what the finished product will look like.
Step 5: Fasten the Panels
Once you have all the panels dry-laid into the room, you can begin to fasten them. Using a rubber mallet, hammer the panels into place. This will ensure that the edges are flush with the walls and any cabinetry.
To fasten the panels to the subfloor, ideally, you will use 1 ½” cleat nails in a nail gun. This will allow you to dig the cleat deep into the wall panel and give it enough purchase to stay in place. This will be incredibly important for the durability of your wall panel floor.
If you do not have access to a nail gun, you can hammer 1 ½” hardwood flooring nails manually. For this, it is very important that the nail is driven all the way into the subfloor. Also, be sure that the head of the nail is not left sticking above the surface.
Step 6: Finish the Flooring
After you have fastened the flooring down, you can finish it with your preferred polyurethane clear coat. This will give the wall panels a finished, classic look that will betray their affordability.
Before you put down the clear coat, you will have to sand the wall panel floors down as much as you can. Wall panels tend to have a clear coat already on them that will not let the new layer stick. This will have to be completely removed.
After sanding the panels down, brush on your first coat of varnish. Let this dry overnight and then sand with a high grit sandpaper before adding another coat. Do this as many times as you like until the floor has your desired shine. Then, let it cure for at least 5 days.
Do You Need Wood Flooring Installation or Replacement?
Get free, zero-commitment quotes from pro contractors near you.
Related Questions
Can you paint wood paneling?
Wood paneling can be painted if you would like your wall panel floors to be a different color than a natural wood. However, it should be noted that if you are going to paint wood paneling, it must be sanded down. The stock clear coat prevents paint from setting.
Can you use regular pine boards for flooring?
Pine boards are a great material to use for flooring. With enough sanding and finishing, they can have a bright, yellowish glow that matches any cheerful decor.
Should floors be darker or lighter than walls?
Darker colors should always be used in lower parts of the house. This means that things like floors, baseboards and HVAC vents should ideally be darker than the walls. This is, however, only a suggestion and your own personal taste should always come into play.

I am a writer and editor from The Bay Area, CA. When I'm not typing, I enjoy hiking, woodworking and gardening. I love sharing tips and discovering new trends in home improvement.
More by Michael Oconnor