What Size Nails Should I Use For Baseboard Trim?
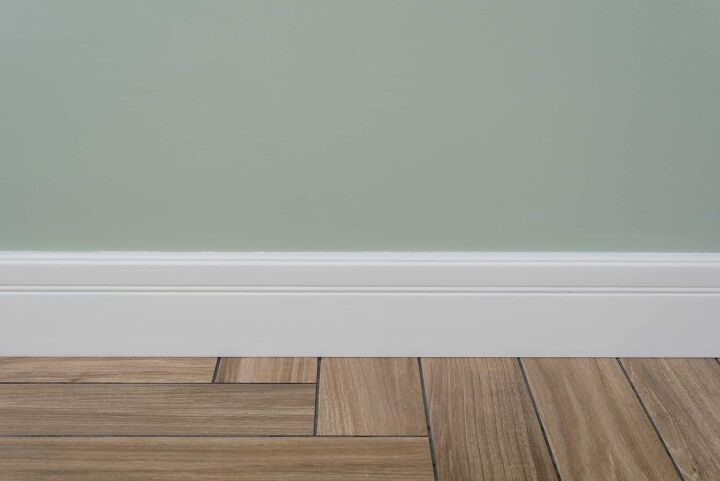
Baseboard trim is an important part of home building as well as remodeling. Having a wall without a baseboard would be unprofessional and weird. They often define the entire room. A regal baseboard adds class and skimpy baseboards just make it look cheap.
if you are wondering what size nails to use for a baseboard trim, you should aim for 1.5 inches with a gauge of 15, 16, or 18. This will give you optimal power for your nail gun to penetrate the boards. Do not use anything longer than two inches or you may hit wired and pipes.
We will walk you through the different sizes of nails you should use depending on your baseboard trim. This will help you to better understand exactly what you need when doing certain DIY projects and takes the guesswork out of everything.
Do You Need Interior Trim or Decorative Molding Installation?
Get free, zero-commitment quotes from pro contractors near you.

Different Nails For Different Jobs
Trim nailers typically are named by their gauge or thickness of the nails they shoot. The larger the gauge number the smaller the nail. The ones that shoot 15- or 16-gauge nails are called finish nailers and the midsized 18-gauge nailers are called brad nailers. There is also a small nailer that shoots 23-gauge nails called a pinner, but you should not need one of those.
- The 15-gauge nailer is good for ¾-inch baseboard trim and can shoot up to 2.5-inch nails. It can also be used on other jobs like stair treads and doorjambs. They have a large piston with an angle to shoot even in tight places.
- A 16-gauge nailer can also shoot nails up to 2.5-inches long. These are good for when you are nailing thinner baseboard trim. This nailer is lighter and smaller so it is easier to use. However, the 15-gauge nailer is often used because it shoots thicker nails.
- The 18-gauge nailer is the best for the typical standard trim. It shoots nails and brads up to two inches long and can be used for almost any job around the house.
Using a nail that is thicker than the average can split your baseboard trim. If your trim is very fine or thin, you can predrill the holes or use a nail set.
What Is A Brad Nail?
A brad nail, or brad, is a nail made of 18-gauge steel wire. The diameter is smaller than other nails, which makes them perfect for baseboard trim. Not only are they thinner and smaller, they also have a smaller head. This will help prevent your wood from splitting and will not be seen in most spots.
What Is A Finish Nail?
The finish nail is made of 15- or 16-gauge steel wire, so they are a bit thicker than brad nails. The added thickness of a finish nail creates a stronger hold than with a brad nail. These are best for thicker materials when nailing heavy-duty baseboard trim or molding.
| Finish Nails | Brad Nails |
| 15- to 16-gauge diameter for thick pieces of wood | 18-gauge nails for thinner and more delicate pieces of wood |
| Length of nails range from one to 3.5 inches | Length of nails range from one-half to 2.5 inches |
| Heavy gauge has better holding power | Thinner nails mean less wood splitting and smaller holes |
| Can be used indoors and outdoors on trim, baseboards, molding, and more | Used in decorative trim, baseboards, molding, and other thin pieces of wood |
How To Install Perfect Baseboard Trim
It may seem simple to tack on a baseboard around the room. However, there are certain steps you need to take to make sure it is level and looks professional.
- Mark the spot of each stud. To do this, you can use a stud finder and run it horizontally along your wall. Each time you hear a spot that is not hollow within your wall, mark that spot. Don’t worry about measurements at this point. You only need to worry about finding the studs in this step.
- Measure out the spots where you will install the trim. Next, you need to take measurements so that you accurately install your baseboard trim. Using a measuring tape, mark the studs at the correct level.
- Check the level. Take a four-foot-long level and set it on the floor next to the wall you are working on. If it is not level (it typically is not), move it until you find the lowest point. Stick a scrap piece of baseboard trim to the wall there.
- Mark your spots. Use the top of that trim you tacked on as a guide to make horizontal marks every 36 inches all around the room. Make sure you measure accurately, and take your time during this phase. While it may seem time consuming, it will save you a lot of time in the next steps.
- Mark the top of the baseboard trim area. Use a chalk line to mark where the top of the baseboard trim needs to be when it is installed.
- Install your baseboard trim. Start at one of the inside corners. Hold the trim against the wall and level it. Nail it in place with one or two nails.
- Measure your distance. Set your points to span the distance between the chalk line and the baseboard’s top corners.
- Finish installing the trim. Hammer two finishing nails through the baseboard trim at each of the stud locations.
Important Tip:
Use a 2×4 block to force the trim down when nailing
for those spots that are not straight.
How Do I Fill The Nail Holes In The Baseboard Trim?
No matter how careful you are and how small the gauge of nail you use, you are most likely going to have to fill or cover nail holes. One thing to remember is not to use caulk. This is because caulk contracts as it dries, and it will not fill the nail hole right. It will always have a dent or divot even after you paint over it.
The best filler for nail holes is spackling paste. It is actually designed for this job and forms itself to fit any hole easily. It will not contract or change shape as it dries so you should be able to cover it nicely when you paint. You can even sand it if you need to.

Painting Baseboards
There are two kinds of paint with five different sheens. The best for baseboard trim is acrylic or water-based paint with a semi-gloss or high-gloss sheen. The glossier the better because it will resist dirt and scuff marks more than those without a sheen.
- Oil-based paint is one of the most common choices for professional painters. It dries smoothly and leaves a professional appearance. But oil paints are dangerous without the proper ventilation and they have a drying time of up to 18 hours.
- Water-based paint is not as durable as oil paint so you will have to use one of the glossier sheens to keep the baseboard trim from getting dirty or scuffed. However, water-based paint dries fast and is better for the environment as well as your own health.
The best way to paint baseboard trim is with an angled paintbrush. For oil-based paint, use a natural bristle like China or Ox Bristle. Water-based paint is better used with a nylon bristle.
Be sure to go in the direction of the grain of the board from left to right rather than up and down. And tap the brush rather than wiping it to remove excess paint. Use long straight strokes going one direction and then back in the other direction with the next stroke.
Safety Tips
Nail guns can be dangerous if you do not follow the safety guidelines or do not know what you are doing. Do not just run out and buy one and start shooting nails right away. Take the time to read the instructions, the warnings, and do some practice nailing before starting on your baseboard trim. Here are some important safety tips to follow:
- Keep your fingers away from the nail path.
- Always disconnect the hose when loading nails or clearing out a jam.
- Wear safety glasses at all times.
- Keep your finger off the trigger when not shooting.
- Do not set your nailer on top of a ladder.
For some people, it also helps to have someone there to assist you. If you choose to make this a family affair, or a group project, make sure everyone adheres to the safety tips to prevent any accidents.
Do You Need Interior Trim or Decorative Molding Installation?
Get free, zero-commitment quotes from pro contractors near you.
The Takeaway
Some people still use a regular hammer to nail their baseboard trim. There is nothing wrong with that. But it is easier to get the baseboard trim straight if you have one hand free to hold the trim in place. Whichever you choose, just make sure you choose the right size nails.
Also, don’t forget to follow the safety precautions. Since it can seem a bit redundant, some people skip over them but that’s exactly what causes accidents. We provide the safety precautions not because we think you don’t know what you’re doing, but because having them at the forefront of your mind will help make you aware. Good luck with your project! We hope this guide has been useful to you.

I am a DIYer who loves writing about anything home-related. When I am not writing, you can find me studying for my PhD in Psychology, photographing nature, and swimming at the lake with my grandkids.
More by Patricia Oelze


![Finishing Basement Without Permit [Is It Really Illegal?]](https://cdn-fastly.upgradedhome.com/media/2023/07/31/9070078/finishing-basement-without-permit-is-it-really-illegal.jpg?size=350x220)

![10 Best Cordless Leaf Blowers – [2022 Reviews & Ultimate Guide]](https://cdn-fastly.upgradedhome.com/media/2023/07/31/9070789/10-best-cordless-leaf-blowers-2022-reviews-ultimate-guide.jpg?size=350x220)