Can You Use A Nail Gun On Plaster Walls?

Whether you are hanging a picture or installing crown molding, when your walls are plaster, it can be difficult. And if your home is more than 40 years old, plaster is probably what your walls are made of. How can you hang that picture or crown molding? Nail gun or hammer and nails?
You can use a nail gun on plaster walls. How well it works depends on the material the plaster is made of, the size of the nails, and other factors. It is certainly better than using a hammer and nails. Using the right care and materials, you should be able to shoot nails into your plaster walls with no problem.
Plaster walls are hard and can crumble if you do not use the right size nail and technique. Although some carpenters and other experts say you should nail into the lath, others say doing so could cause the plaster to crack or loosen more. This may leave an ugly hole to fill or even cause a large section of your wall to be compromised.
Different Techniques for Different Jobs
Most plaster is made from reconstituted gypsum, which is a durable and solid surface. However, these good qualities can be a problem when you try to hammer a nail or drive a screw into the wall. The nail may bend or break, the wall could crumble, or you may end up with a hole to patch.
Hanging a Photo
If you are just trying to hang a picture or something similar, try using picture wire or one of those 3M tabs. These are made for the job and do it quite well. No damage to the wall needed. Be sure to check the weight limit for the wire or tabs before hanging that heavy mirror though.
Hammering a Nail
For those who just have a small job to do with one or two nails, go ahead and get that hammer instead of the nail gun. Put a small strip of masking tape on the spot you are planning to hammer the nail into. The tape will give the plaster the extra support it needs to keep it from cracking or crumbling. Place the nail at a 45-degree angle upwards and tap gently.
Important Tip: If the hammer bounces back, you may be hitting the wood lath. Try moving about an inch or two and do it again.
Using Pilot Holes
When you want to hammer a bigger nail into a plaster wall, you may need to drill or tap a pilot hole first. It does not need to be very deep. Just through the top layer of the plaster. When you see the brown underneath, stop and hammer the nail into the hole gently.
Get the Nail Gun for Larger Jobs
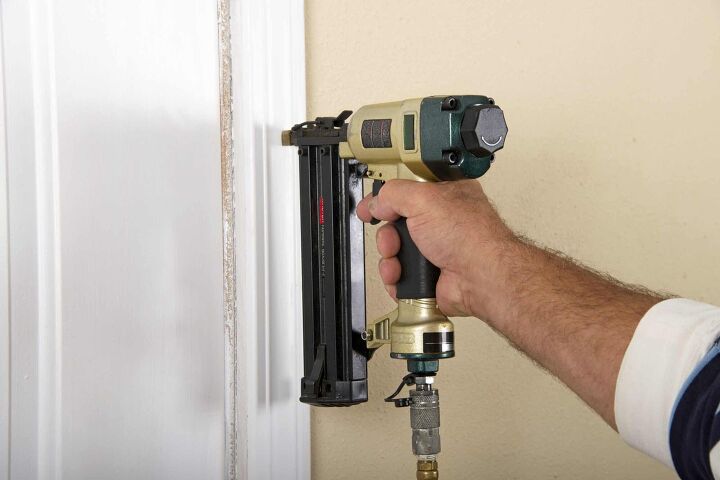
If you are placing molding or anything else that requires a lot of nails, the nail gun is the only way to go. However, there are different types of nail guns out there that do different jobs. Here are the most common ones.
| Type of Gun | Uses |
| Finish Nail Gun | The finish nail gun is used for baseboards and crown molding. This is the only one you will probably use on plaster walls. |
| Brad Nail Gun | The brad nailer shoots 15-gauge, 16-gauge, and 18-gauge nails, which are pretty small. These are usually used in baseboards, crown molding, and trim. It may also be used for plaster but not often. |
| Pin Nail Gun | Pin nailers are the smallest finish nailers you can get and are used with 23-gauge nails without heads. They can be used in finishing work, molding, furniture trim, and delicate pieces. |
| Framing Nail Gun | Heavy-duty framing nailers are never used for plasterwork. They are used for wood siding, fences, homebuilding, and decks. |
| Palm Nail Gun | Palm nail guns are mini nail guns used in tight spaces. They fit in the palm of your hand and are usually used on small jobs. |
| Staple Gun | You can use a staple gun for many projects. Carpentry, carpets, construction, and upholstery are the main uses. |
Attaching Crown Molding to Plaster Walls
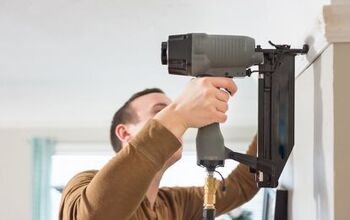
Whether you are using a nail gun or a hammer and nails, you should be able to attach crown molding to plaster walls without too much trouble. There are some specific ways to attach the molding to plaster walls. You can try using a nail gun or hammer by following these steps.
Step One: Marking the Walls
Measure the wall space where you will be putting the crown molding. Use a level to draw a line with a pencil. Continue this all the way around the room.
Step Two: Finding the Studs
Find the wall studs with a stud finder by running it along the wall. Mark the wall where the studs are. If you do not have a stud finder, use a nail at the bottom of the wall that will be covered with trim to find the studs.
Step Three: Cutting the Crown Molding
Measuring and cutting the crown molding comes next. Cut the pieces at 45-degree angles if you can.
Step Four: Placing the Trim
Put the crown molding on the line and place a finish nail with your nail gun into the location of each stud. If you are using a hammer and nails, don’t forget to make those pilot holes before starting.
Step Five: Sinking the Nails
Use a nail set to sink the nail heads so they do not stick out of the crown molding. Just put the nail set over the nail head and tap firmly once or twice.
Step Six: Filling the Gaps
Hide the gaps between the crown molding and the wall with acrylic caulk that you can paint. Squeeze a small bead along the seams and smooth it with your finger and let it dry completely before painting.
Related Questions
What Are the Different Types of Nail Guns?
Whether you are using a finishing nail gun, brad nail gun, or one of the others, there are several varieties to choose from. The one you choose depends on the job you are doing and how much space you have to work with.
- Pneumatic nail guns have less vibration. This reduces the chance that your plaster will crack or crumble when nailing. They are powered by an air compressor and attached by a hose. They are lightweight but you cannot move too far away from the compressor.
- Battery-powered nail guns use rechargeable batteries for power. They are a bit heavier because of the lithium battery attached, but they will do the job.
- Corded nail guns are not used often, if at all. They plug into the wall and you are restricted from moving far.
If your plaster is crumbling or cracking, you can install a backer strip into the wall corners. Then you can just nail the trim or molding to the strip. That way, if you have to make a few extra holes, it will not be seen because it will be in the backer strip under the molding. Drill through the backer strip with a 1/8-inch bit. You can also try using a wall anchor. They have those at any hardware store or big box store. Another option is to use some kind of sealant like paneling glue or caulk.
Related Guide

I am a DIYer who loves writing about anything home-related. When I am not writing, you can find me studying for my PhD in Psychology, photographing nature, and swimming at the lake with my grandkids.
More by Patricia Oelze


