


Bathroom Exhaust Fan Leaking Water When It Rains? (Do This!)

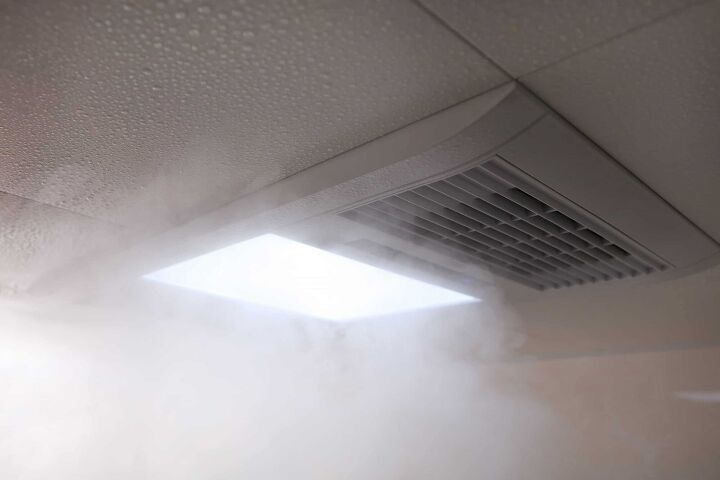
Rain can be a royal pain, especially when the rain finds its way through your bathroom’s exhaust fan, leaking water all over the bathroom floor. But, what exactly causes this?
If your bathroom exhaust fan leaks when it rains, you should get on the roof as soon as it is safe to check for any holes or damage to the roof. Additionally, check the flashing, vent cover, damper, sealant, and shingles for any signs of damage or wear and tear.
We’ll have the answers for you in this article. It’s important you stop the water from coming through to avoid more damages. Let’s get started.
Do You Need Bath Exhaust Fan Repair Services?
Get free, zero-commitment quotes from pro contractors near you.

Why Does My Bathroom Exhaust Fan Leak When Raining?
Commonly, an exhaust fan will leak because the bath vent hose is in a vertical slope and exhausts on top of the roof. This is required by code, as it’s important to have exhaust fans vent outside. But if not properly installed, or if the cover is faulty, rain can leak down into your bathroom below.
Since the vent is located on the roof, it can be tricky to get up there to see what is going on. Because moisture leads to mold growth, wood damage, and is an attractor for termites, it is important to get this figured out once you notice it start happening.
Faulty Flashing, Vent Cover, or Damper
With dripping water coming from a bathroom exhaust fan, it’s an indicator that the flashing or vent cover could be allowing water in where it shouldn’t be. It could also mean that the damper is loose or missing.
The damper should open only under pressure from the warm air to let it out and otherwise, it should remain closed the rest of the time. If this isn’t happening, or the seal seems to be damaged, you will need to replace the damper.
Old Sealant
Another possibility is that the sealant has expanded and cracked over time, due to constant exposure to the elements.
You could add more sealant, but the proper method would be to remove and replace the vent and the shingles associated with it.
Inspecting A Bathroom Exhaust Fan Leak
If you notice your bathroom exhaust fan is leaking, it’s important to inspect it. Below are some steps on how you can do just that.
Step 1: Checking the Vent Cover
When investigating the cause of an exhaust fan leak, you will first want to check for hairline cracks along the vent cover.
Look closely around the edges of the vent cover where it meets the roof. If there is any damage here, start with replacing the vent cover.
Step 2: Damaged Shingles
Next, check the shingles along the roof that are around the ventilation system. If these are damaged around the vent hood it could allow rainwater to make its way past them and into the vent. If the leak has been going on for a while you may have to replace some of the roof sheathing.
Step 3: Faulty Vent Flap
While on the roof, check that the vent flap is working correctly and that it is not stuck open. This can cause rain to easily enter the vent, travel down the hose, and drip into your bathroom.
If you need to replace your roof cap, it is important to choose one that can withstand the outdoor elements. Many roof caps are powder coated galvanized steel, for this very issue.
Is A Leaking Bathroom Exhaust Fan A Health Risk?
One part of the inspection should involve going into the attic or checking the interior of the wall (depending where the fan is venting) for water damage. You will want to look closely for any signs of mold or mildew, as these are hazardous to your house and need to be addressed quickly.
Because an attic, ceiling cavity, and the inner wall is a dark place, mold will grow and spread easily. Especially with the added humidity from a leaking exhaust fan. This is why it is important to check these areas thoroughly. When released into the air, mold spores will travel freely throughout your home.
How Do You Remove Your Bathroom Exhaust Fan?
Removing the bathroom exhaust fan will allow you to see what is going on in the ceiling from the interior. It is not a complicated procedure and can be done with only a few tools.
Step 1: Turn Off the Electricity
The first step is to turn off the electricity that is supplying power to the exhaust fan. Flip the switch at the breaker box that is related to the bathroom and then check to make sure that there is no power going to the exhaust fan.
The bathroom will likely lose its power entirely, so you will need to set up some lighting to help you see. To be extra safe, you can also use a non-contact voltage tester to check the wiring inside the exhaust fan before continuing.
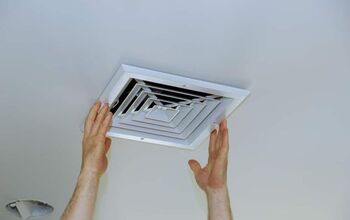
Step 2: Removing the Exhaust Fan Cover
The fan will be held in place by a number of clips. To remove the plastic cover, you will pull it down and squeeze the metal clips inward, releasing the cover.
Step 3: Removing the Exhaust Fan
The motor/fan assembly needs to be separated from the main housing. The main housing is attached to the ceiling joists on its own, independent of the fan. The fan may be held in place by a few screws, otherwise it is clipped in.
Some vent fans will be plugged into the motor and you will need to unplug this before you can pull out the fan assembly. If there is no plug, you will have to manually disconnect this by removing the wire nuts.
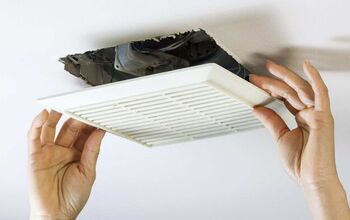
Step 4: Removing the Main Housing
If you are installing the same model bathroom fan, you can reuse the old housing. In the case of a leak, it is best to remove everything that way you can take a look at any damage that might have been done.
The fan housing will be secured to the ceiling joists with screws. There may be an adjustable metal bracket that is secured here, that the fan housing is secured to. Whichever the case, remove the screws so you can take out the fan housing.
Step 5: Removing the Metal Housing
At this stage, you will push the metal housing up into the ceiling. From here you will be able to get a better view of your ceiling and any damage that’s been done due to the leaking water.
Take care to wear a mask to protect yourself from any mold spores that may be stirred up as you look around.
When Should I Call A Professional For A Bathroom Exhaust Fan Leak?
Water leaking into your bathroom from the exhaust fan is not a problem you want to ignore. Not only is it causing a mess in your bathroom, but mold could be growing in your walls and ceiling and over time, the damage will accumulate.
Getting onto the roof yourself is not always the best choice if you do not have the right equipment, such as a ladder and a harness system to keep you from falling off if there is a steep pitch. The sooner you call someone to help you with this issue, the easier and less expensive it will be to fix.
Professional roofers will have all the equipment to check inside your ceiling, the exhaust fan unit, and your roof. They will be able to give you the best options on what to do to repair the issue, whether it be replacing parts or needing a new exhaust system.
Do You Need Bath Exhaust Fan Repair Services?
Get free, zero-commitment quotes from pro contractors near you.
Related Questions
Does a Bathroom Fan Need to be Vented Outside?
Your exhaust fan must be vented outside, either through a gable wall or the roof. Letting the fan exhaust into an open attic will cause moisture to buildup on the underside of the roof and could cause mold issues.
How Long Should a Bathroom Fan Stay On?
You should run the fan each time you run water in the bathroom and leave it running for about 20 minutes. This is the best way to ensure that the humidity is being vented out of the room and your home.
Can You Vent a Bathroom Fan Through a Wall?
Running ducting through a wall is not a good idea because it will get cold, which will lead to condensation buildup.
Related Guides
Sean Jarvis is an interior decorator, writer, and expert handyman. Well versed in everything home improvement, he is a savant at manipulating words and spaces and upgrading everything around him. Sean specializes in writing concise guides about appliance repair and installation, home and lifestyle, and other residential projects.
More by Sean Jarvis


![Cost To Drill A Well [Pricing Per Foot & Cost By State]](https://cdn-fastly.upgradedhome.com/media/2023/07/31/9074980/cost-to-drill-a-well-pricing-per-foot-cost-by-state.jpg?size=350x220)