How To Remove A Pocket Door (Trim and Tracks Too!)
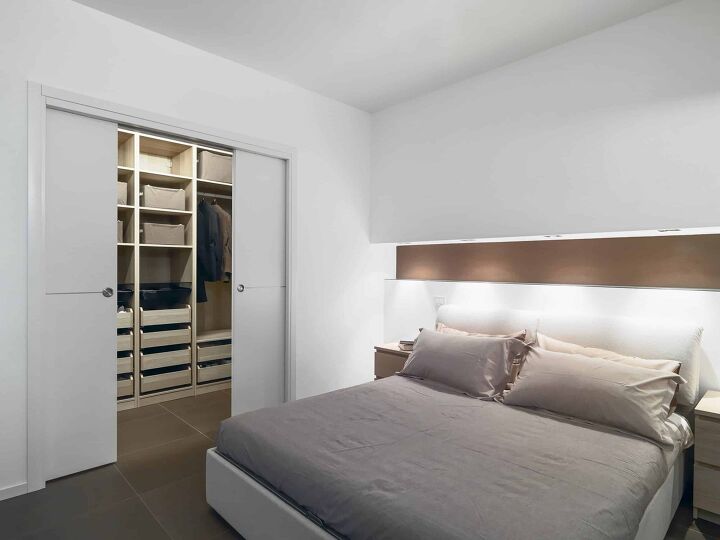
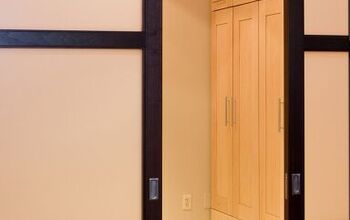
Pocket doors are pretty cool when you are trying to save space. In fact, these types of doors can add a modern and sleek look to any room. Mounted inside the wall, the door just slides in and out of the wall, so when it is open, it looks like there is no door there at all.
Removing a pocket door can be done in a few steps. Although it is not seriously difficult, it does take some work and you may need help. If there is trim to remove, you have to do that first. Then you scrape off the caulk, remove the doorstop, and remove the whole door.
Do You Need Hardware, Latches and Tracks Repair or Replacement?
Get free, zero-commitment quotes from pro contractors near you.

Get a Friend to Help
No matter how strong you are, it just makes sense to have some help when you actually have to physically remove the door. They are heavy and a bit awkward to remove on your own. Although you can do most of the work yourself, make sure you have someone nearby to help you pull the door out.
Whether you are removing the pocket door to repair it, replace it, or get rid of the whole system, removing the door is not too difficult. But we are going to go over the steps for removing a door with trim and without.
How to Remove a Door with Trim
Whether you have to remove the trim or not makes a difference in how you remove the pocket door. And if you are removing the door to install a new one or just removing the whole system, that has a bearing on the job as well. Below we tell you how to remove a door with the trim.
Step One: Remove the Glides at the Bottom of the Door
With the door open a few inches, flip open the latch on the plastic guide on the bottom of the door. Use a screwdriver or drill to remove the guide from the base of the doorframe.
Step Two: Remove the Caulk Off the Door Stop
Slide the door open all of the way so you can get to the doorstop and the caulk. Use a razor or utility knife to carefully cut around the edge of the door trim so you can remove the trim without tearing the paint off the wall.
Step Three: Remove the Doorstop
If you are reusing the wood, be especially careful when removing the doorstop. You can use a prybar but don’t pull too hard or you could crack the wood. It may be better to use a spatula as a lever instead.
Step Four: Taking Out the Door
Get someone to help you lift the door out of the track and tilt it to remove it from the frame. Some models have a clip holding it in. Push the tip with a screwdriver to release the clip from the track.
Removing the Door If You Need to Leave the Trim
For those who want to keep the trim in the pocket door, these instructions can help. They are basically the same as the above directions with a few differences.
Step One: Remove the Jamb Stops
At the head of the track on the side that faces the closed side of the track, there should be a j-shaped stop that you can release with a screwdriver or drill. There is one on each end. Remove them both and lower the door down.
Step Two: Take the Door off the Track
Angle the door gently and push up to disengage it from the rollers. If you have trouble, get someone to shine a flashlight up there and guide you to make it easier.
Step Three: Remove the Door
Get someone to help you lift the door out of the track and tilt it to remove it from the frame. Some models have a clip holding it in. Push the tip with a screwdriver to release the clip from the track.
Fast Fact: With some pocket doors, you will have to remove a valance at the top of the door to get to the roller or track assembly. This is especially true with doors that are attached to the top of the door.
To Remove the Pocket Door Track
If you are looking to remove the track as well, you will have to open up the wall a little bit to get to the screws.
Step One: Find the Frame and Mark the Wall
Find the internal frame with a stud finder and mark it with a pencil.
Step Two: Remove a Piece of the Wall
Use a wallboard saw to remove a piece of the wall just big enough to get your screwdriver or drill through. Set the piece of wall to the side so you can replace it when you are done.
Step Three: Get Rid of the Old Track
Remove the screws from the hidden part of the track and work the track out through the door opening.
Step Four: Level the New Track
Replace the old track with a new one, making sure it is level. Insert shims where needed to allow for any settling your house has done since the door was first installed.
Step Five: Attaching the New Track
Screw the new track into place following the manufacturer’s instructions. Be sure to check whether or not rollers need to be in place first.
Step Six: Replacing the Hardware
Once the track is installed, you can remove and replace the new hardware. Then you can hand the door back on the track. Have someone hold it at the proper height while you securely attach the hardware at the top of the door.
Step Seven: Adjusting the Door
If the door is not completely level or is not positioned right, go ahead and adjust the hardware. Just follow the instructions that came with the hardware to find out how to raise or lower the corners to get rid of gaps and get the door moving smoothly.
Step Eight: Replacing the Trim
After you get the door adjusted, it is time to replace the trim. Put the trim pieces back up on the wall or replace them with new ones. But reusing the old ones is probably best since it saves you money.
Step Nine: Fixing the Wall
Using drywall screws to install backers, leave about one inch exposed. Then screw the wall piece back into place and use joint compound to fill the seam and screw holes. Once it is dry, you can sand and paint it.
Important Tip: If you are taking off the door because of warping, you can prevent this from happening again by painting or staining the door first.
For a Door That is Off Track
Sometimes you may not even have to replace the whole door. It may just be a warped or broken roller. You may want to check that before replacing the whole door system.
- Step One: Use a razor or utility knife to score the paint seal and molding around the stops and door jamb.
- Step Two: Move the door to the center position and tilt it toward you. Lift the rollers off the track and gently ease the door out of the slot.
- Step Three: Check the track and rollers to see if they are bent, warped, or broken. Fix them and replace them before putting the door back on.
- Step Four: Make sure the track is tightened down and all the screws are tight.
Do You Need Hardware, Latches and Tracks Repair or Replacement?
Get free, zero-commitment quotes from pro contractors near you.
Related Questions
What Are the Pros and Cons of Pocket Doors?
There are several benefits of having a pocket door. In some instances, they can solve a problem that you did not even know you had. Here are some of the pros and cons:Pros of Pocket Doors:
- The obvious benefit of pocket doors is the floor space they can save you. The clearance for the typical swinging door is about 10 feet. That is a lot of space your pocket door can free up.
- Wall space is saved too since these areas will not be covered up by a swinging door.
- Pocket doors are convenient for rooms that you may want to open up and turn into one large room such as with a dining room/living room space.
- They just look better. Especially the glass or decorative pocket doors.
Cons of Pocket Doors:
- Because pocket doors are not airtight, you will still be able to hear things coming from the other side. This makes privacy an issue if the door is in a bathroom or bedroom.
- Pocket doors are often falling off their track or become difficult to move after a while.
- Those with limited use of their hands may find them difficult to use.
Barn doors open and close on a track like pocket doors, but they are on the outside of the wall. They are easier to install since they are not going inside the wall, but they are usually heavier and come off the track easier and more often.
Since the barn doors slide open on the outside of one side of the wall, they block or cover the walls when they are open. But one benefit of the barn door is that they are not as expensive to install and they are easy to maintain.

I am a DIYer who loves writing about anything home-related. When I am not writing, you can find me studying for my PhD in Psychology, photographing nature, and swimming at the lake with my grandkids.
More by Patricia Oelze


![The 10 Best Table Saws - [2022 Reviews & Buyer's Guide]](https://cdn-fastly.upgradedhome.com/media/2023/07/31/9070645/the-10-best-table-saws-2022-reviews-buyer-s-guide.jpg?size=350x220)
![Finishing Basement Without Permit [Is It Really Illegal?]](https://cdn-fastly.upgradedhome.com/media/2023/07/31/9070078/finishing-basement-without-permit-is-it-really-illegal.jpg?size=350x220)