


How To Cut Ceiling Tiles (Step-by-Step Guide)
Installing ceiling tiles is a lightweight solution, not just for covering your ceilings but for improving the aesthetics and acoustics of a room. One of the most important steps of ceiling tile installation is cutting. The way you cut the tiles can dictate how well a finished ceiling looks.
For cutting ceiling tiles, all you need are basic hand tools. For instance, acoustic tiles are cut using a carpet knife while cutting drywall drop ceilings require either a drywall saw or a standard utility knife. As for marking and scoring the tiles, a drywaller T-square or framing square will come in handy.
If you’ve decided to go the DIY route, we recommend that you read our guide on how to cut ceiling tiles below.
Do You Need to Hire a Ceiling Tile Installer?
Get free, zero-commitment quotes from pro contractors near you.

What Are Ceiling Tiles?
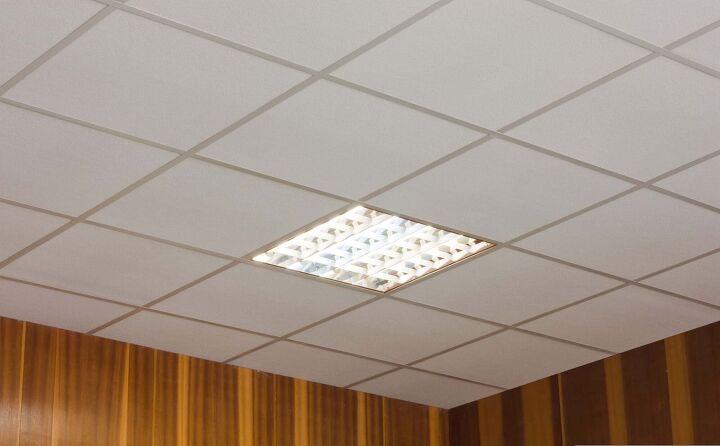
Also referred to as ceiling panels, ceiling tiles are light construction materials that are used to cover ceilings. Although they offer thermal insulation, these tiles are installed for improving the acoustics and aesthetics of a room. They’re commonly used for residential, commercial, and industrial purposes.
Two of the most common ceiling tiles are acoustic and drywall-type tiles – both will be covered on our step-by-step guide below.
The cost of ceiling tiles can vary depending on the type. For example, acoustical ceiling tiles are sold by the box at $500 each. On the other hand, more expensive types like tin tiles can go as high as $15-$40 per panel.
Things You’ll Need
Before we get to the cutting steps, here are the things you need:
- Piece of plywood
- Safety gloves
- Pencil
- Tape measure
- Carpet knife
- Utility knife
- T-square or framing square
- Rotary tool
- Pencil compass
- Hole saw
- Portable drill
- Drywall saw
- Marker
How to Cut Acoustic Ceiling Tiles
For cutting acoustic tiles, a carpet knife is recommended as it cuts deeper. Make sure that you wear a thin pair of gloves to protect your hands and keep the tiles clean.
Step 1: Mark Lines for Cutting
Lay a piece of scrap plywood on the working surface to protect the floor from knife cuts. Lay the tile facing up on the plywood. Using a pencil, mark your measurements across the top and bottom edges of the tile.
Step 2: Cut the Tile
Use the T-square or framing square to align the tile edges with the marks. Firmly hold the framing square with your one hand, then score (partially cut) the tile with a carpet knife, cutting along the square’s edges.
One or two more passes should be enough to cut the tile completely.
Step 3: Make a Circular Cutout (If Needed)
In some cases, you need to cut clean, circular holes through the tiles to accommodate things like light fixtures or electrical boxes. To cut a circular hole, you can use either a carpet knife, hole saw, or rotary tool.
Carpet Knife Method- Use the pencil compass to draw a circle of your desired hole size. Pivot the compass around the center point.
- Using the carpet knife, make a scoring cut along the circle. Make deeper passes as you go along until you’ve completely cut through the tile.
- If you have an adjustable hole saw, adjust the tool based on your desired hole size. Attached the saw to a portable drill.
- While holding the drill upright, align the saw’s center bit with the marked center point.
- Activate the drill and press the saw into the tile to cut.
- Use a multi-purpose cutting bit and install a circle guide to the saw.
- Calibrate the circle guide according to your desired hole size.
- Pull back the rotary tool and align the point of the circle guide with the marked center point.
- Activate the rotary tool and carefully press it down the tile until the blade completely cuts through.
- When the tool is in the upright position, guide the tool around the marked center point to create a circular cutout.
How to Cut Drop Ceiling (Drywall) Tiles
Drop ceiling tiles with no acoustic purposes are basically drywall in vinyl coating. Thus, a standard utility knife should get the job done and you can use a drywall saw for cutting holes and curves.
Step 1: Mark the Cutting Lines
Set the drywall tile on a piece of plywood. Measure the tile and mark the cutting lines (top and bottom edges) using a pencil.
Step 2: Make a Scoring Cut
To ensure a straight cut, use a T-square or framing square on the tile. Hold the square in place then use your utility knife to make a scoring cut. Again, scoring means making a partial cut through the tile.
Step 3: Completing the Cut
This step should be familiar to those who have cut drywall before.
- Align the edge of the tile (the scored line) with your work surface’s edge. Make sure that the excess tile or waste is hanging over the edge of the work surface and the scored is facing upwards.
- Firmly push down the waste to fold and snap the tile along the scored line.
- At this point, the waste part of the tile should be hanging by its back paper. Turn over the tile on its edge and cut through the crease using your utility knife.
- Set the tile on a flat surface and trim any excess drywall core along the edge.
Step 4: Making a Circular Cutout (If Needed)
Similar to acoustic ceiling tiles, you may need to cut out a circle for inserting light fixtures and electrical boxes.
Drywall Saw Method- Use a pencil compass to draw a circle according to your desired hole size. Set the compass’ pivot around the center point.
- Set the saw blade along the edge of the circle. Firmly push down the saw to penetrate the tile. Cutting should be done from the face side.
- Trace the line of the circle with the saw to complete the cut.
You may also use a rotary tool with a multi-purpose bit to cut a circular hole. Simply refer to the rotary tool steps that we outlined above.
Key Benefits of Ceiling Tiles
Here are the key reasons why tile ceilings are a great addition to a room in your home or office.
Improved Aesthetics
If your ceiling has unsightly pipes, wires, or ductwork, installing ceiling tiles is a great way to hide them. Plus, the wide range of styles and designs can help improve the aesthetic of the room. You’re not just hiding unsightly things; you’re also beautifying the space.
Insulation and Energy Efficiency
By simply installing a drop or suspended ceiling, you’ll have an effective means to trap the warm air in the room. The warm air is also prevented from being lost into the top of the ceiling. Depending on the type of tiles you use, you can save on energy bills by being more energy-efficient.
Enhanced Acoustics
One of the best benefits of ceiling tiles is their ability to improve the room’s acoustics – especially when it comes to acoustical ceilings. The panels can act as an effective sound barrier between floors. The enhanced acoustics should come in handy for spaces like theater rooms.
Safety Purposes
In some instances, like fire escape corridors, a fire-rated suspended ceiling is used. A fire-rated tile ceiling has been tested to retain structural integrity after a certain amount of time. Fire-rated ceilings also suppress fire from spreading from room to room.
Do You Need to Hire a Ceiling Tile Installer?
Get free, zero-commitment quotes from pro contractors near you.
Related Questions
Do I Need to Clean My Ceiling Tiles?
Ceiling tiles are notorious as a hotbed for toxins, bacteria, and mold. Over time, they become discolored due to several factors like water leaks, UV rays, grease stains, and more. Therefore, ceiling tiles need to be maintained regularly.The tiles’ cleaning schedule depends on where they’re installed. Tiles in the kitchen should be cleaned every 8-10 months. Otherwise, it’s a good rule of thumb to clean the tiles every 18 months.
When Do I Need to Replace the Tiles?
One of the worst things that can affect your ceiling tiles is water damage. On top of leaving an ugly stain, the affected area could become a breeding ground for mold or mildew. In this case, you’re better off getting a replacement because no amount of cleaning can help.At some point, ceiling tiles eventually need to be replaced. However, you can greatly extend their longevity through regular maintenance or by hiring a professional cleaning service.
Can You Paint Ceiling Tiles?
Sure you can! You can use regular latex paint for painting dropped ceiling tiles. They can benefit from a fresh coat of paint by reviving their look or making the room appear brighter or larger. Over time, ceiling tiles become stained and a coat of paint gives them a much-needed rejuvenation.Typically, you can use flat latex paint or spray paint unless you have wood tiles. Grab a good brush and roller and paint away.

We are a team of passionate homeowners, home improvement pros, and DIY enthusiasts who enjoy sharing home improvement, housekeeping, decorating, and more with other homeowners! Whether you're looking for a step-by-step guide on fixing an appliance or the cost of installing a fence, we've here to help.
More by Upgraded Home Team


![10 Most Dangerous Neighborhoods in Baltimore [Updated]](https://cdn-fastly.upgradedhome.com/media/2023/07/31/9075655/10-most-dangerous-neighborhoods-in-baltimore-updated.jpg?size=350x220)