How To Adjust The Steering On A Zero-Turn Mower
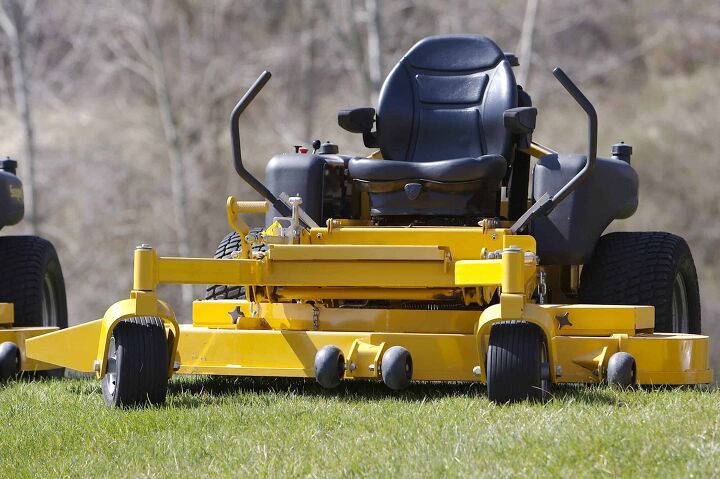
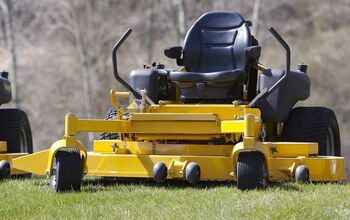
When picking out a riding lawnmower, zero-turn models can be an excellent choice. As the name implies, these machines can turn with a near-zero radius, making them far more maneuverable than other types of mowers. To do this, they use separate hydraulic controls for each side. Unfortunately, over time these controls can wear down, which means that the steering will start to lean more to one side.
To adjust the steering on a zero-turn mower determine the direction your mower turns (right or left), then locate the adjustment bolt. Loosen the nut on the adjustment bolt and adjust the speed before retightening the nut. To decrease the steering lever travel turn the bolt clockwise; turn it counter-clockwise to increase the steering lever travel.
Turning the nut one way will allow the lever to move forward more, and turning it the opposite direction will give it less room to move. You will have to adjust the nut, test the mower, and move it again as necessary. There are actually several options available for adjusting the steering on your zero-turn mower, so we will discuss each one in-depth.
Do You Need a Mower Repair Service?
Get free, zero-commitment quotes from pro contractors near you.

What You’ll Need to Adjust the Steering
Fortunately, this job is relatively easy, as all you’ll need is a socket wrench set, a handheld wrench (make sure it’s the correct size), and a flashlight if the bolt is underneath the seat. We also recommend wearing gloves to avoid any accidental pinching.
Step by Step Guide to Adjusting the Steering on a Zero-Turn Mower
As we mentioned, there are multiple ways to adjust the steering on one of these mowers. First, you can adjust the steering handles. You can raise or lower them, as well as widen the distance between them as you prefer. Doing this will make it easier for you to control the speed on either side, which may correct the problem.
Second, you can move the speed nut on the faulty side. This is a bolt that prevents your steering lever from moving forward all the way. Since the nut holding it can come loose over time, it may be affecting your steering.
Finally, you can move the adjustment nut that blocks the steering arm. By increasing the space between the two, you can go faster. Shortening this distance will cap your mower at a slower speed. Here is a breakdown of each method.
Adjusting the Steering Levers
There are two ways that you can move the levers to be more comfortable for you. You can either adjust the height of the handle or the axis of the lever itself. When moving the handles up or down, you need to find the bolts holding them in place. Usually, each handle has two. There should be holes on the lever arms that allow you to move the piece wherever you like.
We recommend sitting in the seat before moving the handles so that you know they will be comfortable for you. All you have to do is remove the nuts, take the arm off, and then position it however you like.
The second method involves adjusting the spacer at the bottom of the steering lever. This spacer allows you to move the lever out so that there is more space between them. The primary reason to make this change is if the arms are too tight to your body while mowing. There is not much room to move the spacer, but an inch or so can make a significant difference.
Adjusting the Speed Nut
When moving your steering arms, you’ll notice a bolt that prevents the arm from moving forward. You can tighten or loosen this bolt to allow for a greater range of movement. All you have to do is use a wrench to loosen the nut and turn the bolt itself. Moving the bolt to the right will decrease your speed as the bolt comes out. Turning it to the left will increase your speed since it will go further into its housing.
Once you’ve made the adjustment, you can retighten the nut so that it doesn’t jiggle loose while you drive.
Adjusting the Lever Reach
Finally, you can move the bolt at the bottom of the lever, which prevents it from moving too far forward. In some cases, you may have to lift the seat to access this piece. Here are the steps involved:
- Step One: Park the Mower and Disconnect the Spark Plug – Doing this will prevent any accidental starts.
- Step Two: Lift the Seat – Usually, this piece will just flip forward.
- Step Three: Remove the Rear Panel – In most cases, this panel is attached by a couple of screws and hooks. Removing it will give you greater access to the bolt.
- Step Four: Loosen the Smaller Retaining Nut – Two nuts adjust the lever reach. The smaller one holds the bigger one in place. Loosen this piece but don’t take it out.
- Step Five: Turn the Larger Nut – You won’t have to move this component very far to adjust the reach, so don’t turn it too fast. Spinning it to the right will decrease the distance while turning it to the left will increase it.
Tips for Adjusting the Steering on a Zero-Turn Mower
Regardless of the method you choose, you will have to test and re-test the mower. Unfortunately, because these adjustments are not precise, it’s easy to miss the mark on either side. Sometimes, you may overcompensate and make one side too fast by accident. Follow these tips for smoother results.
- Determine the Faulty Side First – You can do this by riding the mower and seeing which way it veers. If you’re leaning to the left, the right handle may be too fast, and vice versa.
- Only Make One Adjustment at a Time – If you move all of these pieces simultaneously and your steering is still off, it will be impossible to know which part is the culprit.
- Test on Straightaways – Ideally, you will have a relatively long yard for testing the steering after each adjustment. Alternatively, you can try a driveway, as long as it doesn’t have too much of an incline.
- Mark the Bolts – Once you get the steering calibrated, find some way to mark the bolts so that you can retighten them to the same spot next time.
Alternate Steering Fixes
In most cases, the steering lever is the primary source of this problem. However, some other components may be to blame, including:
- Tire Pressure – If one side is lower than the other, it could cause the mower to lean.
- Front Axle – If you run over obstacles or you have a slanted yard, the front axles can start to bend out of shape. Inspect them and see if they have to be replaced.
- Tie Rod – There is a short piece that connects the steering lever to the rear wheel. If this component is bent or loose, it can cause steering issues. Usually, tightening it should fix the problem, but you may need a new rod.
- Wheel Bearings – These bearings allow the tires to stay straight. If they are damaged or loose, they can cause the mower to lean.
- Steering Dampener – The dampeners enable the lever to move smoothly. If they are broken or loose, they can cause an unbalanced movement while you’re driving.
Do You Need a Mower Repair Service?
Get free, zero-commitment quotes from pro contractors near you.
Related Questions
How often will I have to adjust the steering?
Unfortunately, because nuts and bolts can come loose through vibration, you will have to correct steering issues relatively often. However, that will depend on how much you use your lawnmower. Realistically, you’ll have to do this once or twice a season.
How can I prevent steering problems before they occur?
If you mark your bolts, you can inspect them regularly to see if they are coming loose. Also, check the other components we listed (bearings, tie rod, etc.) to see if they are wearing down. If so, you can replace these components before they create any issues.

We are a team of passionate homeowners, home improvement pros, and DIY enthusiasts who enjoy sharing home improvement, housekeeping, decorating, and more with other homeowners! Whether you're looking for a step-by-step guide on fixing an appliance or the cost of installing a fence, we've here to help.
More by Upgraded Home Team


![10 Best Zero Turn Mowers – [2022 Reviews & Ultimate Buyer's Guide]](https://cdn-fastly.upgradedhome.com/media/2023/07/31/9070522/10-best-zero-turn-mowers-2022-reviews-ultimate-buyer-s-guide.jpg?size=350x220)