


Do You Need A Permit To Replace Deck Railings?
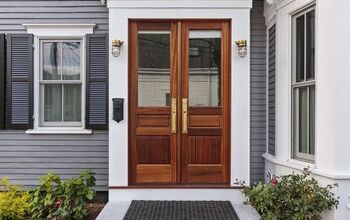
If your deck railings have seen better days, there are plenty of advantages to replacing them. You’ll make your deck a safer place, which is especially important if you have children or pets. Plus, new railings can improve your curb appeal and potentially your property value as well.
Whether you need a permit to replace deck railings depends on local regulations and your deck’s characteristics. If your deck is attached to your house and at least 30 inches above grade, you’ll probably need a permit. But if your deck is freestanding and shorter than 30 inches above grade, you may not need a permit.
It’s always best to check with your local building department regarding permits to replace your deck railings. In this article, we’ll cover whether permits are necessary and what happens if you replace deck railings without a permit. Then, we’ll provide a quick overview of the process of deck railing replacement.
Do You Need a Permit Service?
Get free, zero-commitment quotes from pro contractors near you.

Is A Permit Necessary When Replacing Deck Railings?
You may need a permit to replace your deck railings, depending on your location and the characteristics of your deck. Be sure to contact your local building department to get all the information needed regarding permits and other regulations. Even if you don’t need a permit, you’ll still want to replace the railings in accordance with the current codes.
Types Of Decks
Let’s say that your deck is attached to your house, or it’s at least 30 inches above the grade. In this case, you’ll most likely need a permit to replace the deck railings. This is because decks with these characteristics must have permits to be built in the first place.
But suppose your deck is freestanding, less than 30 inches above the grade, and smaller than 200 square feet. This type of deck does not require a permit to be built. Therefore, it won’t need a permit to replace the railings, either.
Rule Of Thumb For Repairs
A general rule that holds true in most locations is that if you’re replacing more than 40% of the deck, you’ll need a permit.
What Happens If You Replace Deck Railings Without A Permit?
Replacing deck railings without a permit (in locations where a permit is required) can lead to some consequences. The first potential consequence is a fine for breaking the local laws around permits.
There’s also a chance you’ll have to tear down your deck railings. You’ll then have to get a permit and replace the railings again. You will be responsible for the costs associated with tearing down and replacing the railings.
A final potential consequence is that you could run into some issues if you sell your house in the future. An inspection by potential home buyers may reveal that you completed repairs without the proper permits.
At this point, you may have to take action to rectify the situation. This could include tearing down the railings, getting a permit, and then replacing them.
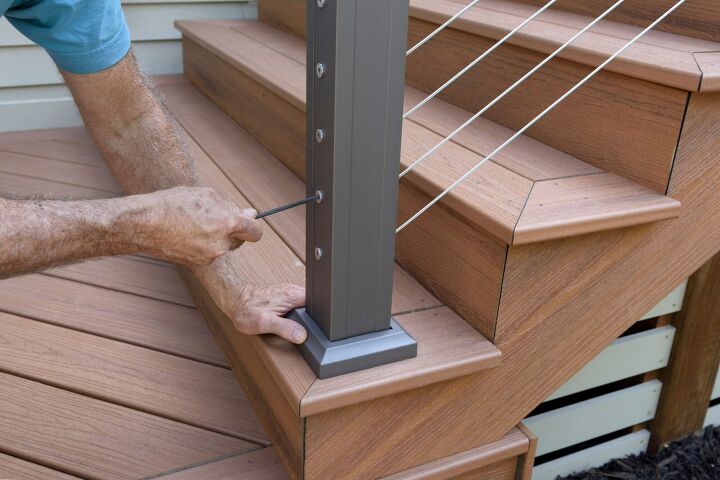
How To Replace Deck Railings
Professionals can do the replacement of your deck railings, or it can be a DIY project. Here’s a quick overview of the process.
Before you get started, ensure you have any necessary permits by contacting your local building department. They’ll also fill you in on any other requirements and codes to be aware of.
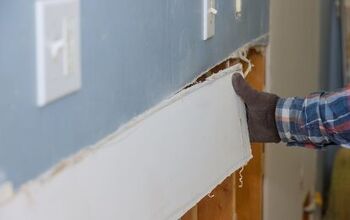
Step 1: Remove The Old Railing
Of course, before you install new railings, you need to remove the old ones. It’s wise to mark the rail position on the posts so that you can easily identify it later. Then, remove the damaged railings and set them aside.
Step 2: Attach The New Rails
Next, get the new rail and position it against the inside of the stairway posts. Align it with the mark on the lower post and the top back corner of the top post. You can have someone temporarily attach the rail using deck screws as you hold it in place.
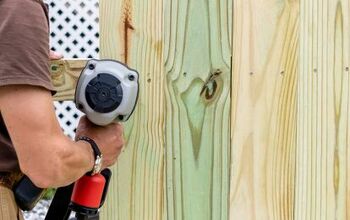
Then, you’ll want to cut the ends of the lumber at 45-degree angles to join it. Drill 1/16-inch pilot holes and attach the rails using 16D galvanized nails. Avoid using screws, as they can split the mitered ends of the rails.
Step 3: Connect To Stairway Post
After you’ve attached the new rails, ensure they’re firmly secured. Then, it’s time to attach the ends of the rails to the stairway posts. Make sure the rails are flush with the edges of the posts.
Attach the rails to the stairway posts by first drilling ⅛-inch pilot holes and then using two-inch deck screws.
Step 4: Drill Rail Cap Into Place
Now that the rails are fully connected, it’s time to add the rail cap. Position it so that its edge is flush with the inside edge of the rail. Drill ⅛-inch pilot holes every 12 inches, and attach the cap to the rail using 2½-inch deck screws.
Take your time on this step. If you drive the screws into place too quickly, you can split the wood. Once you’re done, bevel the ends at 45-degree angles.
Step 5: Miter The Ends
Next, you’ll need to miter the ends of the railing cap at 45-degree angles at each corner.
Step 6: Attach Decorative Caps
Cut the cap so that it’s flush with the stairway rail. Then, drill ⅛-inch pilot holes and attach the decorative caps using 2½-inch deck screws.
Do You Need a Permit Service?
Get free, zero-commitment quotes from pro contractors near you.
Related Questions
When are deck railings required?
If your deck is taller than 30 inches or 2½ feet above the ground, then you need a guardrail. The guardrail needs to be at least 36 inches or three feet in height. This is measured from the deck surface to the top of the rail.
Are glass deck railings safe?
Most glass railings are constructed from tempered glass that’s at least a quarter of an inch thick. This type of glass is very unlikely to crack or break under normal conditions. When professionally installed, glass railings are just as safe as any other type of railing.
What are deck railings made of?
Pressure-treated lumber is the most frequently used material for deck railings. But you’ll also see railings made from glass, aluminum, and plastic.
Related Guide

With a lifelong passion for writing plus strong enthusiasm for home improvement and DIY projects, joining the team at Upgraded Home was an easy choice. Jessica Allen likes to share helpful information with current and aspiring homeowners. Aside from writing, Jessica loves doing yoga, playing the piano, and dabbling in graphic design.
More by Jessica Allen


![Cost To Drill A Well [Pricing Per Foot & Cost By State]](https://cdn-fastly.upgradedhome.com/media/2023/07/31/9074980/cost-to-drill-a-well-pricing-per-foot-cost-by-state.jpg?size=350x220)


