Can You Put Cleats In The Washer? (Find Out Now!)
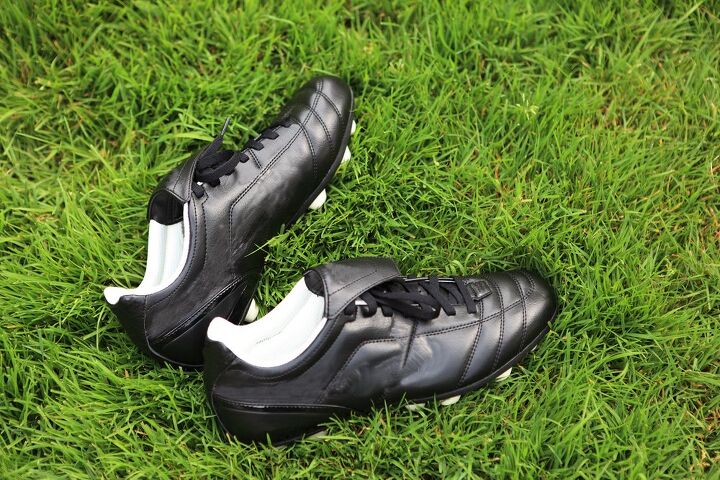
Cleats are used to play a variety of sports. When these are brand new, they’re pretty nice to look at and they even smell good too. But cleats don’t stay in good condition forever, as soon after they’re out of the box they’re hitting the mud or dirt and absorbing all the sweat from your feet.
Therefore, cleaning cleats regularly is essential, especially if you want your cleats to last a long time. Since cleats need to be cleaned often, many individuals have asked: “Can you put cleats in the washer?” Such is the main question this article answers. Some useful information on cleat care and cleaning is also included.
You should never put cleats in the washer. Doing so can ruin the cleats. Instead, you should let the cleats air dry after you hand-wash them. When hand-washing them, you shouldn’t overload the cleats with soapy water, as doing so may leave a bad smell after the cleats are dry. Removing mud at the field is also a good move.
How Cleats Should Be Cared For
Before Practices and Games
Before you go out to the field, you should pack your bag with popsicle sticks or a putty knife, as you can use these tools to immediately clean your cleats after you’re done using them.
If it’s raining out—and the field is exceptionally muddy—your performance may be impacted by caked-on mud. But if you have popsicle sticks, a putty knife, and a toothbrush nearby, you can remove the mud as soon as you get a chance and then get back to performing great.
Removing all dirt, dust, and mud immediately after you’re done playing ensures your cleats stay in good condition for a long time. You should also have a towel at the field, as this item helps with cleaning the cleats.
Walking on Hard Surfaces With Cleats
Don’t wear your cleats before you get to the field. Walking on hard surfaces with cleats is a quick way to ruin them, as doing so exposes them to unnecessary wear and tear. Just wear a different pair of shoes to the field and keep your cleats in a bag.
When you’re at the field, take the cleats out. This way they stay in good shape and they’re only exposed to the elements when absolutely necessary.
After Practices and Games
Ridding your cleats of mud and other debris immediately after practices and games is an easy way to ensure you get many practices and games out of these cleats. As was said earlier, you can use the popsicle sticks you brought to remove mud, grass, and grime, all of which accumulate on the bottom of the cleats.
Then use the toothbrush to remove any scuffs. Once you’ve cleared the debris, you can use the towel to wipe off the cleats and get rid of any excess moisture. If any leftover mud is dry, you should clap the bottom of the cleats together, as doing so will get rid of this debris.
Note: Wait until you get home to do this second step, as the mud on your cleats may need more time to dry.
Transporting Your Cleats
You should use a plastic bag to transport the cleats, as this way you won’t have to get your other pieces of equipment dirty just because your cleats are. Wear the shoes you brought to the field on the way home. A lot of athletes wear sandals or slides, as they’re easy to put on and your feet can air out in them.
Rubber Pellets
If you’re playing on artificial turf, you won’t have to worry about mud, but you shouldn’t forget about the rubber pellets that make up these fields. While they’re small, these pellets can still be damaging if you don’t get rid of them quick enough. You should buy some cleats that are designed for turf, as these don’t kick up pellets as much as metal spikes do.
How Adidas Recommends Cleaning Cleats
You shouldn’t wash your cleats in the washer, nor should you dry them in the dryer. You should also keep them out of direct sunlight, and you shouldn’t dry them with a hairdryer. Placing them next to a radiator/vent is also a bad idea.
You should allow the cleats time to air dry in a spot that’s room temperature. You should never store them when they’re wet, as moisture can cause unpleasant odors to emit from your cleats and also compromise the material.
Use this step-by-step cleaning method, as recommended by Adidas, to get your cleats cleaned.
Step One: Prep Your Cleats
When you’re done using your cleats, bang them together sole to sole to dislodge any dirt, grass, or mud that’s accumulated on your cleats in the midst of playing. Then use a soft brush—an old toothbrush works here—to remove the remaining dirt.
Before you get to cleaning, you should remove the insoles and laces, as they should be washed separately in the washer. The water should be cold and the cycle should be delicate.
Don’t use a lot of laundry detergent. Also, it’s smart to place insoles and laces in a pillowcase, and then tie this pillowcase and put it in the washer. This way, these auxiliary components don’t get lost or damaged.
Step Two: Cleaning
Now it’s time for cleaning. Start by mixing warm water with some liquid detergent and then apply this to the stains on your cleats. You should apply the mixture with a washcloth or an old toothbrush.
There shouldn’t be too much liquid soap in the solution, as you don’t want the cleats to absorb too much soapy water. This may leave them smelling bad.
Step Three: Rinse
Now grab a warm bucket of clean water and soak a washcloth in it. Use this washcloth to rinse off the cleats.
Step Four: Dry
Now lay out some paper towels or old newspaper and on this layout put the wet cleats. Remember they should be air drying in a spot that is room temperature. Air drying ensures the cleats retain their shape.

Matt loves everything DIY. He has been learning and practicing different trades since he was a kid, and he's often the first one called when a friend or family member needs a helping hand at home. Matt loves to work with wood and stone, and landscaping is by far his most favorite pastime.
More by Matthew Mountain