KitchenAid Dishwasher Keeps Running? (4 Possible Causes & Fixes)

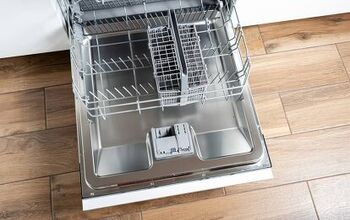
KitchenAid makes a long list of appliances that have become favorites in kitchens across the world. Their line of dishwashers in particular is a fan favorite. From time to time, however, there is the chance that these dishwashers will just continuously run.
When the KitchenAid dishwasher continues to run, you should take a moment to unplug it. From there, you can troubleshoot the issue at hand. The most likely reason? The control board is either faulty or not working at all. When the control board is bad, you will need to replace it entirely.
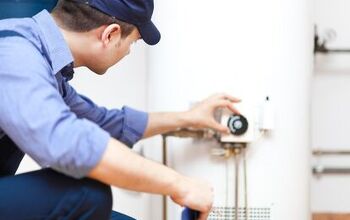
Do You Need Appliance Repair Services?
Get free, zero-commitment quotes from pro contractors near you.

Issue #1: Control Board
As you can imagine, the control board, well, controls everything. The majority of functions that the dishwasher performs are tied to the control board. When it malfunctions, there are several things that can go wrong with your KitchenAid dishwasher.
It may fail to go through a full cycle. It may not stop running. Or it may not start up at all. Really, it depends on your situation. The control board can be a bit tricky to replace, so consider bringing in a professional to do the job. If that does not resolve the issue, then you may have to perform additional troubleshooting to solve the problem.
How Do You Replace the Electronic Control Board?
Let’s just say for argument’s sake that you have determined the control board to be at fault. What do you do? Are you stuck having to call a repair technician to come out and fix the issue? Well, if you are willing to put on your DIY hat, you may be able to get the job done yourself.
Step 1: Cut the PowerBefore you do anything at all, cut the power. Either unplug the dishwasher or cut the power to the breaker. Just verify that the power is off by checking to see that none of the buttons respond when pressed.
Step 2: Remove the PanelsOpen up the dishwasher door and then remove the screws on the inner door panel. Make sure that you support the outer portion of the door with one hand. You don’t want the door panel to fall off totally.
Then, slightly separate the outer door panel and the control panel from the inner portion of the door. Rest the outer panel on the floor as you disconnect the harness with the user interface control from the rest of the control panel. You should now be able to fully pull the outer door panel as well as the control panel altogether.
Step 3: Remove the Control BoardNow that the panels are out of the way, it is time to remove the electronic control board itself. Start by lifting the locking tab. When you have it moved, you should be able to slide the control board to the left slightly. This process should release the control board from the inner portion of the door panel entirely.
Now removed from the inner door panel, you will need to release the cover locking tabs. When those have been removed, you can remove the cover to the electronic control board. All that is left to do is to release the wire harness connector brace and then, finally, the connector box cover. All that stands in your way from there is to disconnect the wires to the electronic control board.
Step 4: Installing the New Control BoardThe installation is really quite simple, though there are a few steps within this step to take heed of. Follow the steps carefully and you should have a relatively easy installation.
- Remove the cover. Start by taking the cover off of the new electronic control board. You can’t do much when the cover is still in place.
- Connect the wires. Take your new electronic control board and connect it carefully to the existing control board wires. Make sure that you match up the corresponding wires to ensure that it works the way that it is meant to.
- Install the wire harness. With your wires connected, it is time to install the wire harness connector brace. Refer back to the removal of the old board if you don’t quite get this step. Finally, put the connector box cover back on to provide the necessary protection for the new control board.
- Control board cover. Before you can test things out again, you need to install the board cover over the top of the electronic control board. It should be the matter of a screw or two at most.
- Mounting slots. Now comes the time to push the new board into the existing mounting slots. Slide the board to the right in order to engage it properly to the locking tab.
- Panels. With the electronic control board in place, all that remains are the outer panels. Reinstall both the outer door and control panels. Reinstall the mounting screws. Finally, restore the power to the unit and give it a shot. If the control board was at fault, it should be working normally once again.
Issue #2: Timer Motor
If you have gone through all the necessary troubleshooting steps and feel like the control board is fine, there are other items worth checking. For one, the timer motor could be off. The cycles that the dishwasher runs are controlled via a timer. The timer regulates starts, finishes, and switching between things like heating, rinsing, washing, etc.
If your KitchenAid dishwasher won’t turn off, then the timer motor could be the issue. Thankfully, troubleshooting the motor is fairly easy.
- Control panel face. After turning the power off, open up the control panel face. Take out all of the screws from the control panel as well as the latch. Open up the door and take out the panel screws; you should see the timer motor.
- Remove the wires. There are two wires at the top of the motor. Remove them but make sure that you tape them so that you can properly relocate them later on.
- Ohmmeter. If you don’t have an ohmmeter, get one. Use it to check out the functionality of the motor. Set your ohmmeter to X1000; your reading should come in between 2,000 and 3,000 ohms. If it is lower than that, you need to replace the timer motor.
Issue #3: Heating Element
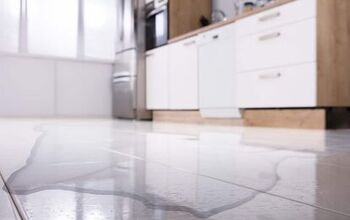
When your dishwasher is unable to achieve the proper temperature, the cycle can be disrupted. It can get stuck in the heating stage and fail to switch over to the washing stage. You may notice this or even undissolved detergent, which both point to a failure with the heating element.
- Find the heating element. As always, start by turning off the power to the dishwasher. Never do repair work on a dishwasher that is still plugged in. There is a thick metal rod near the bottom of the dishwasher. That is the heating element. It can look slightly different depending on the model, but it should look like a thick metal rod.
- Wiring. Take off the front lower panel of your dishwasher to get to the wiring that connects this part of your dishwasher. Take out said wires, labeling them so that you can put them back in later with no issue.
- Check the terminals. Set your multimeter to X1 and check out the terminals for the heating element. When a heating element is working properly, you should have a reading between 0 and infinity. Anything else indicates an issue with the heating element.
- Replace. If it doesn’t give you a reading in that range, then you will have to take out the lock nut and remove the old heating element. Put the new element in, reconnecting the wires and power when you are done. Check your work and see if that solves the issue.
Do You Need Appliance Repair Services?
Get free, zero-commitment quotes from pro contractors near you.
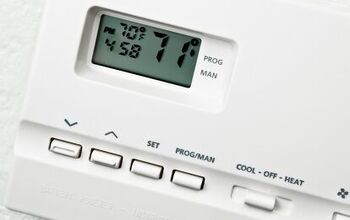
Issue #4: Faulty Thermostat
Similar to the heating element, when the thermostat isn’t functioning properly, then the dishwasher could get stuck trying to go to the heating stage. If you notice that there is a lot of steam and hot water forming in your dishwasher cabinet, it could indicate that the thermostat is damaged or broken. Here is how to replace the old thermostat with a new one.
- Remove the panels. Whenever you do work on an appliance, disconnect the power. Whether that means unplugging the unit or switching off the breaker is up to you. Then, move to the outer door panel as well as the control panel. You can take out the screws to get access to the toe and bottom front panels.
- Disconnect the wires. Locate the high-limit thermostat and disconnect the wires running out of it. Also, make sure that you pull out the metal mounting bracket in addition to the thermostat itself. Pop-out the thermostat.
- Install the new one. Pop the new thermostat into the bracket in place of the old one. From there, it is about retracing your steps. Reconnect the wires, put the toe and front access panels back into place, and screw the outer and control panels into place. Turn the power on and give it another shot.

Ryan Womeldorf has more than a decade of experience writing. He loves to blog about construction, plumbing, and other home topics. Ryan also loves hockey and a lifelong Buffalo sports fan.
More by Ryan Womeldorf