How To Winter-Proof Your Home (Winter Checklist)

Going into winter can be daunting when you don’t know where to start when it comes to preparing your home. The last thing that you want to do is struggle to catch up when the temperatures plummets.
So, what should you do if you don’t know how to winter-proof your home?
The first step to winter-proofing your home is to disconnect your hoses and disable your sprinkler system.
Seal the gaps in your windows with caulk and install weatherstripping under your doors to keep warm air inside.
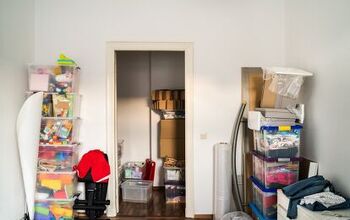
Add more insulation to your basement, attic, and garage before the temperatures fall too low during the winter.
Make sure to bring in your outdoor furniture or at least cover it with a tarp. You can keep your potted plants alive during the winter if you bring them inside and use a grow light.
Follow along as we explore how to winter-proof your home.
How Do I Make My House Winter-Proof?
You can winter-proof your home with simple steps such as disconnecting your hoses and winterizing your deck. It’s necessary to winter-proof your home so that your home is comfortable when the temperatures plummet.
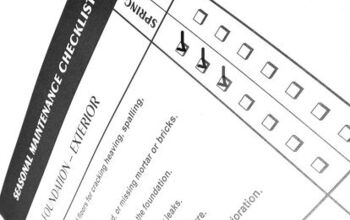
Let’s run through the essential winter checklist for how to winter-proof your home.
1. Disconnect Your Hoses
Ideally, you should disconnect your hoses in the fall when it starts to get cold. However, this should be a priority in the winter if you haven’t done it yet.
Water gets trapped within your hose, which can freeze and cause pipe damage in your home during the winter.
This can lead to thousands of dollars in repairs. Disconnect your hoses, wrap them up neatly, and store them inside for the winter if you have room.
Otherwise, you can keep your hoses outside as long as you disconnect them and drain the water.
2. Winterize Your Deck
Winterize your deck and or patio before the temperatures drop too low. Sweep and rake your deck to remove leaves and debris.
The problem will only become worse if the leaves and debris get covered in snow and ice.
You can also take this chance to re-stain your deck if it is worn. Sealing and staining your deck before the winter can protect it from snow and ice.
Stack your deck furniture and put it inside or under the roof cover.
3. Put Your Outdoor Furniture Away
The last thing you want is for your outdoor furniture to look worn in the spring and summer. You can avoid this if you put your outdoor furniture away before it gets too cold.
Otherwise, you can place it underneath your deck, but that doesn’t guarantee that it won’t get wet if it’s windy when it snows.
You can also cover your outdoor furniture with tarps if you don’t have room for it in your home. It may not be the most visually appealing option, but it’s better than damaging them.
4. Prepare Your Sprinkler System
The first step is to turn off the water supply to your sprinkler system. Disable the timer so that your sprinkler system doesn’t use any energy during the winter.
Many modern sprinkler systems have an automatic drain function to remove the water.
Enable this function or manually drain your sprinklers using the shut-off valves. Open each valve and wait for the water to rush out.
Check each of the air vents and drain outlets to make sure that they aren’t covered. This will prevent the pipes from freezing during the winter.
5. Bring Your Plants Inside
Do you have any outdoor potted plants that you can keep alive indoors? If so, you should bring them inside for the winter so that they don’t die.
Install grow lights or put your potted plants near sun-facing windows so that they can thrive for the winter.
You can find small grow lights for indoor plants for as little as $15. Sometimes, sunlight isn’t enough to keep your plants alive during the winter even if you have plenty of windows.
Use grow lights so that your plants are alive and well when it comes time for spring and summer.
6. Seal Gaps
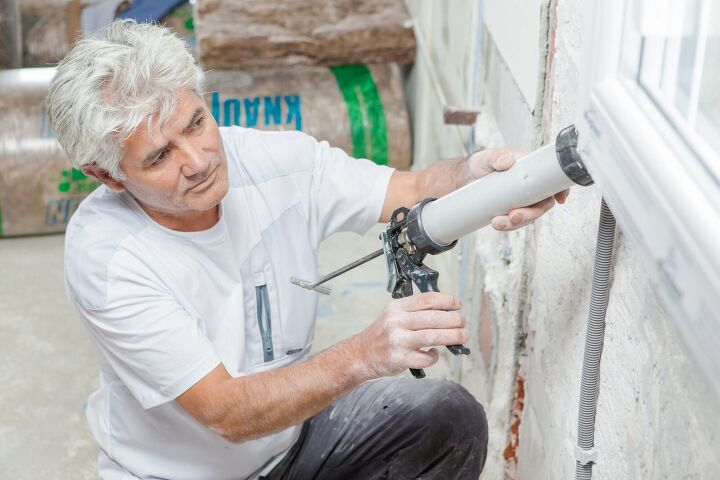
It is important to seal the gaps in your doors and windows before the temperatures plummet in the winter. Remove old and worn caulk from your windows. Use a caulk gun to replace the old caulk and create a tight seal.
Install weatherstripping and draft stoppers if you have gaps underneath your door. This will help keep warm air in your home and stop cold air from coming in.
Not only will this make your house warmer, but it will also help reduce your energy bill each month.
7. Improve Insulation
There is no better time to improve your insulation than winter. Check your attic and basement insulation to make sure that it is intact.
It costs an average of $0.50 per square foot to insulate your home, and it’s worth the cost.
Costs vary based on labor rates and which type of insulation you choose. Insulation is worth the cost because it will help keep your energy bills low during the winter.
Summing It Up
Bring your outdoor furniture inside at the start of winter so that the snow doesn’t damage it. You can also cover your furniture with a tarp, but make sure to weigh it down so it doesn’t blow off.
Disconnect your hoses, drain the water, and store them indoors so they don’t freeze.
Seal the gaps in your doors and windows and add insulation to your attic and basement. This will keep your electric bills as low as possible and keep your house warm.
Drain the water from your sprinkler system and turn off the timer. Clean your deck and re-seal or stain it to protect the surface from snow and ice during the winter.
Related Guides
Nick Durante is a professional writer with a primary focus on home improvement. When he is not writing about home improvement or taking on projects around the house, he likes to read and create art. He is always looking towards the newest trends in home improvement.
More by Nick Durante