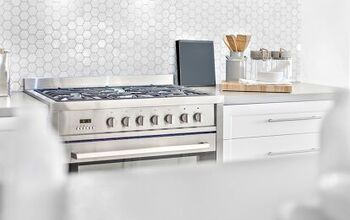
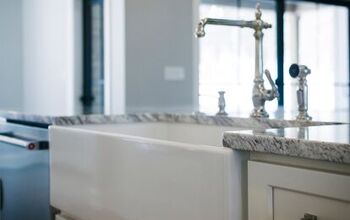
Can You Change Kitchen Cabinets But Keep The Countertop?
Whether you’ve just moved into a new-to-you home or you’re just itching for a fresh look, the kitchen is a great place to start. It’s extremely common for homeowners to want to remodel things like cabinets, countertops, and flooring.
Yes, you can change the kitchen cabinets but keep the countertops. One way to do this is refacing the cabinets, and it gives your kitchen a beautiful, updated look. The plus side is you can do this on your own, and it’s not too much work, or too much money depending on the cabinets.
If you’re looking to change your kitchen cabinets while leaving your countertops alone, you’re in the right place. Resurfacing cabinets is a lot more than just painting them. Below we’ll discuss exactly how you can get the job done without breaking the bank.
Do You Need to Hire Cabinet Installers?
Get free, zero-commitment quotes from pro contractors near you.

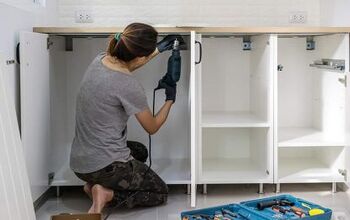
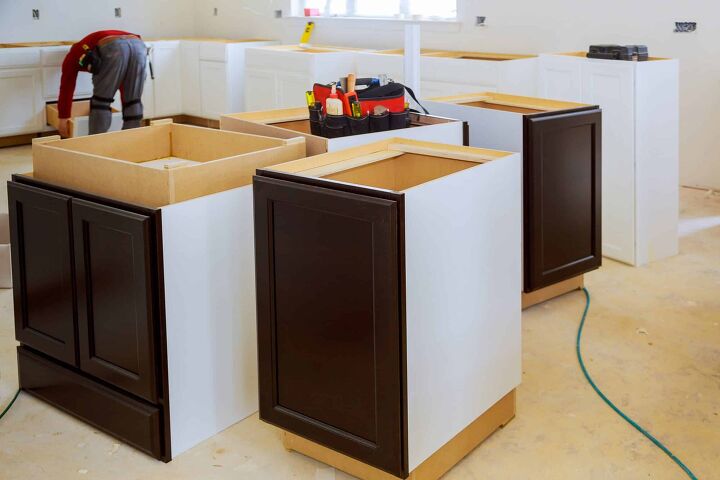
Removing and Replacing Kitchen Cabinets
If you’re looking to completely remove the kitchen cabinets and install something new, here are some easy to follow instructions. After this, we’ll discuss how you can resurface cabinets if you’re looking for a quick and easy redesign.
Step 1
Start by unscrewing all of the installation screws that are keeping the cabinets attached to the walls. If the cabinets were put in before the floors, you might not be able to remove them completely.
If you’re working with a toe base that was built-in rather than being a separate piece, you’ll have to get rid of the boxes. After you’ve removed the screws, you can move onto step number two.
Step 2
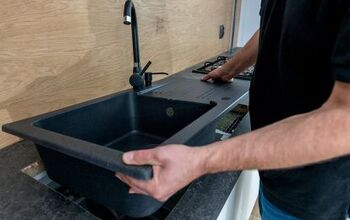
Next, you’ll need to cut around the plumbing of the sink. Use a saber saw or a salzsaw to get the job done. The cut has to be big enough for the whole cabinet to slide past the sink.
If you’re looking for an alternative to cutting the back of the cabinet around the plumbing, you’re in luck. You can knock the back off of the cabinet’s sides and remove it later, leaving it in place until then.
Step 3
For the third step, you’ll be removing the cabinet parts from underneath the counter cut. After you get this done, you can assemble 2″ by 4″ studs. These are used to prop the countertop in place while you work on changing the rest of the cabinets.
Step 4
Before you start installing the new cupboards, it’s essential to clean the area. You should use a bleach or mildew killer all over the walls. This will also allow you to check for water damage that may have occurred where the cabinets used to be.
It’s a good idea to fix any water damage before putting in the new cabinets. If left untreated, it can lead to health problems that could affect anyone in the home. If you find an excessive amount of mold on the walls, there are professionals that can help remove it.
Step 5
Whether you bought new cabinets from Home Depot or you’re making them from scratch, it’s crucial to have the proper measurements. As you begin to install the cupboards, you’ll remove the props as you go.
Don’t shy away from cutting down cupboards to have them fit properly. You can always put in a toe base that can close out the cabinets on the bottom.
Something to Note
Changing the kitchen cabinets while keeping the countertops isn’t as daunting as it seems. It does take a bit more patience and critical thinking. Some situations allow homeowners to remove massive sections at once, while others require a piece by piece removal.
Your main focus when doing this home renovation is that the countertops are supported. The last thing you want is to have to replace something you intended to keep.
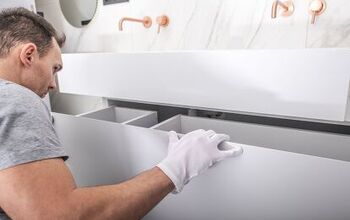
Resurfacing Kitchen Cabinets
Tools Needed
- Wood and deck stain
- Polyurethane, shellacs, and lacquers
- Paintbrushes
- Circular saw with blades
- Hand saw
- Finishing nailers
- Countersink bits
- Power drill
- Knife set
- Carpenter square
- Tape measure
Materials Needed
- Paint rags or cloths
- Sandpaper
- Self-adhesive veneer
- Finishing nails
- Wood drawers
- Wood fillers
- Specialty construction adhesive
- Cabinet hinges
- Drawer sliders
- Hardwood plywood
- Drawer pulls
- Cabinet samples
- Cabinet knobs
- Drawer track guides
Step 1
The first thing you want to do is evaluate the cabinets you’re working with. This will help you decide whether or not to resurface or replace them. When evaluating your cabinets, here’s what you should be looking for:
- Plywood or MDF construction
- Smooth surfaces in good condition
- Internal hardware in good condition – drawer tracks, shelves, internal storage structures
- Solid wood facing frames
If any of these things are lacking, it may be better to replace the unit entirely. It can even save you money and last longer in your kitchen.
Step 2
The next thing you should do is prepare to work on the cabinets. This means ordering any hardware and materials you may need. You’ll also want to remove anything that is in the drawers or cupboards and store them in another location.
Remove all hardware and take off the doors, drawers, and drawer fronts. Before moving onto the next step, make sure you have the proper safety gear such as gloves and goggles.
Step 3
Clean the sides and faces of the cabinets using a cleaner that can remove grease and oil. Let it dry completely before moving forward. Then, take medium-grit sandpaper and scuff all exposed areas.
Step 4
Wipe down all surfaces with a tack cloth to get off any excess dust from sanding. Then you’ll want to measure and cut plywood panels to fit the exposed ends of the cabinets. Do this by applying carpenter glue and press the pieces into place.
To secure the panels, use finishing nails. Next, fill in any leftover holes with wood filler and allow it to dry. Simply sand down until smooth, and you’re ready for the next step.
Step 5
The fifth step involves measuring all of the rails and stiles before taking record of the measurements. Then you’ll cut veneer strips according to the measurements previously noted.
Always apply veneer with the stiles and allow it to overhang slightly. Peel one corner back and press it firmly into place. Repeat this process until the entire surface is covered, using a utility knife to trim the excess once finished.
Step 6
Prepare the doors and drawers by cleaning them and allowing them to dry thoroughly. Then you’ll need to sand the surfaces and wipe them down with a tack cloth. You can apply a stain to match the new veneer using a paintbrush.
Step 7
Apply a protective coating by using a water-based polyurethane. This will dry fast and doesn’t have a chemical-like odor when applied. Brush in the direction of the wood grain and sand after it dries.
Wipe down the surface after sanding and repeat this process two more times or until you have the desired look.
Step 8
Reassemble all of the cabinets and ensure that all the doors are facing the same direction. After this, you can add hardware such as drawer pulls and cabinet knobs.
Do You Need to Hire Cabinet Installers?
Get free, zero-commitment quotes from pro contractors near you.
Related Questions
If you’re putting in a new countertop in your kitchen or bathroom, it’s a good idea to empty your cabinets. It’s only necessary to do this to the cabinets that are UNDER the countertop. This ensures all of your personal items are kept safe during the installation process.
Do cabinets need to be perfectly level?Surprisingly the answer is no. Cabinets don’t have to be perfectly level when being installed. It’s not uncommon for the floors in a home to be a little uneven. Instead of leveling the cabinets with the floor, use a level tool to ensure they’re as horizontal as possible.
Can you replace flooring without removing cabinets?You can indeed replace your kitchen or bathroom floor without taking out the cabinets. That’d be a ton of extra work, and you can easily just remove the toe kick to install new floors. Unless you’re replacing your cabinets as well, leave them in place.

Kirstin is a passionate writer who loves helping people learn new things when it comes to home improvement. When she's not behind a keyboard, she enjoys DIY projects, crafts, spending time with her pets, and making videos. She hopes that with all she writes, someone is finding a solution to their home improvement needs.
More by Kirstin Harrington