Can I Use Ceiling Paint As Primer? (Find Out Now!)
There are many ways to paint, and there are also many ways to improvise when painting. While sometimes those creative and alternative techniques work well, there are also times when they don’t. One of those alternative ideas involves using a substitute for primer. That also has led to the question, can I use ceiling paint as a primer?
Ceiling paint can be used as a primer, although it won’t be nearly as effective. In the majority of cases, although it will work, it will take a considerable amount of ceiling paint to do the job of a primer. If needed, however, it can be done provided the extra work is put into doing it right.
The big problem with using ceiling paint as a primer, is that it is so easily and readily absorbed by drywall and wood. That isn’t necessarily all that shocking though, as ceiling paint is not designed to be either a sealant or barrier. The good news is that if you are willing to put in the extra work and do it right, using ceiling paint as a primer can be a sufficient substitute.
Do You Need to Hire a Paint Contractor?
Get free, zero-commitment quotes from pro contractors near you.

Using Ceiling Paint as Primer
There are several steps involved when substituting ceiling paint for a primer. Here are the steps many contractors follow when they have to use a substitute primer like ceiling paint.
What you will need:
- Drop cloths
- Wet dry vac
- Roller brushes
- Paint sprayer
- Ceiling paint
- Protective gear (respirator mask, safety glasses)
- Basic painting supplies (painters tape, scissors, extra cloths, etc.)
How to Use Ceiling Paint as a Primer
These steps are the guides commonly used when using ceiling paint as a substitute for primer. While this process isn’t difficult, it can be time-consuming, require extra coats, and a considerable amount of work. Here is what you need to know and how to use ceiling paint as a primer.
Step 1: Clean and Prepare Room
The area that is going to be painted needs to be free of dust and particles. If you have sanded the drywall beforehand, then using a wet/dry vac can be an easy way to ensure the area is ready and prepped. Once the room has been thoroughly cleaned, then you can proceed. Be sure to mask any trim, running boards, and borders with painter’s tape.
Finally, make sure to cover anything, including doors and windows, that could get sprayed, and use drop cloths to protect the flooring and carpet. If it isn’t a permanent fixture and can be removed from the room, that is always the preferred option. Don’t forget to cover little things like outlets and light switches too. Now, we are ready to get the painting started.
Step 2: Prepping Paint Sprayer and Roller Brush
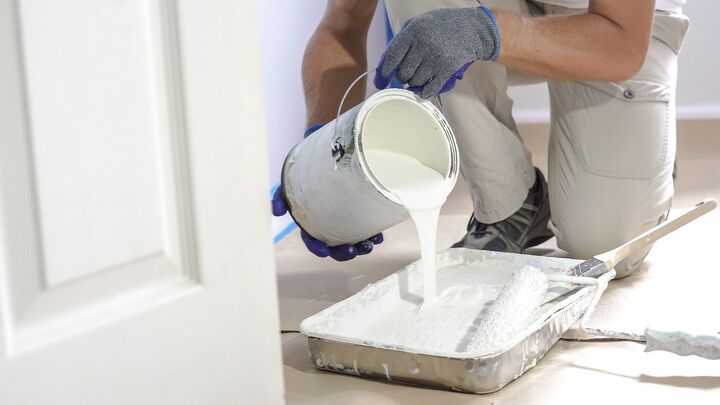
Fill the paint sprayer with the paint and use a medium-nap roller. It may be helpful to use an extension rod for the roller brush, depending on the area being painted and your reach. Set the roller brush in a clean paint pan when spraying.
Before starting, be sure to turn off any fans, blowers, ac units, or anything that can create airflow or stir the air in the room. Don’t forget to wear your respirator and to keep the spray gun about 12 inches from the surface being painted. This will allow for optimum coverage.
Step 3: Painting
Starting from either top corner of the wall being painted, begin painting with the spray gun and work down the wall. When you reach the bottom, gently work the spray gun over and then back up the wall. The goal is to continue this process throughout. This will allow for a smooth continuous motion until the wall has been given the first coat.
Next, using the roller, begin following the same pattern as the spray coat to roll the first coat of wet paint with the roller. This process is referred to as back-rolling. The aim is to help push the paint back into the pores of the wood or into the drywall to maximize absorption. During the back-rolling of the wall is when we should also look for drips or runs.
Step 4: Adding Additional Coats
Simply put, one coat of ceiling paint will not adequately do the job or replace the role of a primer. This means that additional coats will be needed. Use the same paint process, starting with the sprayer. Then, as before, follow with the back-rolling using the roller brush, continue adding additional coats.
This process can take more than a few coats and will require some patience and perseverance. When the paint stops being so easily absorbed, it means that the job is almost complete. Although ceiling paint can work as a primer, even despite the multiple coats, it still won’t be as effective as a primer. What it will do, however, is allow for more protection. This includes an extra barrier from damaging moisture. This process will also allow for the final coat to be evenly applied.
Do You Need to Hire a Paint Contractor?
Get free, zero-commitment quotes from pro contractors near you.
Painting Tips
It will be important, even with a respirator and your personal protective equipment, to allow for proper ventilation. This will not only allow the paint to dry more evenly and quicker, but it is also safer for you too. Remember that the air and fans have been shut off. That means opening or cracking a window in an adjacent room that won’t cause a draft is a good idea.
Another helpful time-saver is to be mindful to not spend too much time on perfection and worry more about coverage. The back-rolling steps will catch any drips and runs, and multiple layers will be required. And regardless of how well the first coat is applied, more will be needed.
Lastly, take your time. This process isn’t the ideal way to paint a room or wall. So allow time for the paint to be absorbed and the time to apply as many extra coats as necessary to prime the wall for painting.
Related Guides

We are a team of passionate homeowners, home improvement pros, and DIY enthusiasts who enjoy sharing home improvement, housekeeping, decorating, and more with other homeowners! Whether you're looking for a step-by-step guide on fixing an appliance or the cost of installing a fence, we've here to help.
More by Upgraded Home Team