


How To Install A Pellet Stove Through A Chimney
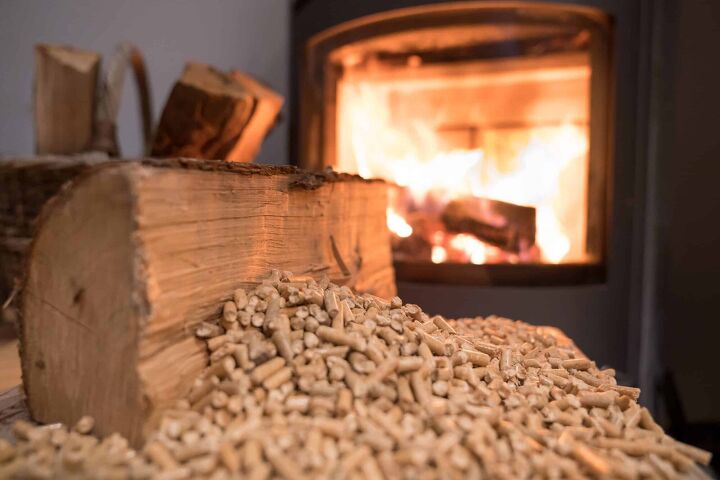
Pellet fuel appliances, or pellet stoves, are heating devices that generate heat by burning compacted pellets. They are incredibly energy efficient and can save you money if replacing a traditional wood-burning stove. According to the EPA, they can be up to 83% efficient.
To install a pellet stove through your existing chimney, you first must get your chimney inspected. After getting the all-clear, you can install a chimney liner that runs from the stove to the roof. This will safely seal off the stove exhaust from the rest of the house.
A pellet stove can be a great addition to your house if you are looking for a greener heating option. With a few modifications, you can get your existing chimney working with the stove to start efficiently heating your home.
Do You Need Brick and Stone Fireplace Installers?
Get free, zero-commitment quotes from pro contractors near you.

Before You Begin
As with any home improvement project, you are going to want to do some preparation before starting. This will ensure that your installation goes smoothly and that you don’t end up wasting too much time. It will also give you an idea of the type of equipment you are going to need.
Before starting, you should measure your chimney. You should measure the length and width. This will help you figure out what size liner you are going to need to install. It is important to note that your chimney liner must protrude at least 4 inches from the current chimney.
In this prep time, you are also going to want to check your current chimney for any leaks. Unlike a regular fireplace, a pellet stove actually forces air through the chimney. If you have leaks anywhere in your house, they will become a problem almost immediately.
Step 1: Clean Your Chimney
To check if your chimney needs to be cleaned, take the fire poker and scrape it along the edge of the flue. If it comes back out with more than ⅛ inch of buildup, it needs to be cleaned. Whether or not you have buildup, it is a good idea to clean it before the installation anyway.
Get yourself a chimney cleaning brush. These brushes are long and coarse with thick bristles on the end. Make sure to cover the end of the firebox that opens up to the hearth and the house. If that isn’t covered, you are sure to end up with soot all over your living room.
To clean the chimney, run the brush-up and down the length of the flue from the roof. This will dislodge any buildup and allow it to collect in the bottom of the hearth to be cleaned up. After the chimney is clean, you’re ready to move on to the next step.
Step 2: Get A Chimney Inspection
Before you install anything, you are going to have to go through a chimney inspection. This will entail a registered chimney sweep coming to your house and looking up the flue. They are specifically trained to spot issues so they will be able to tell you if there are any problems.
There are three levels of chimney inspection: Level One is done with a flashlight. Level Two requires roof access. Level Three entails some element of demolition. Luckily, to install a pellet stove, you only need a Level One inspection. The others are for heavier-duty jobs.
Inspections being done by a chimney sweep is handy because if you need extra cleaning, they can do it. Of course, it is cheaper if your flue is completely clean and they don’t have to do any extra work. This is why getting it as clean as you can beforehand is important.
Step 3: Install A Chimney Liner
Once your chimney is deemed safe, you will install a chimney liner that connects to the stove. This liner makes a tight seal and ensures that your pellet stove does not emit smoke into the house. It is the most important step in connecting the stove to your chimney.
Some chimney liners go all the way up the length of the chimney and others only go partway up. Liners that only go partway up are difficult to clean and require dismantling the stove to do it. Full-length chimney liners are much easier to clean on the inside from the roof.
When considering whether to get a full or half-length chimney liner, you have to think about the cost. A full-length liner will cost much more due to the increased square footage. You will have to consider whether or not the convenience of cleaning it is worth it.
Step 4: Seal the Chimney
Once your liner is installed, you will want to install a seal plate at the top of your chimney. This makes sure that no smoke creeps down between the liner and chimney and gets in the house. It will also seal off the flue from any other outside elements.
At the very top of the liner, you will also want to install a vent cap. This vent cap seals the chimney and stove off from rain and snow. It will also allow the smoke to escape efficiently without building up inside the flue.
Types of Pellet Stoves
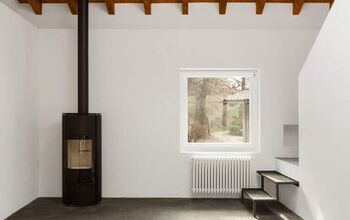
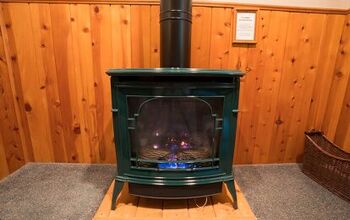
Free-Standing Stove
Free-standing pellet stoves require a lot of space in the living or front room. They must have enough room to stand on their own in front of the chimney or exhaust system. These are a good choice if you don’t already have a fireplace in your house.
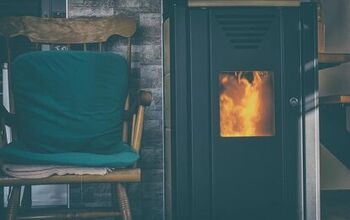
Insert Stove
An insert stove is what you are most likely to use if you are using an existing chimney and fireplace. They are fitted to go inside the hearth and will vent the exhaust up the chimney through the aforementioned chimney liner.
Types of Chimney Liners
Rigid Liner
A rigid liner is straight-walled and smooth on the inside, making it easy to clean. It should be noted, however, that a rigid liner will work best with a straight chimney. Any twists or bends are going to make the installation difficult.
Flexible Liner
This type of chimney liner is malleable and has ridges on the inside to help it bend. A flexible liner is a good choice if your chimney has a lot of twists and turns. Flexible liners are also quite a bit cheaper than rigid ones.
Do You Need Brick and Stone Fireplace Installers?
Get free, zero-commitment quotes from pro contractors near you.
Related Questions
How High Should My Chimney Be?
Whether or not you have a pellet stove, your chimney should extend at least 3 feet above your roof. This will ensure that you have enough clearance and that smoke isn’t escaping into the house. Always check your local building codes, though, as they may vary.
Do I Need an Outside Air Kit?
Outside air kits allow air from outside your house to flow into the pellet stove and fuel it. Even though they are not required, they are highly recommended. A pellet stove can quickly use up the air in the house, making it stuffy. An outside air kit will prevent that.
Can a Pellet Stove Heat The Whole House?
A pellet stove on its own will heat a large room or an entire open area. It will not heat other areas and rooms of your house, though. Luckily, there are solutions for creating more disbursement from your pellet stove throughout your home.

I am a writer and editor from The Bay Area, CA. When I'm not typing, I enjoy hiking, woodworking and gardening. I love sharing tips and discovering new trends in home improvement.
More by Michael Oconnor


![The 5 Best Angle Grinders – [2022 Reviews & Buyer's Guide]](https://cdn-fastly.upgradedhome.com/media/2023/07/31/9071326/the-5-best-angle-grinders-2022-reviews-buyer-s-guide.jpg?size=350x220)

![10 Most Dangerous Neighborhoods in Baltimore [Updated]](https://cdn-fastly.upgradedhome.com/media/2023/07/31/9075655/10-most-dangerous-neighborhoods-in-baltimore-updated.jpg?size=350x220)


