


What Size Screws for 1/2 Inch Cement Board? (Find Out Now!)
Cement boards are commonly used as an underlayment for tile, installed over walls, floors, and ceilings. These boards form a barrier between the frame or exterior of the area and the new tile installation. For this reason, cement boards must be firmly secured in place to prevent them from shifting or resulting in unnecessary damage down the line. With that said, you mind find yourself asking: What size screws should be used for ½ inch cement board?
When it comes to screws, the standard rule of thumb is that the screw should enter at least half the thickness of the material it is being driven into. You’d need about ¾-inch of screw thread to screw into a 2 x 4. With this in mind, you should use 1 ¼-inch screws for ½ inch cement board that is attached to wood framing or a similar material. If the studs are thick or metal, opt for 1 5/8-inch screws instead.
While some experts suggest using 2-inch screws, this may be overkill depending on the application. Though, in general, 1 ½-inch galvanized nails will also suffice and keep the cement board secure.
Do You Need to Hire a Siding Contractor?
Get free, zero-commitment quotes from pro contractors near you.

What Screws Do You Use with Cement Board?
To install cement boards, it’s important that you use screws that are specially designed for cement board installation. The majority of cement board manufacturers either provide or offer the right type of screws with your purchase. However, you can also find cement boards crews at a variety of home improvement, hardware, and online retailers.
These screws have a special coating that resists corrosion, which may occur because of the alkali levels present in the cement of the boards. They also feature a wide head with cutting flutes and hi-low threads for a robust grip. The small grooves located underneath the screw head allow the screws to dig into the boards and result in a better hold.
Can You Use Nails to Install Cement Boards?
Whether you don’t have access to cement board screws or simply cannot find them, there are a number of types of nails that can be used for securing cement boards. While screws tend to be the most recommended choice, nails can be used. If you choose to use nails to install cement board, only opt for galvanized or hot-dipped varieties.
These types of nails are commonly used in roofing installations and outdoor decking. They have a corrosion-resistant coating that is similar to cement screws, which allows the nails to resist rusting and fading when exposed to the alkali state of cement boards.
What Size Cement Board Screws?
When it comes to the size of cement board screw you should use, it all depends on the base that you are attaching the board to. Cement board that is installed over wood framing or some other similar base, the board will only hold with 1 ¼-inch cement board screws. For heavy metal or thicker bases, opt for 1 5/8-inch screws.
In regards to nails, 1 ½ inch galvanized nails will offer the best hold. For best results, a fastener should be placed every 6 to 8 inches along the perimeter of cement boards.
Note: For wall or flooring installation, some contractors choose to apply a layer of thinset mortar underneath the cement boards to avert shifting or expansion. Even if you choose to apply this additional adhesive, you should still use nails or screws.
The Importance of Choosing the Right Screws
Although cement board may look and feel very similar to drywall, the internal composition of the boards is very different. For this reason, drywall nails or screws will not work for installing cement board. The fasteners that are intended to be used with drywall are not resistant to corrosion.
When used to fasten cement board, drywall screws will corrode in the presence of Portland cement. Not only will they corrode, drywall screws will also break down the edges of the cement board and won’t be able to properly drive in flush. Choosing cement board screws that are specially designed for cement board installation ensures that both the fasteners and cement board last – due to the corrosion- and alkali-resistant coating on the screws.
The importance of choosing the right screws for cement board installation doesn’t have anything to do with weight. Instead, the issue is with corrosion caused by the cement products. As such, the screws you choose must be alkali resistant.
Do You Need to Hire a Siding Contractor?
Get free, zero-commitment quotes from pro contractors near you.
How to Install Cement Board
Now that you know the right type of screws that should be used to install cement board, the steps below will walk you through a brief rundown of the installation process.
- Plan the placement of the cement board sheets, so that the joints of the boards don’t line up with the subfloor joints. Instead, the boards should completely cover the joints of the subfloor. If desired, mark the placement using chalk.
- Cut the cement board as needed to fit in small areas and around obstructions. Score the cement board using a utility knife and then finish the cut with a jigsaw.
- Spread a layer of thinset mortar using the smooth side of a ¼-inch notched trowel. Start by spreading enough mortar for one sheet and ridge the mortar with the notched side of the trowel.
- Lay down the cement board sheets. Since thinset dries slowly, you can readjust and fix the boards as needed. While the mortar is still wet, place the first board. Then, repeat the process of spreading mortar and laying one sheet at a time. Allow for a ¼-inch gap between the boards and the wall, and a 1/8-inch gap between each cement board sheet.
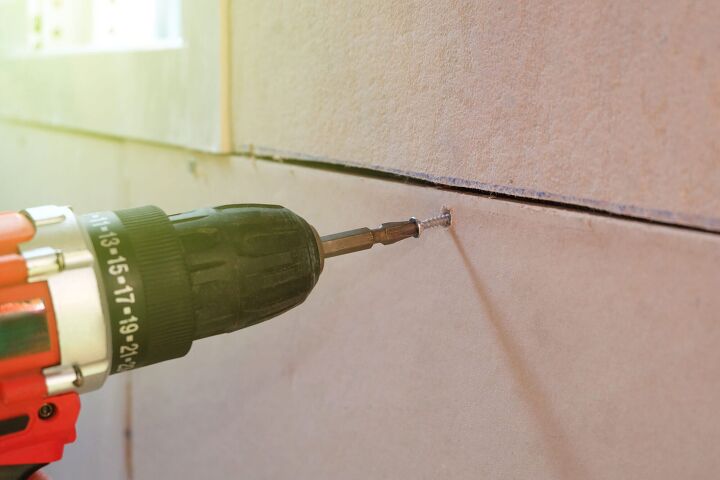
- Secure the cement board with cement board screws. Drill the screws into the cement board approximately every 6 to 8 inches. The screws should be placed at least ½ inch, but no more than 2 inches, from the edge of each board. Drive the screws into the board so the heads are slightly underneath the surface of the sheet.
- Fill the joints with mortar, using the smooth side of the trowel. The mortar should extend approximately 1 ½ inches on each side of the joint.
- Cover each joint with fiberglass tape. Cut the tape to size and press it into the joint mortar. Then, scrape off the excess mortar.
- Cover the tape with a thin layer of mortar, featuring the edges to leave a smooth surface.
Once all these steps are complete, allow the mortar to set and dry for 24 to 48 hours before you proceed with the tile installation.
Related Guides

Jessica considers herself a home improvement and design enthusiast. She grew up surrounded by constant home improvement projects and owes most of what she knows to helping her dad renovate her childhood home. Being a Los Angeles resident, Jessica spends a lot of her time looking for her next DIY project and sharing her love for home design.
More by Jessica Stone


![10 Best Electric Lawn Mowers - [2022 Reviews & Top Rated Models]](https://cdn-fastly.upgradedhome.com/media/2023/07/31/9070486/10-best-electric-lawn-mowers-2022-reviews-top-rated-models.jpg?size=350x220)


![The 5 Best Angle Grinders – [2022 Reviews & Buyer's Guide]](https://cdn-fastly.upgradedhome.com/media/2023/07/31/9071326/the-5-best-angle-grinders-2022-reviews-buyer-s-guide.jpg?size=350x220)


