Water Coming Out of the Shower Head When Filling Bathtub

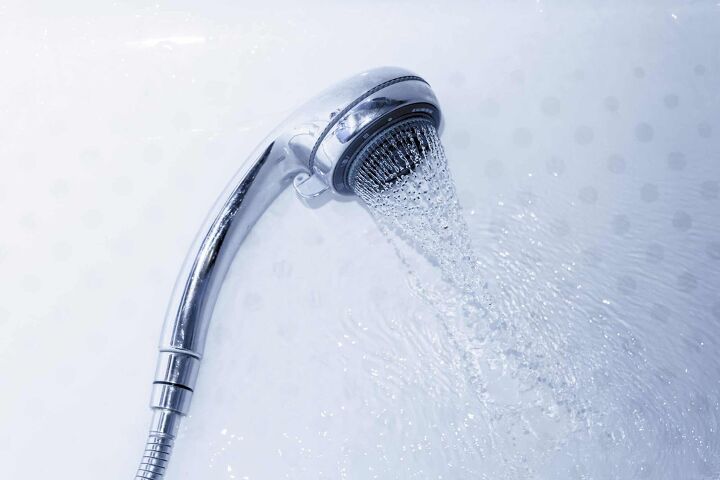
Have you ever turned on the faucet to fill your bathtub only to be surprised by the water coming from your shower head? Believe it or not, this is a pretty common issue. The good news? It may be super easy to fix! It’s just a matter of finding out the problem and knowing how to repair it.
Several issues can cause this particular problem. The most common issues are:
- A faulty diverter valve
- An installation mishap
- A water flow problem
Regardless of the cause, repairing it is relatively easy. It doesn’t matter if you’re a plumber or if this is your first time doing a DIY project. This article will explain how to assess the problem. Also, you’ll learn how to fix the issue to keep the water flowing correctly.
Don't want to do it yourself?
Get free, zero-commitment quotes from plumbers near you.

Assessing the Issue With Your Bathtub
The most critical step in this entire process will be to find the issue. If you don’t know what’s wrong, you can’t fix it.
Since you already know water leaks from the showerhead, try turning it on. While it’s running, you should check your bathtub faucet. If it’s still leaking, this indicates a faulty diverter valve.
It is crucial to replace your faucet as soon as possible. If you don’t, this could cause water to leak behind your wall, creating a more significant issue.
Something else you can try is checking for differences in water pressure. If you do feel a difference, this may point to an installation mishap. When someone incorrectly installs piping, it causes water pressure issues. However, if you find absolutely no water coming out, you have a water flow problem.
So, now that you know the potential issue, how do you fix it?
Keep in mind that installation mishaps and water flow problems are similar. This process is only to figure out what the problem may be. You won’t know what the problem is for sure until you take it apart.
Check Out Your Bathtub Spout
It is highly likely that your spout will be the main culprit. If the spout is indeed the issue, you won’t need to spend more time than you need to on this project. Besides, you won’t need to spend more money than necessary. Saving money is always awesome!
Remove Your Faucet
There are typically two types of faucets in bathtubs: Slip-on and screw-on. For both of these methods you will need:
- A screwdriver or a hex key
Check the screw on the underside of the faucet. Grab a flathead, Philips head, or hex key depending on the screw type.
- A putty knife
If you do not own a putty knife, you can use a razor blade. This tool will scrape off the caulk between the faucet and the wall. If there is no caulk, you do not need a putty knife or a razor blade.
- A flashlight
The screw under the faucet may be difficult to see. The flashlight will make this easier.
You need to locate your screw and remove it from your faucet. Next, you will scrape the caulk that’s between the faucet and the wall. Once you have finished with both of these easy steps, you will need to remove your faucet.
If your faucet is a slip-on, you can simply pull it off of the wall. However, if it is a screw-on, you will need to turn it counter-clockwise. After turning it 5 to 6 times, pull it from the wall.
Inspecting the Faucet on Your Bathtub
Now that you have the faucet removed turn the water on. If water does not come out of your shower, then the issue is the spout.
You should check your spout for any blockages. If you can visibly see a clog, you can remove it with a toothpick or a set of tweezers. However, if you cannot remove it, you should buy a new faucet for your bathtub.
Again, this issue can simply be your diverter valve. The diverter valve is the piece of metal you pull up to divert water to your shower head. Instead of fixing that piece, it would be easier to buy the new faucet.
Checking for Installation Mishaps and Water Flow Issues
If you find that your faucet is not the issue, it’s time to move on.
The next thing you will need to do is check for any installation issues. Check to make sure that:
- The valve of your bathtub port has pipes that are either 1/2″ copper or 1/2″ galvanized iron pipe.
If any of your installation piping is plastic, it needs replacing. The plastic tubing can cause water pressure issues as well as clogging problems.
- There is only one elbow from the valve spout to the port.
If there is more than one elbow, remove any additional ones. More than one elbow can cause a slew of frustrating issues.
- The distance between the valve and the bathtub spout is correct.
The tub spout should come between 6 to 11 inches under the valve. If it doesn’t fall within that range, then this is your problem.
- You look at the valve body.
The valve body is a part that may accidentally be upside down. If it is, simply fix it.
- You look for transitional pieces.
If there are any transitional pieces used in your piping, replace it. These can cause a lot of serious problems! Instead of risking it, simply replace the part.
Putting Your New Faucet Back On
First, make sure everything is in its place. If you had to remove transitional pieces, be sure you have replaced them. Put the faucet back on pertaining to the correct method. If it’s a screw-on, turn it clockwise. If it’s a slip-on, then shove it up until the end touches the wall.
After your faucet, it on, caulk it and wait for it to dry. After your caulk dries, turn the water on. Your water pressure should be better, and your showerhead should not have water coming out of it. See? Simple fix!
Why Does My Shower Head Leak When the Water is Off?
If your shower head leaks when the water is off, it can be worrisome. However, this is typically not a severe problem. If this happens to you, then you know it’s time to check your shower head for lime or calcium deposits. Lime and calcium deposit buildup are ubiquitous, especially in older showers.
When you have mineral deposits in your shower head, it clogs it up. When you turn the water off, it gets stuck behind the deposits. Therefore, the water slowly drips out, making it appear to leak. While the issue isn’t severe, it still needs replacing.
There are a few ways to remove mineral buildup in your shower head:
- White vinegar $3.99 at most stores
- Lime-Away $4.99 at Lowes and Home Depot
- CLR Remover (Calcium Lime Rust) $5.88 at Walmart and Lowes
Let your showerhead sit in the white vinegar. You can do this by filling a bag with it and tying it on the showerhead. Or, you can follow the instructions on the back of any chemicals for removal.
Don't want to do it yourself?
Get free, zero-commitment quotes from plumbers near you.

Educate Yourself and Follow Instructions for the Best Outcome
It may seem like a good idea to take a shortcut, but don’t do it! While cutting corners seems the best for time management, it’s not. You will spend less time follow step-by-step instructions because you don’t need to correct any mistakes.
Fixing faucet issues is a lot easier than someone would think. Follow the instructions, and you’ll be golden!

Heather is a passionate writer who loves anything DIY. Growing up, she learned everything from home repairs to design, and wants to share her tips with you. When she's not writing, she's usually hiking or searching for her next DIY project.
More by Heather Robbins


