


Rain Bird Sprinkler Zone Won't Turn Off? (We Have a Fix)
A sprinkler system can be a multi-faceted tool that you can use for not only home protection but for properly watering gardens and landscaping. They are meant to make things easier but there are times where they simply won’t turn off and an adjustment doesn’t work.
When the valves won’t turn off, this can mean the water will continue to run or at least leak. This can be the result of a bad controller, debris in the system, or several other things. Knowing the things that can go wrong can allow you to put an accurate fix into place before it gets out of control.
Do You Need to Hire a Sprinkler System Contractor?
Get free, zero-commitment quotes from pro sprinkler professionals near you.

How Does a Rain Bird Sprinkler Work?
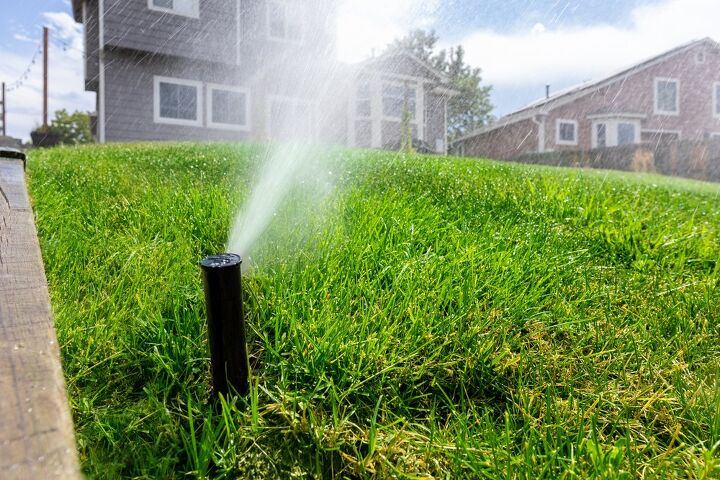
The Rain Bird valves are the type of controls that dictate the flow of water to either parts of the sprinkler system or to the entirety of the entire system. Generally speaking, most sprinkler systems will have one of two different types of valves.
The first valve is known as the ball or gate valve. This is your shutoff and it is used to cut off the entire sprinkler system. If you have multiple sprinklers, it can be helpful to have a main shutoff that can cut all of them off at a moment’s notice.
The second valve is known as a zone valve. The zone valve is meant to turn off certain sections of the sprinkler system. There are both electronic and annual signals that relay to the Rain Bird valves to signify if they should open and close; this will turn the water system off and on.
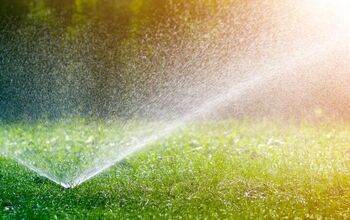
The Zone Won’t Turn Off
As stated previously, when the valves don’t turn off – be it for the zone or across the entire system – the water can continue to leak or run at full force. This can mean far more water consumed than you meant to and can really raise those water bills.
Naturally, you will want to know the causes that can create issues with the zone valve so that you can recognize and fix them in short order.
The Controller Could Be on the Fritz or Improperly Programmed
One of the most common reasons that Rain Bird Valves won’t turn off is because the controllers have been improperly set. This is also one of the easiest fixes to implement. The valves are all grouped into zones or sections.
It is rare that more than one zone operates at one time. If there is more than one zone running, you should check your controller to see if there are zones that have been programmed to run at the same time.
This problem can be solved rather easily by changing up the sequencing of the zones or timing your controller to keep the valves from being run at the same time. You can generally find instructions for controller operation inside on the inside panel that your controller came in.
Debris Could be Impacting the Solenoid
Since Rain Bird valves are located underground, there is a chance that debris could be an issue. This is because there is soil, loose debris, and rocks all around that could potentially get into the solenoid portion of the valve.
When this happens, the valve can get stuck open. This will keep your system leaking or running when you are trying to get it closed. The solenoid is located on top of your valve and is controlled by the electrical wires from the controller; that sends signals to this valve to keep it open or to close it.
If debris gets in the way, the solenoid won’t work properly. Start by taking off the solenoid covering before removing the filter and plunger. Use clean water to rinse everything completely and then reinstall it. After the re-install, check to make sure that your system’s valves are working properly.
Open or Loose Solenoid
The solenoid is meant to act as a manual control so that the valve can be opened manually. This is to act as a bypass in the event that the controller is not working properly. This can be useful come wintertime or during other events when draining the system is part of regular maintenance.
Performed on certain sections of the system, you will twist the solenoid clockwise in order to close it. Likewise, if you have a solenoid that is loose, you would twist it clockwise to tighten the solenoid properly.
Issues with Parts
Since the valves all have working parts that can wear down, get damaged, or simply get lost, it is worth checking to ensure that all of the pieces are in place and doing what they need to be. This can include the plunger assembly and retainer as well as the solenoid O-ring.
When those parts become damaged or worn down, it can cause the valve to not turn off. That is where the water will continue to leak and run. If you have checked the other issues and the water still won’t turn off, cut off the water to the system and then check all of the parts individually for issues.
One of the most common problems with a valve that won’t close is a damaged, bent, or destroy solenoid O-ring. You can fix this easily by inspecting it, re-installing it, or replacing it altogether if it has been damaged or twisted. Debris can cause misalignment as well, so make sure to clean it out if you think that is the culprit.
Shut Down Your System
If there is a zone that won’t turn off, the first step should be to try to kill the entire system. Most controllers will have something as simple as an “off” button, though it could say something like “rain off.”
This will not only cancel any of the scheduled sprinkler times, it will shut down the entire system entirely so that you can gain access to the valves and inspect the problem. If the sprinkler remains on even after you turn it off, there is a mechanical issue involved and you should turn off the main water source so that you can inspect the problem.
The Shut-Off Valve
You can find the shut-off valve at the source of the irrigation system that runs onto your property. It is important to turn off the water at this point because it will cut off water to your sprinkler but not to the rest of the house. Most of all, it will allow you to work on the potential issue without worry of flowing water.
There are also backflow prevention devices that can be used as a shut off point. Look for the green rectangle to find your backflow. Older backflow devices may have an oval shape instead. Generally, it is located closer to the road within your property.
Do You Need to Hire a Sprinkler System Contractor?
Get free, zero-commitment quotes from pro sprinkler professionals near you.
The Valves
There are either ball valves or gate valves involved when turning off the flow of water to your sprinkler. Most newer backflows will have ball valves that need to be turned horizontal to open it and vertically to close the valve.
There are also gate valves that are on some older backflow models. Turn it clockwise to cut the flow of water to your sprinkler system; it could be tough to turn it if you haven’t turned it in some time.
Make sure that you use gloves if there is resistance because they can not only break off, but cause injury if you aren’t protected properly. This should be the first step in the process if you have tried the other fixes and still have leaking or flowing water.
Related Guides

Ryan Womeldorf has more than a decade of experience writing. He loves to blog about construction, plumbing, and other home topics. Ryan also loves hockey and a lifelong Buffalo sports fan.
More by Ryan Womeldorf


![10 Best Zero Turn Mowers – [2022 Reviews & Ultimate Buyer's Guide]](https://cdn-fastly.upgradedhome.com/media/2023/07/31/9070522/10-best-zero-turn-mowers-2022-reviews-ultimate-buyer-s-guide.jpg?size=350x220)


