How To Winterize A Swamp Cooler (Step-by-Step Guide)

Having an efficient swamp cooler in the summer results from taking care of your cooler in the winter. In this article, we will give you a step by step process to winterize your swamp cooler properly. Preparing your swamp cooler for the off-season is not difficult, and it will increase the life of your unit.
To winterize your swamp cooler, first, drain the water from the pan. Then, clear the water lines running to your cooler. After that, you’ll want to cover your cooler and close all the vents into your home.
We are going to explain each of these steps in more detail below. You will likely need to climb a ladder, so be sure you wear proper footwear, like boots or tennis shoes. If you are unable to climb a ladder safely, consider hiring a professional.
Don’t wait to winterize! You might have other items lying around that need to be correctly stored. See our article on winterizing your pressure washer. Here are the steps to winterize your swamp cooler (also known as an evaporative cooler).
Five Steps to Winterize Your Evaporative Swamp Cooler
Before you begin, consult your owners manual or look up your model online. This will help you follow along with the steps we provide. Also, don’t wait until the temperatures are freezing to winterize. As soon as you no longer need cold air in your home, that’s the time to winterize. Waiting can result in damage and a loss of efficiency.
Here are the steps.
- Turn off power to your unit
- Turn off the water supply and drain the water line
- Drain water from your pan and clean up the remainder with a towel
- Close vents to the inside of your home
- Cover your unit
Before you begin preparing your unit for the winter, be sure to gather the needed equipment. You don’t need much, but it will save you time and frustration.
Here are the tools you’ll need:
- Several wrenches
- Screwdrivers
- Towel
- Shop vac (optional)
- Ladder
Let’s begin.
Step 1: Turn off Power to Your Swamp Cooler
Turn off the power to your swamp cooler before getting started. The last thing you want is for the fan to start spinning while you are winterizing. Also, you also want to remove any possibility of an electric shock.
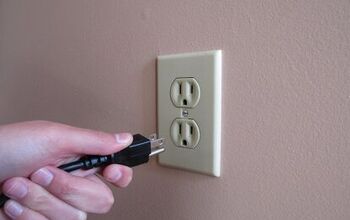
Most swamp coolers will have a shut-off switch indoors. Also, you can usually unplug the unit. We recommend you do both to ensure safety. If you don’t have an area to unplug, it’s a good idea to turn off the power at the breaker — mark which breaker you used for easy shut off in the future.
Now you’re ready to turn off the water supply.
Step 2: Turn off Water Supply and Drain Line
After you’ve cut the power, it’s time to shut off the water supply. The first step is to find the water source. The water supply will sometimes be from an outside water source, like a hose spigot. Or it might be from a sink inside. Where it is located will change how you winterize.
Once you find the water source, turn off the valve. After turning off the valve, you may want to drain the pipe. If your line runs inside your home, you may want to drain it. Because, if the pipe freezes and bursts, you will have a water leak inside your home.
However, if your line runs outside the home, if it burst, at least it won’t damage the inside of your home. Still, replacing the line could be a pain, so we recommend you drain the line either way. Preferably disconnect it and store it somewhere warm during the cold weather.
Now that you have your lines drained and turned and off, it’s time to take care of the water inside the unit.
Step 3: Drain Water from the Pan Inside your Swamp Cooler
Now, it’s time to clear out the reservoir within your swamp cooler. To do this, you’ll first need to remove one of the side panels. Some side panels come off the side with just a latch. Others need to be unscrewed. Be prepared with your screwdrivers, so you don’t need to make multiple trips up the ladder.
After you’ve removed the panel, you will have access to the pan full of water. Now, there are two things you can do.
First, you can just remove the drain plug and allow the water to run out of the system. However, some drain plugs are tricky to reseal. If the plug has eroded, then it can crack. In this case, if you have a wet shop vac, you can use this to drain the water out of the reservoir.
Once the pan is successfully drained, take your towel and sop up any leftover moisture. This is also an excellent time to clean out the whole interior of the unit. You don’t want any buildup of grime. Excess moisture can cause mildew.
Step 4: Close and Secure Internal Vents
Your swamp cooler will have a vent into your home. Close this vent to make sure there is no passive airflow into your home. Leaving any vents open can increase the heating bills in the winter.
Most vents have a lever to close the vent. However, in some instances, you will need to remove the whole vent cover and insulate the duct. This will make sure you get the best energy efficiency all year long.
Step 5: Cover Your Swamp Cooler
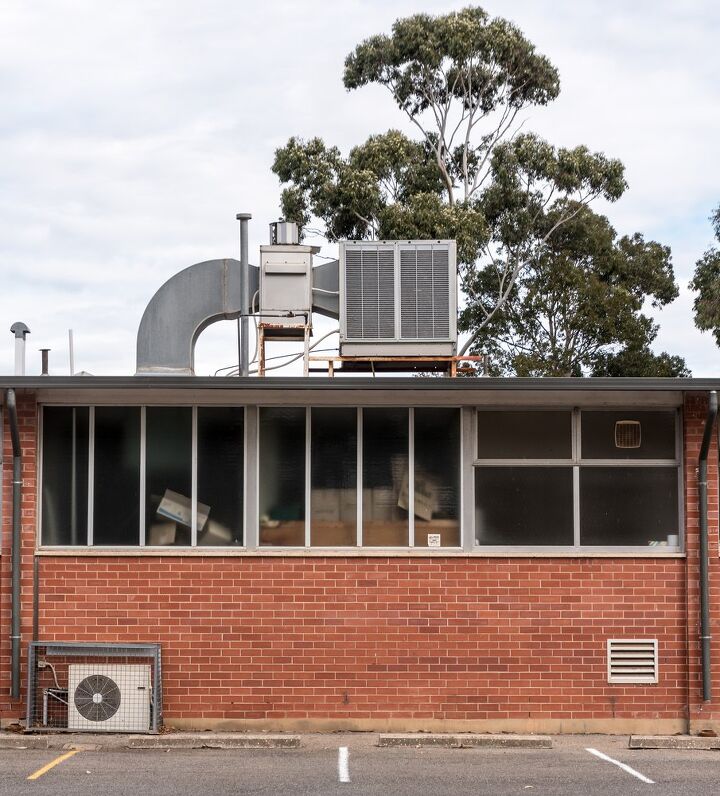
If your unit doesn’t already have a cover, you can purchase one. The cover keeps wind and rain from damaging the internal structure of your unit. Most covers are made of a non-abrasive material to keep from scratching your unit. Since most units are visible on the top of your home, you want to keep them in sparkling condition. A rusty unit will be an eyesore perched on the peak of your home.
If you don’t already have one, get a well-fitted cover and be sure to secure it at the base, so high winds don’t blow it off.
At this point, you should have your swamp cool properly winterized; however, some homeowners will take a few more steps to ensure their unit stays in immaculate condition.
Additional Ways to Prepare You Swamp Cooler for Winter
Here are three more small things you can do to keep your swamp cooler in flawless condition. These are not essential, but they can keep your unit running smoothly.
Replace the Evaporative Pads
The pads that soak up your water may need to be changed. Different types of pads will have various life spans. Consult your owner’s manual or have a professional check your pads to ensure they are working efficiently.
Pads can become clogged and brittle over time. Sometimes, all they will need is a good rinsing. Otherwise, you may need to replace them.
Remove Motor Belt
There is a belt running between your drum fan and the unit’s motor. If left on indefinitely, and especially in the cold weather, its lifespan will be reduced. Simply remove it and store it within the unit, so you don’t lose it. Otherwise, keep it inside in a clean, dry area where you won’t forget it in the spring.
Oil the Motor
This step will depend on your unit. If you’re unsure whether your unit needs to be oiled, consult the manufacturer to determine what type of oil you need and where to place it. Oiling the unit can help keep moisture out of the fan’s axle and keep your unit running smooth come spring.
Remember to consult a professional if you have any worries about winterizing your swamp cooler. They will be able to personally assess your cooler and advise on how to keep it running at maximum efficiency.
Is there anything else laying around your home that needs to be winterized before the cold weather hits? See our article on how to winterize your screened porch.
Related Questions
Can a Swamp Cooler Cause Mold?
Any time there is an increase in moisture, there is the possibility of mold and mildew. There is a possibility your swamp cooler could cause mold if you don’t keep an eye on it. To prevent mold, make sure you take proper maintenance measures and adequately winterize your swamp cooler.
How Do You De-Winterize a Swamp Cooler?
To de-winterize the swamp cooler, you first uncover it. Then, if removed, reattach the water supply. Replace pads if needed and clean out the inside of the unit. After you turn on the unit and allow it to run, watch for any leaks or strange noises. If you suspect your cooler isn’t working correctly, call a professional to come and assess. You don’t want to go into the hot season with an ineffective unit.
How Much Does it Cost to Winterize a Swamp Cooler?
The cost will depend on the materials you already have. If you’ve winterized in the past and can do it yourself, then it may cost zero dollars. However, if you’re new to the process, you will need to spend about $30 on a cover. Also, if you plan to oil your unit, you’ll need to purchase the correct mixture for your unit. Other than that, you should be able to perform the winterization with things you have around the house.

Gideon is a writer and hobby woodworker. He enjoys working on projects small and large-everything from crafting boxes and benches, to replacing carpet and landscaping a yard.
More by Gideon Zielinski


