


How To Tile Around A Tub With A Lip

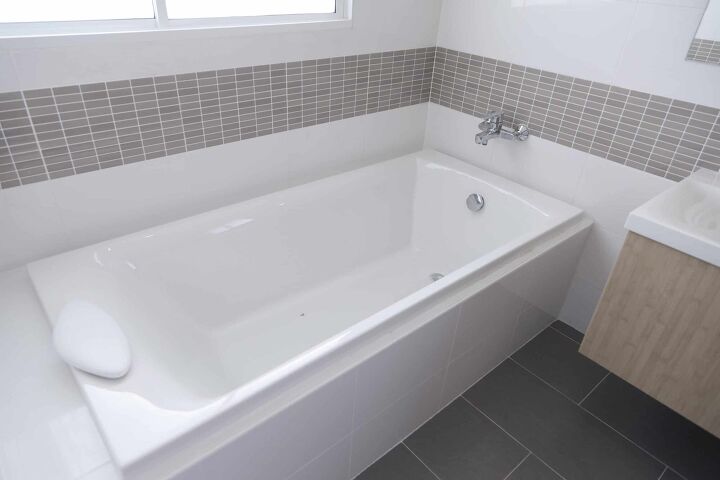
Many builder owners tile their own master bathroom, not just to save money, but to make it their own. Tiling is not too tricky, but it can take time. Not to mention, there are some variables, such as the tub lip, that can complicate things.
Tiling around a tub with a lip means that you need to place the cement board above it. You will install the tiles against the cement board, leaving the lip unexposed with a gap between it and the board. Secure the bottom row of tiles to the tub away from the lip with silicone caulk.
Your tub lip should be touching the wall framing and sit directly above the cleat. There is a ¼” gap between the cement board and tub lip for most tubs with lips.
Follow along as we go step by step in tiling around a tub with a lip.
Do You Need to Hire Tile Installers?
Get free, zero-commitment quotes from pro contractors near you.

Installing Tile Around Tub Lip
Before you can install tile around a tub lip, you need to gather several materials. The essentials that you need to tile around a tub with a lip include:
- Cement board
- Silicone caulk
- Sponge
- Trowel/spreader
- Eye protection
- Bucket
- Backboard screws
You can find ¼” x 3’ x 5’ cement board, such as USG Durock, for $10-$15. Cement board is a perfect base and underlayment for tiling a tub or shower. Sealants such as caulk are just as essential to tiling as well.
A layer of caulk needs to go between the lip and bottom row of tiles. Trowels or spreaders are the best tools for applying tiles. Tiling around a tub with a lip can involve debris and dust entering the air, so you need eye protection.
How To Install Tile Around a Tub With a Lip
You must tile around a tub after the tub is installed. If your tub is already installed, gather your materials, and you can get started!
1. Place the Cement Board
Unless there is already a backer board installed, you must place a cement board. Measure the dimensions of the middle tub wall going all the way to the ceiling. You want the cement board to go all the way to the ceiling and stop ¼” to ½” above the tub lip.
The cement board acts as a wall and framing for the tiles to go on. Before placing it, cut holes in the cement board where the plumbing fixtures are located. Now, place and nail the cement board to the wall framing so that it’s above the lip without touching it.
The tub lip should touch the wall framing, but not the cement board or backer board.
2. Secure the Cement Board
Use backboard screws to secure the cement board to the framing. The cement board must be completely level and even. Depending on the size of the tub, you may need to use 4-5 panels of cement board or more. Now, you must do several things to secure the board:
- Seal the edges between cement boards with fiberglass tape/adhesive
- Cover the taped edges with a layer thin-set
- Trim the cement board if necessary if it sits too close to the tub
- If any section of the tub touches cement board, caulk it
More than likely, if your tub has a lip, the cement board won’t directly touch it. Instead, the lip sits on top of a cleat board. Because of that, you may not need to caulk the cement board.
3. Apply Tile Mastic
Now, it is time to apply the tile mastic. Tile mastic is an adhesive material that you brush onto the surface of the backer board before tiling. Only apply tile mastic section-by-section because it stays sticky for 15-25 minutes at a time.
The area where the ¼” gap between the tile and cement board is slightly tricky. You can only apply the tile mastic where the cement board is, meaning that roughly ¼” of the tile won’t have the support of mastic. However, because the tub lip itself will be behind the tile, it is okay.
Do not apply tile mastic to the tub lift, because tile won’t touch it.
4. Tile Around Tub With Lip
Now, apply the tile in the small section that is sticky right now. Place each individual tile evenly and apply pressure against the board and wall. Applying pressure makes the tiles stick.
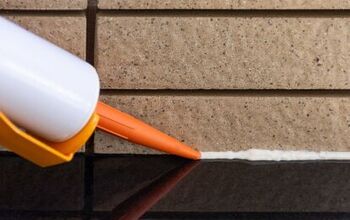
Where the tile overlaps the gap above the lip, you need to caulk where the tile hits the tub. The very bottom of the tile hits the curve of the tub lip in most tubs with a lip. Use a thick layer of silicone caulk as the lip is not supportive of the tile.
Continue this step and reapply tile mastic in small sections as you work your way around the tub.
5. Cut Tiles For Plumbing Fixtures
Once you get to spots where the faucet or shower head are, you must cut the tiles to accommodate them. Glass cutters and tile nippers are great tools for cutting holes in tile. When you lay the tile with holes in it, add a layer of caulk if the fixture is already installed.
6. Grout Tile Around Tub
Once you have laid tile across the whole tub, give it a full 12-14 hours to cure. After the time passes, you can grout the tiling around the tub. Mix a qt. of grout, latex additive, and a qt. of water in a bucket.
Dip a trowel into the bucket of grout and run it evenly across the tiles. Go section by section as you apply grout over the entire surface of the tiles. After 25 minutes, use a dry towel to rub away the grout that is on the tiles.
The grout that is between the tiles must stay, but any surface-level grout should be washed off. For the grout that stays on the tiles, wash it away with a washcloth and warm water. Then, all you need to do is add one more layer of caulk between the end of the tile and the start of the tub.
Related Questions
What if the tub lip sticks out past the cement board?
If you have room, attach another layer of cement board over the first. Choose a thinner cement board, ¼” thick if possible. If that is not enough to overlap the tub lip, try ½” thick cement board.
Should the backer board have a gap above the bathtub flange?
No, but there should be a layer of polyethylene between the two that extends up the wall. This is a weather-proofing measure that can prevent mold, mildew, and severe water damage behind your wall.
Do you install a tub before tile?
Yes, so that the tub and plumbing are entirely secured, sealed, and waterproofed before tiling. Otherwise, if problems come up, the tile would need to be removed in order to access the tub for maintenance.
Do You Need to Hire Tile Installers?
Get free, zero-commitment quotes from pro contractors near you.
What Did We Learn?
When you tile around a tub with a lip, leave a ¼” gap between it and the cement board. Use a thick layer of silicone caulk to secure the tub to the bottom row of tiles. When you go over the tiling with grout at the very end, apply one more layer of silicone caulk at the bottom of the tiles.
Not only can you tile around a tub with a lip, but anyone can do it. Good luck tiling around your tub with a lip!
Nick Durante is a professional writer with a primary focus on home improvement. When he is not writing about home improvement or taking on projects around the house, he likes to read and create art. He is always looking towards the newest trends in home improvement.
More by Nick Durante


![How Much Weight Can a 4×4 Support Horizontally? [It Depends!]](https://cdn-fastly.upgradedhome.com/media/2023/07/31/9070333/how-much-weight-can-a-44-support-horizontally-it-depends.jpg?size=350x220)
![The 5 Best Angle Grinders – [2022 Reviews & Buyer's Guide]](https://cdn-fastly.upgradedhome.com/media/2023/07/31/9071326/the-5-best-angle-grinders-2022-reviews-buyer-s-guide.jpg?size=350x220)
![10 Best Scroll Saws for 2022 [Ultimate Reviews & Buyer's Guide]](https://cdn-fastly.upgradedhome.com/media/2023/07/31/9070684/10-best-scroll-saws-for-2022-ultimate-reviews-buyer-s-guide.jpg?size=350x220)


