How To Pour A Concrete Driveway In Sections
A concrete driveaway is a great way to provide an entryway to your home that can last you for many years when installed properly. Concrete driveways can even increase the resell value of a home and add to its curb appeal. However, if you do not follow the appropriate procedures, your concrete driveway could become a pile of rubble in half that time.
Although you can certainly pour all of the concrete at once, for bigger driveways, and to achieve the best results when you’re DIYing the install, consider breaking it up into more manageable sections. Overall, if a driveway is more than 20 feet long or your plan is for it to be crowned, meaning higher on the side nearest to the foundation and center than on the far side, you should pour the concrete in segments. In order to pour a concrete driveway in sections, it must be divided up using pieces of 2×4.
Follow the steps outlined below to pour the perfect concrete slab and successfully install a concrete driveway in sections.
Do You Need Concrete, Brick, or Stone Pros?
Get free, zero-commitment quotes from pro contractors near you.

Step One: Constructing the Concrete Forms
The first step in pouring a concrete driveway in pieces is to build the forms that the concrete will be poured into. Start by positioning wooden stakes in the ground along each outer edge of where the driveway will be installed. The wood stakes should be placed every three feet and situated so that the tops of them protrude around six inches above ground.
Using string, create a line by tying it between the stakes at four inches above ground. Ensure that the stakes are level and follow any ground curves, should your driveway slope toward the road. To allow for easy entry and exit, curve the stakes slightly outward on each side in the areas where the driveway will encounter the road curb.
Then, take a piece of plywood, cut it in half lengthwise and curve one section for each edge of the driveway entrance. Follow up by nailing the plywood to your stakes. Inside the line that you created with the stakes and string, you will then place 2×4 planks into the ground and fasten them to the stakes using two-headed nails.
Finish off by generously painting motor oil onto the sections of the planks that will come in contact with the concrete. This will allow you to easily remove the boards after the concrete has set.
Step Two: Establish the Sections
With your forms installed, you should now establish and mark the sections. Using a cross-board of 2×4 boards that are the same width as your driveway section, you’re going to mark the first 10-foot long area. Position the board between two parallel planks down the sides of the driveway. Ensure that the cross-board is placed at a 90-degree angle in relation to the sides.
Rest a level on top to verify that it is completely flat before moving on to mark the next section. Your cross-board will not be nailed into place. Repeat this process until all of the sections have been marked. With the sections established, you can add reinforcing bars at 3-foot intervals. Position them above the driveway gravel base on either bricks or stones, about two inches high.
Quick Tip: Apply a strip of duct tape along any areas with preexisting concrete sidewalks or slabs. This will help keep these areas clean and protect from any possible splashing concrete.
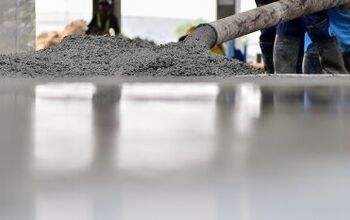
Step Three: Begin Pouring the Concrete in Sections
Before you start pouring into the forms, dampen the gravel base. Giving the base a good water spray will extend your finish time and slow down the curing to create a stronger concrete slab.
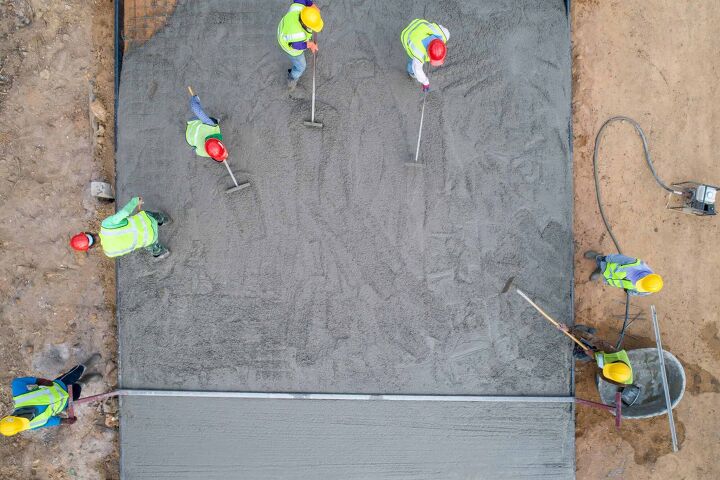
Start in one corner of the form and pour the concrete while a helper uses a hoe or shovel to spread it. Enlisting the assistance of one or more people will help ensure that the concrete is perfectly level before it starts to dry.
Pour the concrete against the form and use a shovel or hoe to compact it into all four corners. Move-in a pushing motion and avoid dragging, overworking, or spreading the concrete too far. Space out your concrete placement throughout the form and fill it by placing each new pour against the previous.
Quick Tip: Any excess concrete can be scooped out and moved over to begin the next form.
Step Four: Strike the Concrete
Use a strike-off, or screed board, to level out the concrete and pull back any surplus. Taking a straight piece of 2×4 lumber, work in sections, rather than after all the cement has been poured.
Move the plank carefully along each section in a side-to-side sawing motion to help prevent any voids in the surface. Make at least two passes over each form. Two people can help make this process more efficient and quicker. Whereas, a third person may be necessary to save time and shovel extra concrete into the corners.
Step Five: Smoothing the Driveway Surface
Once the concrete has been appropriately leveled, you can use a bull float or darby to smooth out the surface. For small DIY concrete projects, use a darby and a bull float for larger sized installs. Either device will help you to flatten any elevated areas and fill small hollows that remain after striking off.
Move the darby in overlapping arcs, then follow up with overlapping, back-and-forth, straight strokes. Keep the device flat throughout the entire process and avoid allowing it to dig into the concrete. For the bull float, push the tool away from you with the leading edge slightly raised and pull it back flat, overlapping your strokes.
Step Six: Edging the Concrete
Consider giving your concrete driveway sections curved edges so that it will be resistant to chipping and prevent tripping or stubbed toes. To edge the concrete, run a mason’s trowel between the outer edges of the forms and the cement. Then, follow up with an edger.
Run the edger back and forth along the concrete to compact it. Lift the leading edge up slightly as you move it, unless the edger has a toboggan end. Keep a hand float nearby as you’re edging, as it will eliminate any ridges left over by the edger.
Step Seven: Create Control Joints
As large runs of concrete harden, it will shrink and shrinking can result in cracks. While it’s difficult to stop cement from cracking, you can control where these cracks occur. Use a groover to create control joints that establish individual sections no bigger than 8-feet by 8-feet for a slab that is 3 ½ inches thick, and no larger than 10-feet by 10-feet for 5 ½ inch thick slabs.
The control joints should be cut into the surface at least one-fourth the depth of the cement. It’s most common to use a groover for this step, but you can elect to cut the joints with a diamond blade saw one day after pouring.
Do You Need Concrete, Brick, or Stone Pros?
Get free, zero-commitment quotes from pro contractors near you.
Step Eight: Finishing Up
For wet conditions, you can create a nonslip surface by running a broom over the concrete. The goal is to create a surface that is rough enough to establish traction but not so coarse that it hurts to walk on barefoot.
After you’ve broomed, you can strengthen your concrete driveway as it cures by either spraying it down with water every day for a week or applying a spray acrylic cure and seal product. After 24 hours, the concrete can be walked on safely but you should wait at least 10 days before you drive a vehicle on it.
Related Guide

Jessica considers herself a home improvement and design enthusiast. She grew up surrounded by constant home improvement projects and owes most of what she knows to helping her dad renovate her childhood home. Being a Los Angeles resident, Jessica spends a lot of her time looking for her next DIY project and sharing her love for home design.
More by Jessica Stone