How To Move A Toilet Drain In Concrete (Do This!)

Whether you are buying a new home or simply looking to change things up in your old one, those changes can have a potentially sizable impact. It all depends on what you are looking to do. Some changes are no more than aesthetic and can be done in short order. Others are a bit tougher.
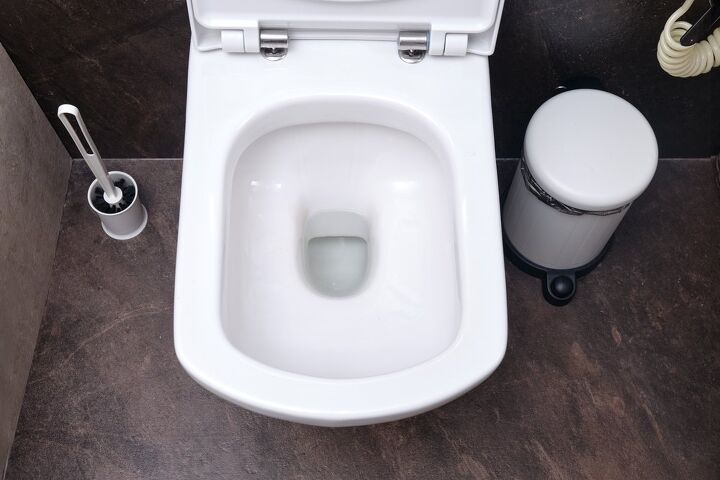
Like moving a toilet drain when the flooring is concrete. With traditional flooring, it just a matter of removing the flooring and making the shift. But concrete flooring is much more difficult to deal with. If you are handling the job yourself, you will have to jackhammer the concrete, create a trench, and redirect the drain. There is always the option to go with a professional.
Do You Need to Hire a Plumber?
Get free, zero-commitment quotes from pro contractors near you.

Why Move the Toilet Drain?
The first question most people would have here is “why move the drain in the first place?” the reason for moving a toilet drain during a remodel is to help with water and air flow. What you may not have realized is that the drains can also carry some of the odors created in the bathroom out of the house, especially through vent pipes.
When you are moving a toilet, you typically have to have the drain in proper alignment with the main sewer pipe. That is in addition to having the toilet drain in the right alignment with the vent pipe as well.
How to Move a Toilet Drain in Concrete
There are two primary methods for getting the job done here. The first is a DIY fix. It isn’t cheap and it certainly is not easy. It is not recommended for those with very limited DIY backgrounds as there is a lot that can go wrong.
The second method is to call in a professional. Most DIY projects are done to save on those costs but sometimes you have to bite the bullet. Depending on the setup of your toilet currently, it may be well beyond the scope of a DIY fix.
Step 1: Turn Off the Water
While this may seem like an obvious thing, it would surprise you to know how many people forget to turn the water off. Remember, you will be disconnecting the pipes running to the toilet. If you have already removed the toilet, then the water will be off. But if you are starting 100% from scratch, make sure that the water is off before you remove anything.
Step 2: Breaking the Concrete
There are two methods to get this part done. You can either try using a sledgehammer if the slab is up to four inches in thickness. That said, swinging a sledgehammer is physically exhausting work. The other method is using a jackhammer, which can be rented.
Proceed carefully with this step. Using a jackhammer in particular can be a little dangerous, especially if you don’t know where the piping actually is. The best method, if implementing a jackhammer, would be to break apart the initial inch or two and then work at the rest with a sledgehammer.
A sledgehammer provides greater control and precision. Furthermore, you can begin looking for the piping, pulling aside pieces of concrete as you go.
Step 3: Marking Off the Pipe
When you have successfully broken through the concrete slab, you should see a portion of the pipe. Depending on how much of it is visible, you may be able to determine the path of the piping both from the wall and to the toilet.
On the remaining floor, mark off the path of the piping. This is a good idea for two reasons. For one, it gives you a more precise idea of where the piping is beneath the rest of the concrete slab. Secondly, it potentially saves you time and labor. The less concrete that you have to break, the better off you will be in the end.
Step 4: Creating a Trench
For most installations, it is simply about “redirecting” the piping. You may have to add piping if you are moving further away or simply change the angle of the piping if you are moving in the other direction. It really depends on that instance.
The purpose of the trench is simply to act as a means of redirecting the piping. The trench does not need to be more than a foot, simple enough to house that piping. Depending on your setup, you may be able to make it slightly shorter, but a foot-long trench is a good place to start.
Step 5: Re-Route the Piping
You should know clearly where the toilet will go at this point. With that knowledge in hand, you can begin the process of adding more piping in. That piping will connect to the previous piping and run into your trench.
Anything more than the aforementioned foot or so is probably best left to a professional. That said, re-routing that little bit of piping should be relatively quick and easy. Just make sure that your connections are properly sealed to prevent leaking in the pipes.
Step 6: Fill in the Trench and Cover the Pipes
Now that your connection has been made, you are ready to patch everything up again. Start by filling in the trench with quick-dry cement. Make sure that you follow manufacturer directions to ensure that it dries properly. The last thing you want is to proceed when the concrete still needs to dry.
Finally, you can then fill in the rest of the concrete hole that you created. Make sure to leave a hole for the drain pipe that runs into the toilet, smoothing the flooring so that it is as even as can be. As is the case with the trench, ensure that it has the proper time to dry before moving on to the toilet installation.
Going with a Professional
Though it can be costly – to the tune of $1,500 to $3,500 – having a professional do the job has its perks. For one, there is no manual labor involved. Breaking through the concrete flooring can be difficult enough without the rest of the process involved.
Furthermore, professionals have the knowledge and experience to do the job the right way. If you are performing a DIY job and are not 100% certain of the work you are doing, that can eat away at you over time. Eventually, you will have a professional re-do the work that you already did.
Finally, a professional saves time. For amateur DIYers, tasks like these can wind up taking a lot longer than someone with the experience behind them. If you don’t feel like dedicating an entire day or even a few days to a project like this, a professional is the better option.
Do You Need to Hire a Plumber?
Get free, zero-commitment quotes from pro contractors near you.

Follow Proper Safety Precautions
Should you choose to go the DIY route, there are a few important things to consider. For one, take the proper safety measures. Wear protective eyewear and gloves, whether handling a sledgehammer or jackhammer.
Concrete dust can be very hazardous for your health, so make certain to wear respiratory protection as well. Far too many people skip these steps and wind up regretting their choice. Safety should always be paramount first and foremost.
When operating a jackhammer, use extreme caution. It is all too easy for something like that to get away from you. Next thing you know, parts of the flooring that you didn’t want to touch are damaged or you’ve broken through a pipe. If you are not comfortable with a jackhammer, don’t go that route.

Ryan Womeldorf has more than a decade of experience writing. He loves to blog about construction, plumbing, and other home topics. Ryan also loves hockey and a lifelong Buffalo sports fan.
More by Ryan Womeldorf


