


How To Fix A Faucet That Leaks After Replacing The Stem

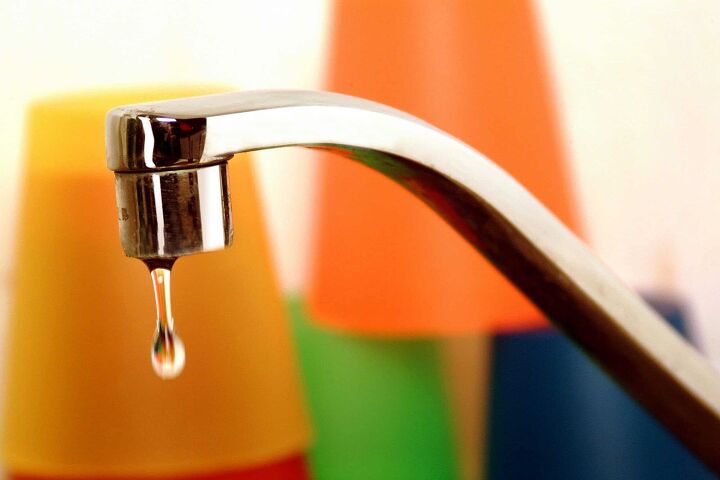
A leaking faucet is not only an annoyance but also wastes water which will cost you money over time. A leaky faucet that drips at the rate of one drip per second can waste more than 3,000 gallons per year.
For this reason, it’s important to fix these issues as soon as you see them occurring otherwise the costs will continue to pile up and the damage could get worse.
Depending on your faucet age, style, and type of materials, there are a number of places to look when trying to figure out where a leak is coming from.
If your faucet still leaks after replacing the stem, begin by checking the O-ring for damage. If it seems fine, check the valve seat and packaging nut to see if they are worn down and need to be replaced. You may need to replace the entire faucet if the problem persists.
Do You Need a Faucet, Fixture, or Pipe Repair or Replacement?
Get free, zero-commitment quotes from pro contractors near you.

Getting the Right Stem for your Faucet
Take your old stems to a home improvement or plumbing store to make sure that you are purchasing exact size replacement stems. Installing the wrong size could be the reason that you still have leaks.
Therefore, it is essential that your new stem be an exact replacement to the one you are replacing. Doing so will clear up any doubt that the issue is coming from the stem itself and you can move forward with finding out where the leak is originating.
Soldering On a Coupler
Washers commonly become worn out from the water pressure that forces them against the valve seat. The constant pressure can destroy the material over time, causing it to degrade, crack, or become too flat to hold the seal.
The first step to discovering where a leak is coming from and putting an end to it is checking your O-rings and washers. These are the easiest parts to find and replace as they are inexpensive and easy to access.
If your washers are too thin they can get compressed during the initial usage period. Each time you close the valve, the washer will get compacted a little more until it finally can’t hold the seal. If you use a thicker washer, or double them, this can help complete the seal.
If you find that your washers do need to be replaced, purchase new ones at a plumbing supply company as the quality and material will be of a much higher grade. You will also be able to talk with professionals about your situation and gain some useful knowledge.
Replacing the Washers
Step 1: Turning Off the Water
Turn off the water shut-off valve, usually located under the sink. If you can’t find it, trace the pipes back until you do or you can shut off the water main to the house.
Step 2: Removing the Handle
Take apart the faucet unity by unscrewing the tiny screws on the handles. They are occasionally hidden under a metal or plastic disk, if you can’t find them.
After the handle is removed, take an adjustable wrench and remove the packing nut. Twist this in the same direction as you would to open the faucet with the handle.
Step 3: Replacing the Washer
Remove the screw that keeps the washer in place. Check the washer for any damage. If it appears cracked, stiff, or compressed, it is time for a replacement.
Make sure to use the same size and shape washer as a replacement. Washers come in beveled or flat varieties and it is important to replace them with an identical shape. After replacing, reinstall the faucet assembly and check for leaks.
It Could Be A Problem with the O-ring
The O-ring, also called a toric joint, is attached to the stem screw. This screw is what holds the handle of the faucet in place. The O-ring keeps the water from seeping out from around the spout.
A faulty O-ring is a very common problem in cartridge faucets. Kitchen faucets have one or more O-rings to prevent water leakage and are easy to replace.
Replacing the O-Ring
Step 1: Removing the Handle
To replace the O-ring, remove the faucet handle by prying off the decorative cover and unscrewing the center screw.
Step 2: Accessing the O-rings
Using an adjustable wrench, tight them around the base of the valve and rotate counterclockwise to loosening it from the faucet body.
Step 3: Installing New O-rings
Pull off the old O-rings and slide on the replacements. Make sure they fit into the mechanism and slide the valve back onto the faucet body. Align any tabs or grooves and tighten with an adjustable wrench.
Put the faucet handle back over the valve stem, tight the center screw and return the decorative cap. Turn on the water and check for leaks.
Checking the Valve Seat
The valve seat is a part of the compression mechanism between the spout and faucet that connects the structure.
Valve seats can get damaged in a variety of ways. After replacing a stem and checking the washers and O-rings, the next step is to make sure the valve seat is in good condition.
A defective washer may have allowed the metal stem to grind against the seat and caused an unevenness. Another issue is that chemicals in the water could have built up a residue that is causing the washer from fitting securely against the valve seat.
When the washer and O-rings are replaced and the tap still drips, the valve seat is most likely the culprit. Changing the valve seat is simple if you have a seat wrench and a seat sleeve in your toolbox.
Step 1: Using the Seat Wrench to Replace the Valve Seat
Turn the wrench counterclockwise to loosen the valve seat and pull it out. Check for scratches and marks of friction from the washer, or for buildup from your water.
If buildup is the issue, soak the valve seat in a lime and scale remover solution for an hour. Scrub it with a toothbrush to loosen the deposits and rinse with water then reinstall it in the faucet.
Step 2: Even Out the Edges Using a Valve Seat Grinder
Another option is to use a valve seat grinder, which helps even out a worn seat. Take care to not use this tool with too much force, as the seat is made of soft metal.
When you remove your valve seat and check it over, if you see scratches and friction marks you will want to grind these out. This will remove the irregularities and smooth out the surface, allowing for a tighter seal. After using the Valve Seat Grinder, rinse off the valve seat and reattach to the faucet.
If your faucet is still dripping, you will need to replace the faucet valve seat. Buy an identical valve seat from the plumbing or home supply store. Install this and check for leaks.
If Your Faucet Is Still Dripping
If after all these steps your faucet is still dripping, you may need to replace the entire faucet.
Do You Need a Faucet, Fixture, or Pipe Repair or Replacement?
Get free, zero-commitment quotes from pro contractors near you.
Related Questions
How Do You Fill Gap Between Tub Spout and Wall?
Caulk It. If you’ve got a gap of 1/2 inch or less after you tighten the spout as far as it will go, the best way to erase it is to fill it with silicone caulk. Choose white caulk or one that matches the wall color, spread a thick enough bead to fill the gap, then tool it with your finger to give it a concave shape.
Should Tub Spout Be Caulked?
Yes, you need to caulk around your bathtub’s faucet. The caulking will keep any water and other liquids from going behind the faucet and into the wall behind the bathtub/shower assembly.
What Causes a Tub Spout to Leak?
Drops of water coming out of a tub spout can be normal if it has a diverter or it can be a leaky washer in the shower faucet. If it continues to leak all day, then it’s a leaky washer. If it leaks for an hour or so, but then quits, it’s water draining down from the showerhead and emptying into the tub.
Sean Jarvis is an interior decorator, writer, and expert handyman. Well versed in everything home improvement, he is a savant at manipulating words and spaces and upgrading everything around him. Sean specializes in writing concise guides about appliance repair and installation, home and lifestyle, and other residential projects.
More by Sean Jarvis


![10 Most Dangerous Neighborhoods in Baltimore [Updated]](https://cdn-fastly.upgradedhome.com/media/2023/07/31/9075655/10-most-dangerous-neighborhoods-in-baltimore-updated.jpg?size=350x220)


