How To Connect A P-Trap To A Wall Drain (Do This!)
Even if you aren’t a plumber by trade, you’ve likely seen the u-shaped section of piping underneath your bathroom or kitchen sink. This specific piece of plumbing equipment is referred to as a P-trap and is considered a vital part of your home’s plumbing system. If a P-trap is improperly installed or maintained it can cause a number of issues for the sink it services, as well as other universal problems.
In order for a P-trap to function properly, it must be installed correctly. Because of this, if you don’t feel confident in your plumbing skills, it’s always recommended to hire a certified plumber to install or replace your P-trap. However, that is not to say that it cannot be done by the average homeowner.
We’ll walk you through the steps to successfully connect a P-trap to your wall drain so that you can successfully achieve a fully operational plumbing system in your bathroom or kitchen.
Do You Need to Hire a Plumber?
Get free, zero-commitment quotes from pro contractors near you.

What Is a P-Trap and How Does it Work?
The u-shaped piping underneath your sink, or P-trap, is a crucial member of the plumbing system in your home. Plumbing codes require that a P-trap be installed anywhere there is an open drain line that ejects wastewater into a drain-waste-vent system.
Its primary purpose is to provide an airtight seal that prevents sewer gases from releasing into your home through the drain line. Your P-trap does this by holding a share of the drain water in its lower J-shaped bend. It also traps solids that could potentially clog the sewer or drain line in your home.
P-traps are able to function due to a water seal located in the curve of the trap. This seal stops the gases from expelling into your drain while simultaneously allowing wastewater to pass. The solids will linger in the trap so they can break down. Each time the trap is used, new water is introduced into the P-trap, clearing out any traces that may still remain in the trap part of the piping.
The Anatomy of the P-Trap
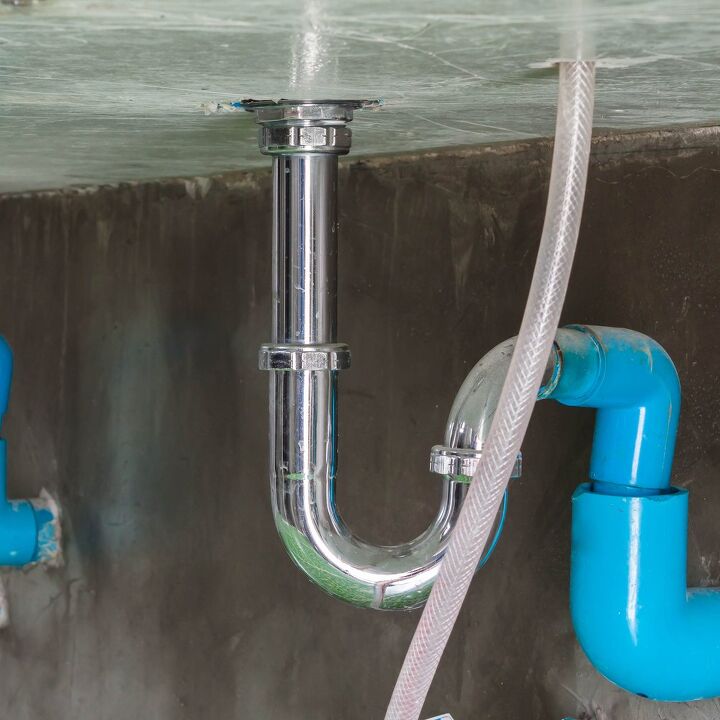
A P-trap generally consists of two components: a waste arm and a trap bend.
- The waste arm (sometimes referred to as the J-bed or trap arm) is the straight length of piping with one straight end that mounts into the branch drain opening in the wall. The other end of the waste arm curves downward to link with the trap bend.
- The trap bend is a U-shaped crook. One end of the trap bend joins the vertical tailpiece that comes from the sink drain, while the other end is connected to the waste arm. The trap bend is designed to be easily removed to clean out clogs. Or, it may be outfitted with a small clean-out plug on the bottom of the curve for this purpose.
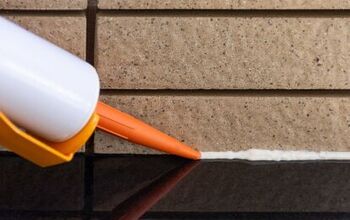
While PVC is the most common material used in modern installations of the P-trap, you can find them in chrome, copper, ABS plastic, or brass. The components of the P-trap are typically joined together using slip fittings. However, plastic P-trap parts can be solvent-glued, and metal pieces can be soldered.
The material you choose for your P-trap will largely depend on preference. For exposed sink drains, such as pedestal sinks, most opt for brass or chrome trap fittings. While P-traps that are hidden inside of vanities or cabinets usually use PVC plastic. Modern PVC P-traps are relatively hassle-free and can last many decades without needing a replacement.
How to Connect P-Trap to Wall Drain
The key to a functioning P-trap under your bathroom or kitchen sink is proper installation. Follow the steps outlined below to successfully install your P-trap by connecting it to your wall drain.
- Begin by attaching the tailpiece of your sink drain to the wall drain with a sanitary T-fitting. Position the T-fitting alongside the drain so that the side inlet of the T is located about four inches below the lowest edge of the bottom of the sink bowl. Using a pencil, mark the spot where the center of the T will connect to the drainpipe in the wall. Then, place two more marks on the sewer pipe six inches above and below that first mark.
- Use a cable saw or hack saw to cut the pipe at both the top and bottom marks you made. If done correctly, the resulting piece should be about twelve inches long.
- Position the sanitary T-fitting in the center of the piece you cut. Then, measure the short sections you’ll need to connect the top and bottom of the fitting of the sewer pipe. Cut these pieces to size; each should be about three to four inches in length.
- Glue these short pieces that you just cut into the corresponding top and bottom hubs of the sanitary T-fitting.
- Attach the T, with the short pipe pieces, to the sewer pipe by using rubber connecting couplings with stainless steel compression bands. Position the side inlet of the T-fitting toward the sink’s drain outlet. Tighten the compression bands by turning the fastening screw clockwise, with a flat head screwdriver, until secure.
- Slip one of the P-trap’s sealing gasket and compression nuts onto the sink basin’s drain outlet pipe. Then, slide the P-trap itself onto the same pipe, attaching it by tightening the compression nut by hand. If you’ve attached the trap to the sink correctly, the waste arm will be at the bottom.
- Add another compression nut and sealing gasket on the outlet end of the P-trap.
- Cut a piece of PVC pipe to reach from the T-fitting to just under the edge of your sink, approximately 1 ½ inch in diameter. With the side outlet pointed upwards, adhere a PVC sanitary T-fitting onto the pipe. Then, cut a three-inch section of 1 ½ inch diameter PVC piping to glue into the upward-pointing side outlet.
- Use a strong adhesive to fasten the mechanical plumbing vent onto the top of the pipe you just cut. Most mechanical vents are outfitted with threaded pieces that will require tightening. If this is the case, apply plumber’s tape to the threads and tighten accordingly.
- The last 1 ½ inch PVC piece you’ll need to cut must reach the outlet of the P-trap. Glue a threaded trap adapter fitting to the horizontal piece that you previously glued. Then, slide the P-trap into the trap adapter and fasten the compression nut.
Finish off by hand tightening all three compression nuts that were installed. Then, use water pump pliers to turn the nuts an additional ¼ turn. Keep in mind that if the P-trap doesn’t properly align with the wall drain, you may need to cut the tailpiece accordingly.
Do You Need to Hire a Plumber?
Get free, zero-commitment quotes from pro contractors near you.
Related Questions
Can you install a P-trap backward?
The P-trap is called a “trap” because it traps and retains enough water after the sink has drained to create a liquid plug, effectively keeping sewer gas from rising up the drain into your home. When installed correctly, the outlet end of the trap pipe should be positioned lower than the inlet. If it’s installed backward, a trap seal that is more than four inches is created.In short, a seal that is less than two inches does not provide enough protection against gas pressure penetrating the seal, while a trap that is more than four inches makes the trap susceptible to clogs. Because of this, installing a P-trap backward is not a good idea and this mistake will never be made by a professional plumber.
Why does my P-trap smell?
If you smell an unpleasant odor coming from your P-trap, it’s likely because the trap itself is dry. Your P-trap’s job is to create a water barrier to prevent drain odors. When the P-trap is dry, these odors can be released into your home. To remedy this, simply pour a couple of gallons of water down the drain to help re-establish a proper water barrier. You can also add a small amount of vinegar to help eradicate any stubborn stenches.
How often should I clean my P-traps?
According to plumbing experts, it’s recommended to give your P-traps a good cleaning at least four times a year. However, if your home has six or more people, it is strongly encouraged to clean your plumbing trips monthly to prevent residue buildup and significant clogging.
Related Guides

Jessica considers herself a home improvement and design enthusiast. She grew up surrounded by constant home improvement projects and owes most of what she knows to helping her dad renovate her childhood home. Being a Los Angeles resident, Jessica spends a lot of her time looking for her next DIY project and sharing her love for home design.
More by Jessica Stone