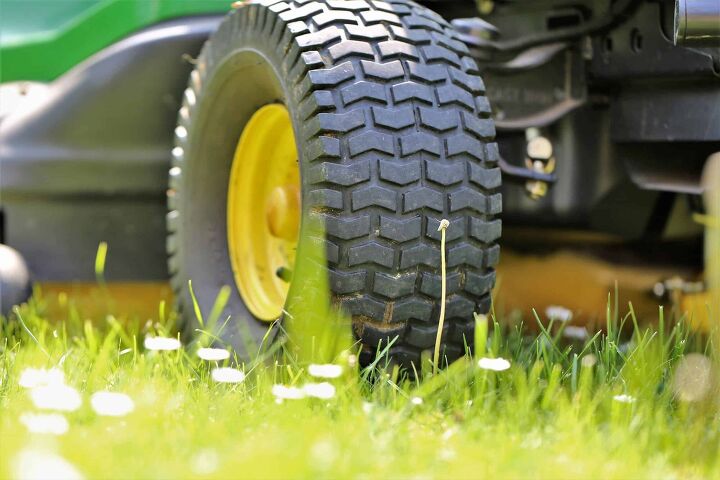
How To Break The Bead On A Lawnmower Tire
Typically, when there is a problem with your lawnmower, the issue is with the blades, the cutting deck, or something electrical. However, flat tires can also happen, and when they do, you need to replace them. One of the most crucial elements of changing a tire is breaking the bead.
To break the bead on a lawnmower tire, you can use one of several methods. The most reliable is to wedge a prybar or extra-long screwdriver into the tire’s edge against the rim. From there, you should be able to separate the rubber and pop the bead.
However, while a prybar is one of the easiest options, it’s not the only one. We will illustrate all of the different ways you can break a bead on a lawnmower tire.
Do You Need a Mower Repair Service?
Get free, zero-commitment quotes from pro contractors near you.

Top Methods for Breaking the Bead on a Lawnmower Tire
Prybar or Screwdriver
Even if you don’t have a prybar or crowbar handy, an extra-long flathead screwdriver should do the trick. Here are the steps to make this work.
- Step One: Lay the Tire Flat – Usually, the ground is the best option, such as a garage floor or a driveway.
- Step Two: Stand on the Rubber – Be sure not to stand on the rim as you could bend it by accident. If that happens, you’ll have to repair the rim before putting a new tire on.
- Step Three: Wedge the Prybar Into the Rubber – Don’t work too fast, and don’t jam it in too hard. Instead, find the edge and work your way in slowly.
- Step Four: Break the Bead – Your weight should do most of the work once you break the seal. From there, you can wedge the bar around to ensure that rubber is separated from the rim entirely.
- Step Five: Repeat Steps 1-4 On the Other Side – Tire beads are on both sides of the rim, so you have to flip the wheel over to get the other side. This way, you can pull the rubber off as necessary.
Bonus Tip
When trying to remove the rubber from the wheel, it helps to have a bench vise, a metal rod, and two prybars (or screwdrivers). All you have to do is place the rod into the bench vise and secure it tightly. Then, put the wheel onto the rod so that it is lying flat. Wedge both prybars into the rubber on either side of the rod. Finally, pinch the bars together (like a set of scissors) to pull the rubber off.
This process is much easier than trying to do it by hand.
Hydraulic Jack
Chances are that you have a hydraulic jack for your car. Fortunately, you can use it to break the bead on a lawnmower tire as well. What you’ll need for this setup is the jack, a wooden slab, and a power drill with an extra-large socket bit.
- Step One: Test the Hydraulic Jack – If you can fit an extra-large socket over the end of the rotating piece on the jack, you can raise and lower the device far more quickly than you could by hand. Test this a few times so that you get a feel for it.
- Step Two: Place the Tire and Wooden Board Over the Jack – The wood is there to create a broader surface area. Otherwise, the jack would dent the rim and force you to replace the whole wheel.
- Step Three: Find a Solid Edged Surface – Realistically, anything that won’t bend or break as the tire presses against it. One option is to use a flat tow hitch, which you may have on your lawnmower or truck.
- Step Four: Raise the Tire With the Jack – You will have to steady the tire with your hand while powering the drill. If necessary, it may be better to use a friend to do one of these for you.
- Step Five: Break the Bead on the Edge – As the jack pushes the tire up, use the edge of the tow jack (or whatever you’re using) to press against the rubber. Be sure that it doesn’t touch the rim at all.
- Step Six: Repeat Steps 2-5 On the Other Side – Again, you’ll have to break the bead on both sides to remove the wheel. You can use the same tip as above to get the tire off of the rim.
Wooden Board and a Vehicle
If you don’t have the tools for the previous method, don’t worry, You can still get the same results with a 2×4 board and your car or truck. Best of all, this tactic can get the job done in a matter of seconds, and it doesn’t require much effort. Here are the steps involved:
- Step One: Lay the Tire Flat – As with method one, you want to use a hard surface like concrete. This will prevent the wheel from sinking into the ground.
- Step Two: Place a Wooden Board On the Tire’s Edge – Again, be sure that the wood doesn’t touch the rim at all.
- Step Three: Drive Onto the Board – It helps to have a friend help guide your wheels. However, you can simply place the end of the board directly in front of your car’s tires to make it easier. As you drive up, the rubber should pop off almost immediately.
- Step Four: Repeat Steps 2 and 3 On the Other Side – Turn the tire around and go again.
Bead Breaker Tool
For the most part, low-tech solutions like the ones we’ve listed above are ideal for breaking the bead. However, if you want something a bit more professional, you can buy a specific tool to get the job done. There are two types of bead breaker tools – floor-mounted and handheld. Overall, we highly recommend purchasing a handheld model, as floor units have to be bolted to the ground. That means you will have to make it a semi-permanent addition to your garage.
Here are the steps for using a bead breaker tool.
- Step One: Lay the Tire Flat – As always, a hard surface like concrete is ideal.
- Step Two: Size the Tool – You will have to adjust the length of the bead breaker to fit the lawnmower tire.
- Step Three: Insert the Feet – There are two feet on the tool; one on either side. Wedge them between the rim and the rubber.
- Step Four: Pull the Lever – Doing this will separate the tire from the rim.
- Step Five: Pivot the Tool As Necessary – In some cases, you might have to move the tool around the edge of the rim to get a complete break.
- Step Six: Repeat steps 2-5 On the Other Side
Safety Precautions When Breaking a Tire Bead
The most vital thing to remember when doing this is to avoid bending or damaging the rim. Even if you don’t crimp the edges, you may gouge the metal, causing slow leaks in the replacement tire. Here are some other safety tips to keep in mind:
- Wear Gloves When Necessary – Whether you’re gripping a prybar or the rim of the tire itself, it helps to have something protecting your fingers and hands.
- Don’t Force Anything Too Much – If the tire has been on the rim for a long time, it can be harder to break the bead. However, if you push too hard, you could damage the edge, which almost negates the whole process.
When to Break a Lawnmower Tire Bead
Some lawnmower tires are tubeless, which means that there is no way to reinflate them if they start to lose air. If that is the case, changing the tire means removing the old rubber and putting a new wheel on the original rim. Unlike your car, most lawnmower tires don’t come with the rim.
Another reason to break the bead is if you want to install a tube inside the wheel. Doing this can extend the life of the tire and make it easier to fix over time.
Do You Need a Mower Repair Service?
Get free, zero-commitment quotes from pro contractors near you.
Related Questions
Can I use these methods on car tires?
Yes, bead-breaking is similar on all tires since they are all attached to a metal rim.
Is breaking the bead dangerous?
If the tire is fully inflated, it can be. Be sure to deflate the wheel if necessary before starting.

We are a team of passionate homeowners, home improvement pros, and DIY enthusiasts who enjoy sharing home improvement, housekeeping, decorating, and more with other homeowners! Whether you're looking for a step-by-step guide on fixing an appliance or the cost of installing a fence, we've here to help.
More by Upgraded Home Team