Can You Cut Christmas Lights to Length? (Find Out Now!)

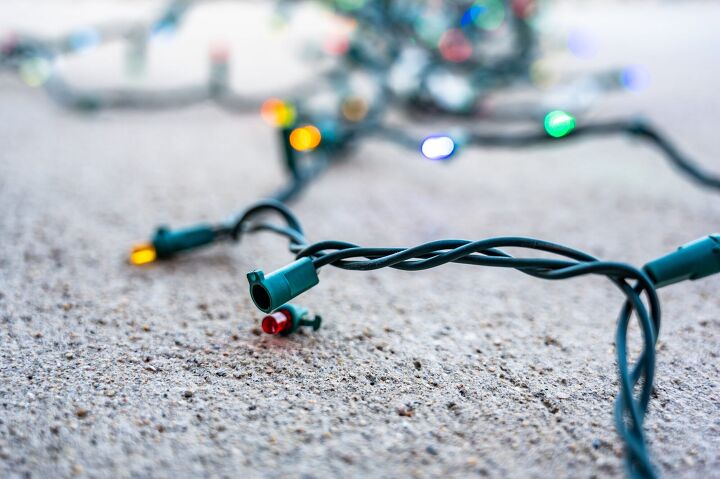
When stringing your indoor or outdoor Christmas lights, it’s not uncommon to find ourselves in a situation where the lights are too long to accomplish the desired effect. Maybe you only need a small section to finish up your roof or you want to add lights to your mantel but don’t need over 30 feet of lights to get the job done. In this case, you may be wondering: Can you cut Christmas lights to length? Or, perhaps a section of lights has burned out and you still want to be able to use the rest of the string.
Fortunately, it is possible to cut or shorten Christmas lights – whether they’re LED, incandescent, or something else. The process is relatively simple, just requiring a little bit of know-how. You first need to know whether your Christmas lights are wired in a series or as parallel, then you can determine if you want to remove an entire section of lights or just a couple of bulbs.
We’ll walk you through all the various ways that you can cut your Christmas lights to length, so they are the proper size for your intended purposes.
Do You Need to Hire Christmas Light Installers?
Get free, zero-commitment quotes from pro contractors near you.

How Christmas Lights Work
Examining Christmas lights is a great way to understand how the flow of electric current works. In a simple circuit, including one in an incandescent bulb, the electricity passes through a closed circuit and over a filament, which causes it to glow. The more current that travels over the filament, the hotter it gets, the brighter it burns, and the faster it will burn out.
If you have an open or broken circuit, no electricity will pass over the filament and you won’t have light. Whereas, if the current is excessive, the filament can melt, blow out, or open the circuit.
In the case of Christmas lights, though, you have multiple light bulbs connected to the same power source in one of two ways: in series or in parallel. You can even hang Christmas lights outside without nails.
Series vs. Parallel Lights
With lights attached in a series, electricity travels from the power source to the first bulb and then from bulb to bulb until it gets back to the power source. In this configuration, when one bulb blows out, it creates an open circuit that causes all the lights in the series to go out.
On the other hand, when lights are attached in parallel, each light is on its own circuit to the power source. If one bulb burns out, it does not impact the remaining lights as they remain in a closed circuit to the power source.
How to Shorten Christmas Lights
Whether your lights are LED, incandescent, or any other, you always want to make sure that they are plugged OFF before you begin any work. Never tinker with live wires. Always use caution when you’re working with exposed wires and don’t plug the lights in until all of the exposed wires are covered with wire connectors. If your lights are going outdoors, make sure that you use outdoor/waterproof wire connectors.
You also need to determine whether the lights you are working with are wired in series or in parallel. Although most Christmas lights are wired in series, you can confirm by removing one bulb from anywhere in the center of the string. If the bulbs surrounding the bulb you removed stop working, your lights are wired in series. Whereas, if the bulbs continue functioning – they are wired in parallel.
With lights that are wired in a series, there are essentially two options: removing an entire section or removing just a few bulbs. The former is the easier and safer option that only requires cutting away a piece of the entire string of Christmas lights. The latter, on the other hand, is more complicated as removing only a couple bulbs could lead to burning out the remaining lights because of an uneven distribution of electricity.
Materials Needed
The tools and materials that you’ll need to cut your Christmas lights to length are as follows:
- Wire nut connectors – these can be purchased at your local hardware or electrical supply store. You’re going to use them to secure the ends of your shortened Christmas lights. Again, if your lights are going outdoors, make sure you opt for waterproof connectors.
- Electrical tape – this is optional, but is great for making your wire nuts more secure.
- Wire cutters – if you don’t have a pair already, these can be purchased at your local hardware or electrical supply store, as well as online. The wire cutters are what you’re going to use to do the physical cutting of the lights.
Removing an Entire Section in a Series
To remove an entire section in a string of Christmas lights wired in a series, you first need to find where the series of connected lights begin and end. With these types of lights, there will often be multiple series of lights joined together. To find where a series begins and ends, simply remove random bulbs across the string.
You’ll also notice that series are connected with three wires within the series and then connect to other series in the string with two wires. So, in other words, a series will have three wires then slowly taper to two wires and back to three when it begins a new section. To remove an entire section, follow these steps:
- Make sure that the lights are unplugged and spread them out on a flat surface.
- Determine how long you want your new string of lights to be.
- Find the spot where there are only two wires. This is where the previous section ends and connects to another section.
- Cut the two wires with your wire cutters to remove a section.
- Once cut, cap each of the wires with a wire connector and secure with electrical tape.
Removing a Few Bulbs in a Series
If you want to remove one or two lights from a strand that’s wired in a series, this is possible but not always ideal. Christmas lights that are wired in a series distribute 120 volts from the plug across the lights. The table below outlines how when bulbs are removed and the volts increase, the lights become brighter:
| 120 volt/ 40 bulbs in series | 3 volts per bulb |
| 120 volt/ 35 bulbs in series | 3.4 volts per bulb |
| 120 volts/ 10 bulbs in series | 12 volts per bulb |
When you remove a light, the voltage is increased to the remaining bulbs. While removing a couple bulbs isn’t a big deal, removing too many presents the risk of overload and burning out the lights. With that in mind, follow these tips for removing a few bulbs in a series:
- With your Christmas lights unplugged, use your wire cutters to cut the two wires that enter the last bulb where you want the strand to end.
- Use your wire cutters to strip the ends of the two wires you just cut.
- Twist the two exposed wires together.
- Cover these joined wires with a wire nut connector and secure with electrical tape.
- Then, cut the third wire the same length as the other two.
- Cover this wire with a wire nut connector and secure with electrical tape.
Do You Need to Hire Christmas Light Installers?
Get free, zero-commitment quotes from pro contractors near you.

Cut Christmas Lights Wired in Parallel
With Christmas lights that are wired in parallel, they are designed so that each bulb receives all 120 volts from the outlet and each bulb has a direct route to the power source. This means that you can remove as many bulbs as you desire and cut the lights to any length without the risk of overloading or burning out the bulbs. To cut Christmas lights that are wired in parallel, follow these three basic steps:
- Unplug the Christmas lights from the outlet.
- With your wire cutters, cut the wires between the bulbs that you want to remove.
- Cap each end with wire connectors and secure with electrical tape (if desired).
That’s all there is to it! As always when working with electrical, make sure you work slowly, and carefully to avoid any potential safety hazards.
Related Articles

Jessica considers herself a home improvement and design enthusiast. She grew up surrounded by constant home improvement projects and owes most of what she knows to helping her dad renovate her childhood home. Being a Los Angeles resident, Jessica spends a lot of her time looking for her next DIY project and sharing her love for home design.
More by Jessica Stone


